Quick summary
The Miro whiteboard is an online collaborative canvas that lets teams brainstorm, plan, and co-create in real time using tools like sticky notes, shapes, frames, and freehand drawing. This walkthrough covers every key toolbar action you need to start building and sharing a Miro board from scratch.
Steps
- Log in to your Miro board and select '+ Blank board' to create a new workspace.
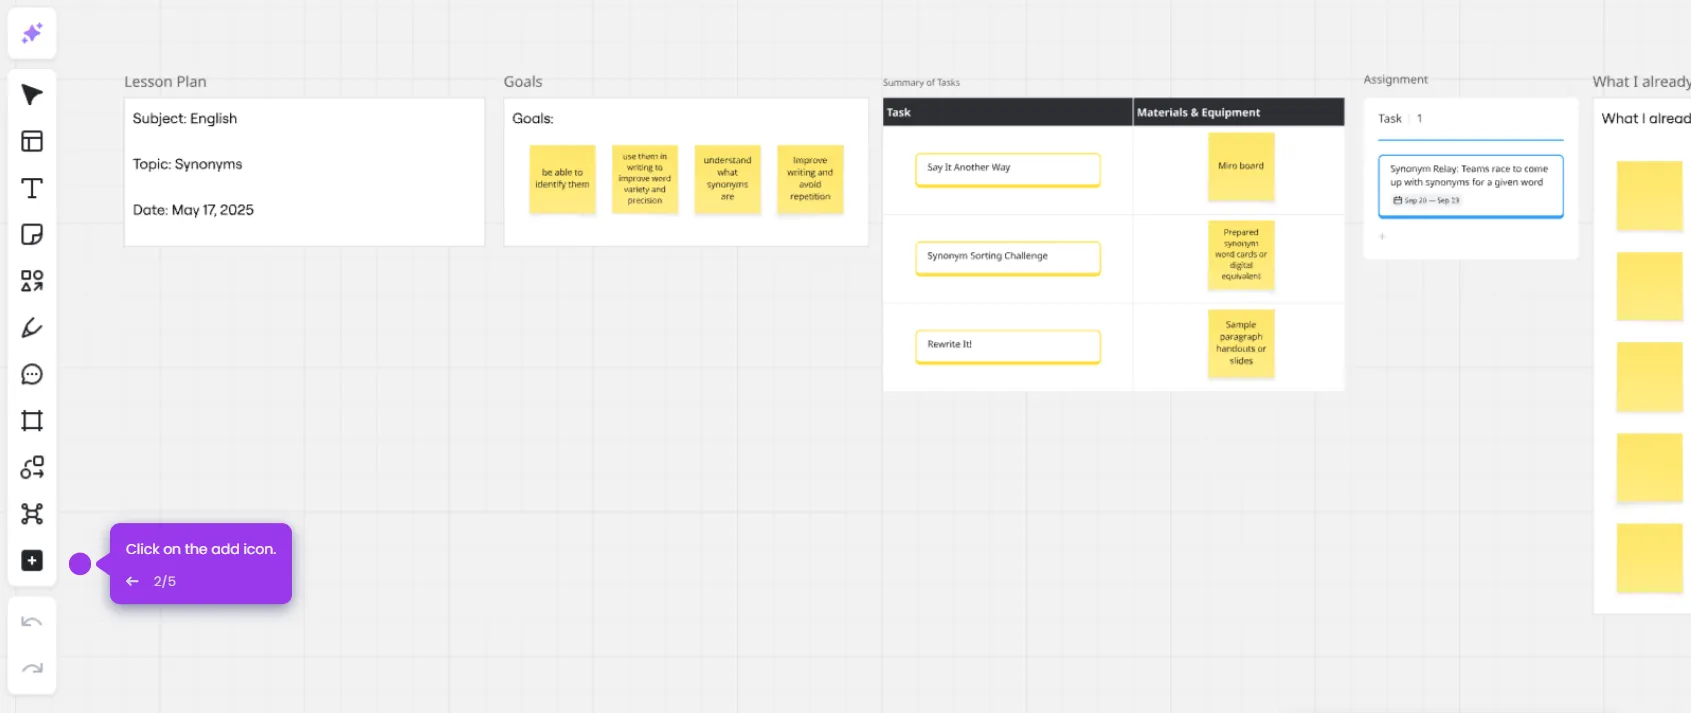
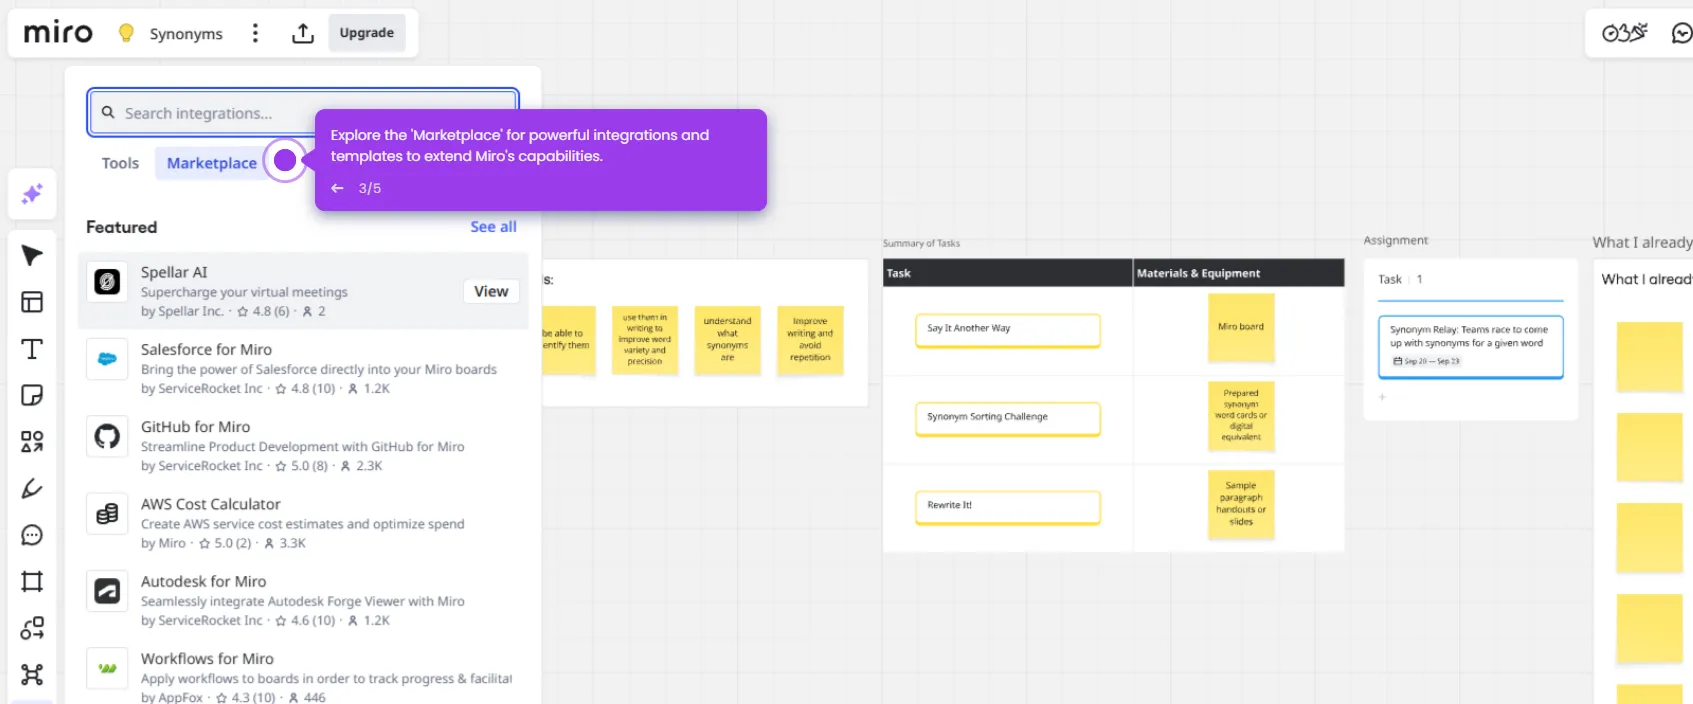
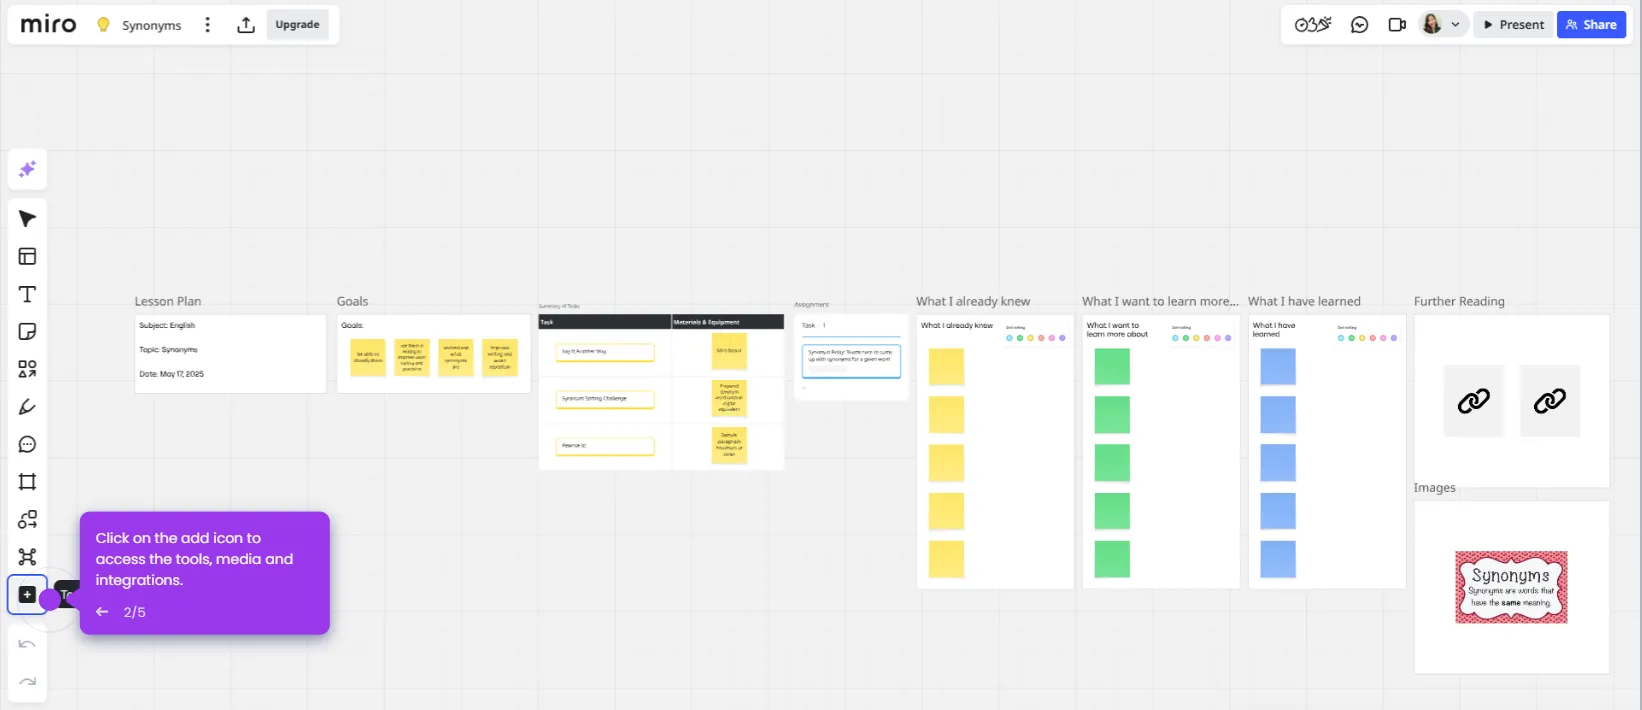
- Open the left-side toolbar on your whiteboard to access all available tools.
- Click the template tool to browse and apply pre-built layouts for common use cases.
- Click the text icon to add titles or notes directly onto the board.
- Click the sticky notes icon to capture quick thoughts and support brainstorming sessions.
- Click the shapes icon to add shapes to your whiteboard.
- Click the pen tool to enable freehand drawing on the canvas.
- Click the undo button (the curved arrow pointing left) to reverse your last action.
- Use the comment icon to co-create, leave comments, or vote during live collaborative sessions.
- Click the frame icon to group related content into sections, similar to slides.
- Click and drag to add and position elements, using gridlines and snap-to alignment for precise layout.
- Click 'Share' to invite team members to collaborate on your board.