Quick summary
Miro Frames let teams organize content on an infinite canvas into structured, presentation-ready sections. You can add, resize, label, and lock frames to keep collaborative boards clear and easy to navigate.
Steps
- Open your Miro board from the dashboard.
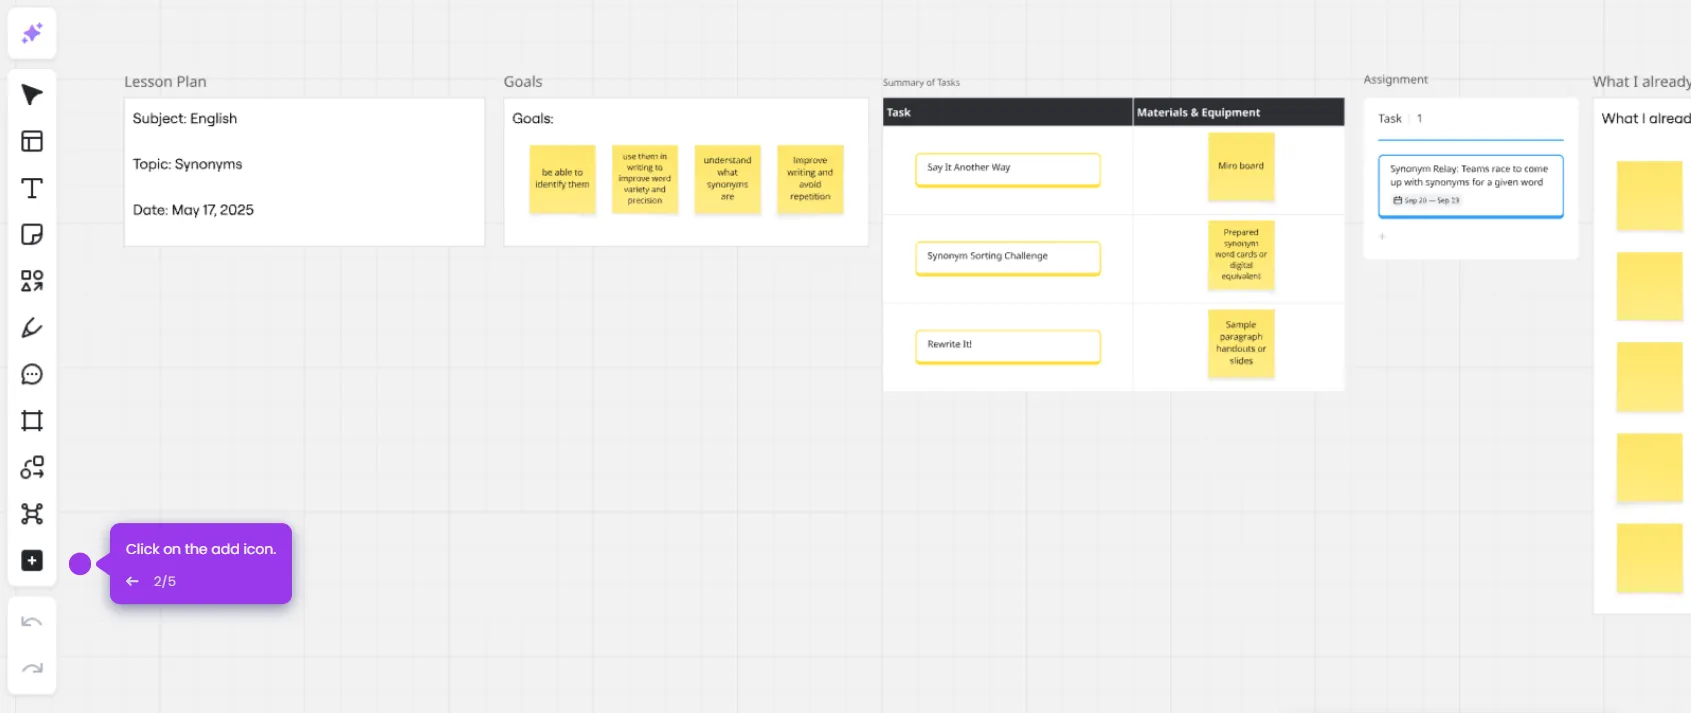
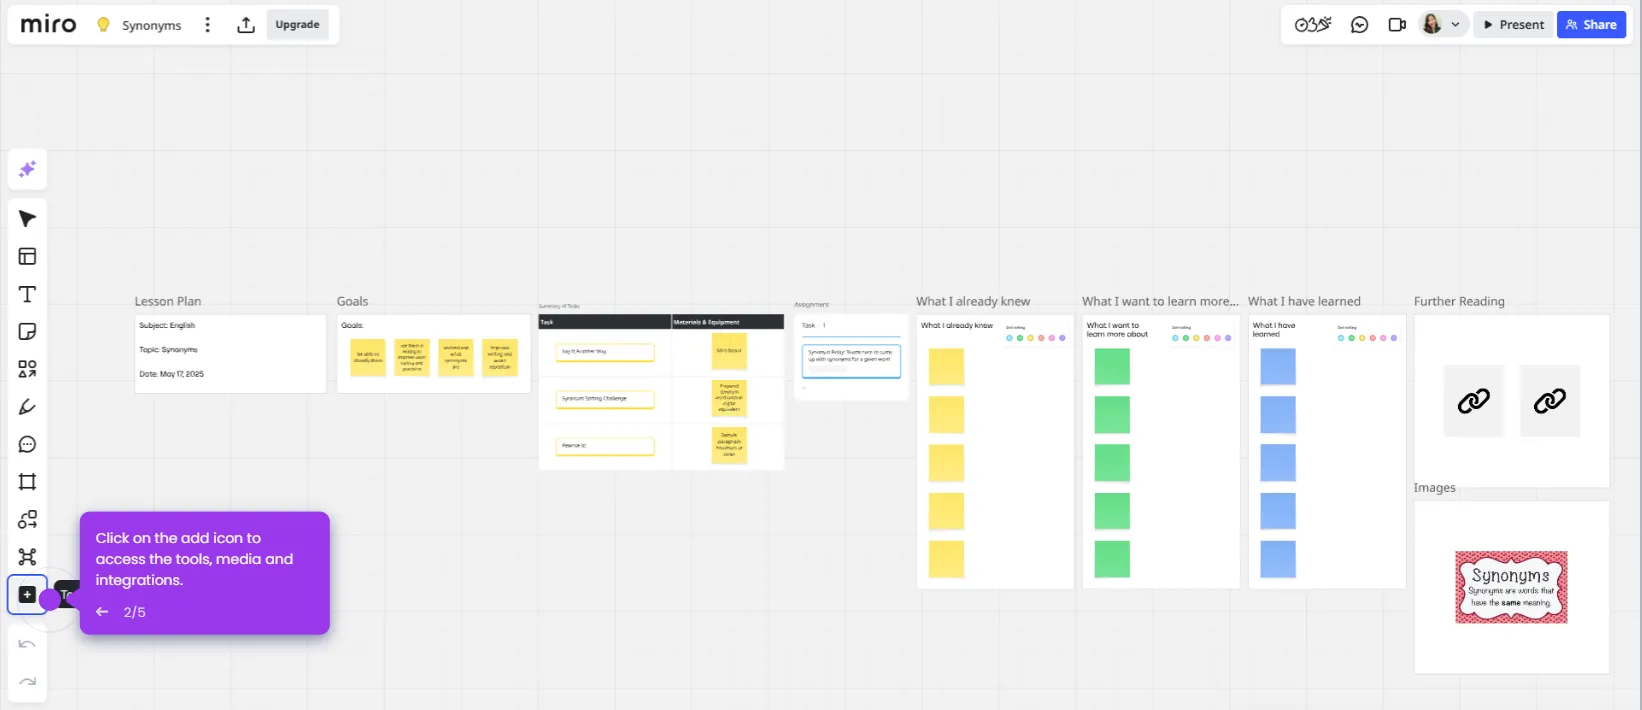
- On the left toolbar, click the frame icon to activate the frame tool.
- Select a predefined frame size or choose Custom to draw your own dimensions.
- Click and drag on the board to place your frame — you can resize or reposition it at any time.
- Add colors to your frame to visually distinguish it.
- Drag shapes, sticky notes, images, or text into the frame to populate it with content.
- Double-click the frame name to rename it for easier navigation.
- Format your frame with colors that align with your project theme or company branding.
- Click the lock icon to lock your frame and prevent accidental edits.
- Click Present to enter presentation mode and walk stakeholders through your board.