Quick summary
Setting up a Miro board involves creating a new board, choosing a template, and adding collaborative elements like sticky notes, frames, shapes, and images. Once configured, you can share the board with your team to enable real-time collaboration.
Steps
- Click '+ Create new' to start creating a new item in Miro.
- Select 'Board' from the list of available content types.
- Browse and select your preferred template from Miro's template library.
- Provide a name for your Miro board.
- Add text that best describes your Miro board.
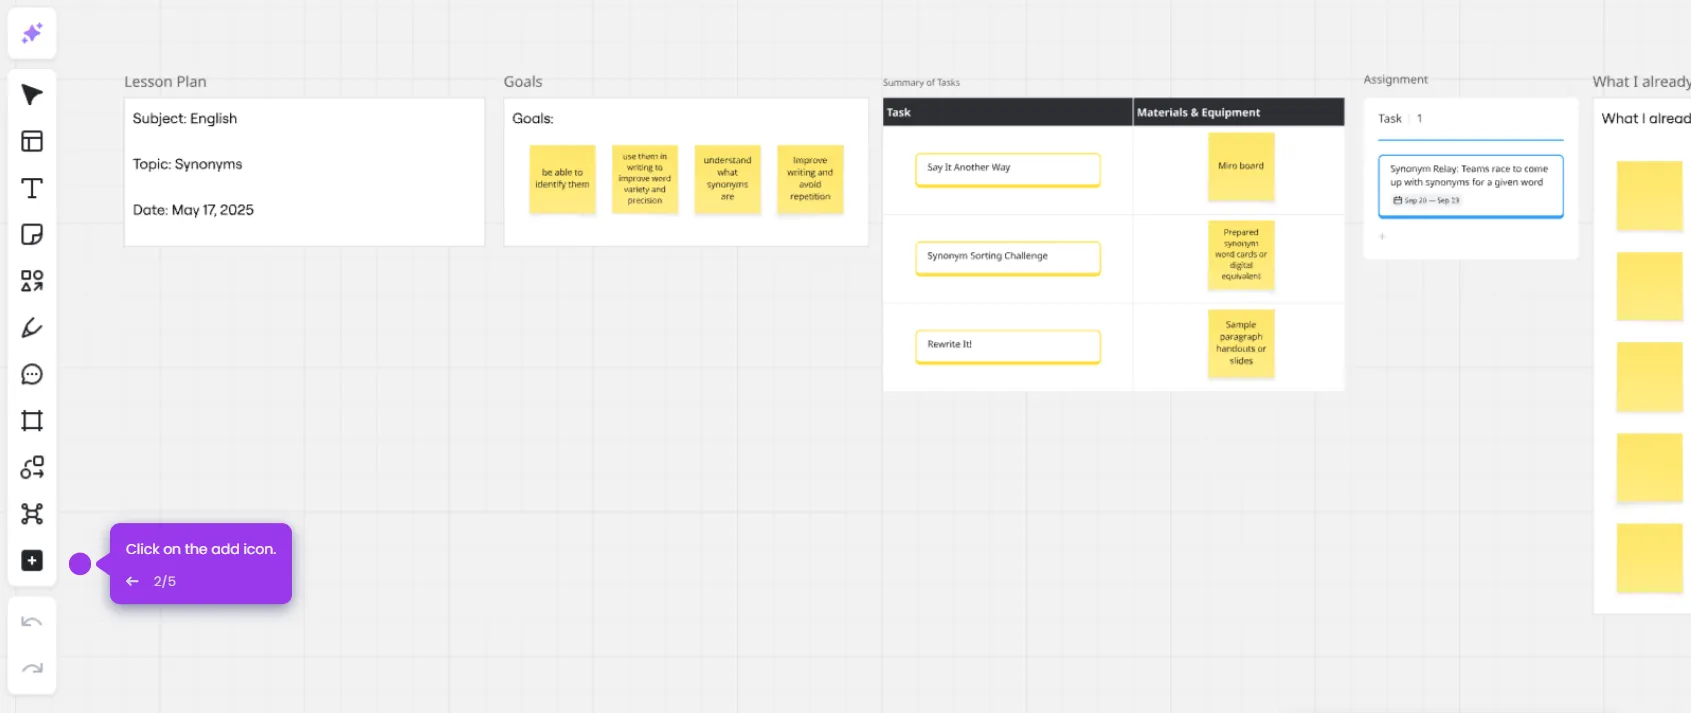
- Go to the left toolbar and add sticky notes by clicking the sticky notes icon.
- Add a frame by clicking the frame icon and drag it onto your board.
- Name your frame to organize your board content.
- Add another frame with draft content or ideas.
- Add a comment to help provide feedback on board content.
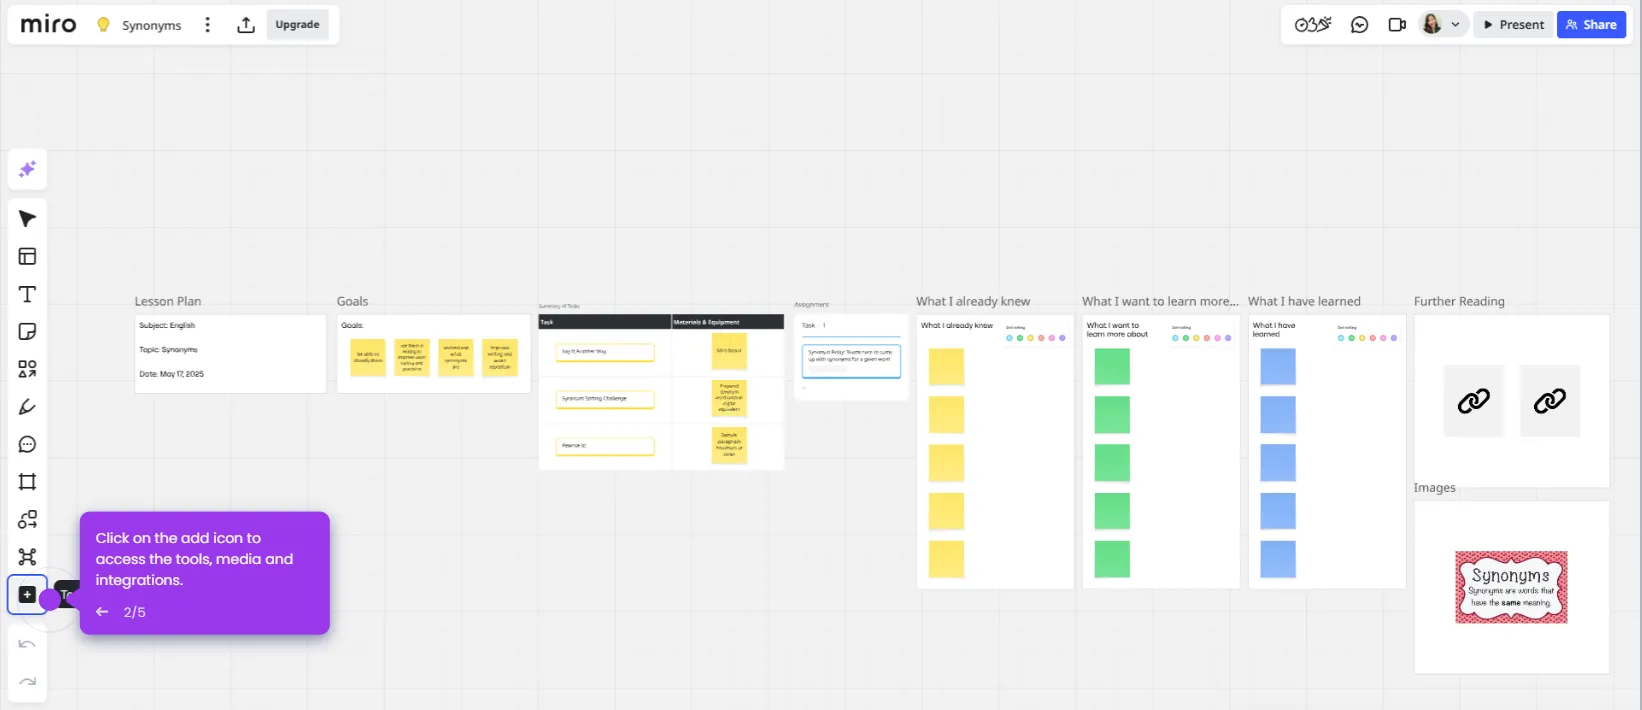
- Drag and add shapes to your Miro board.
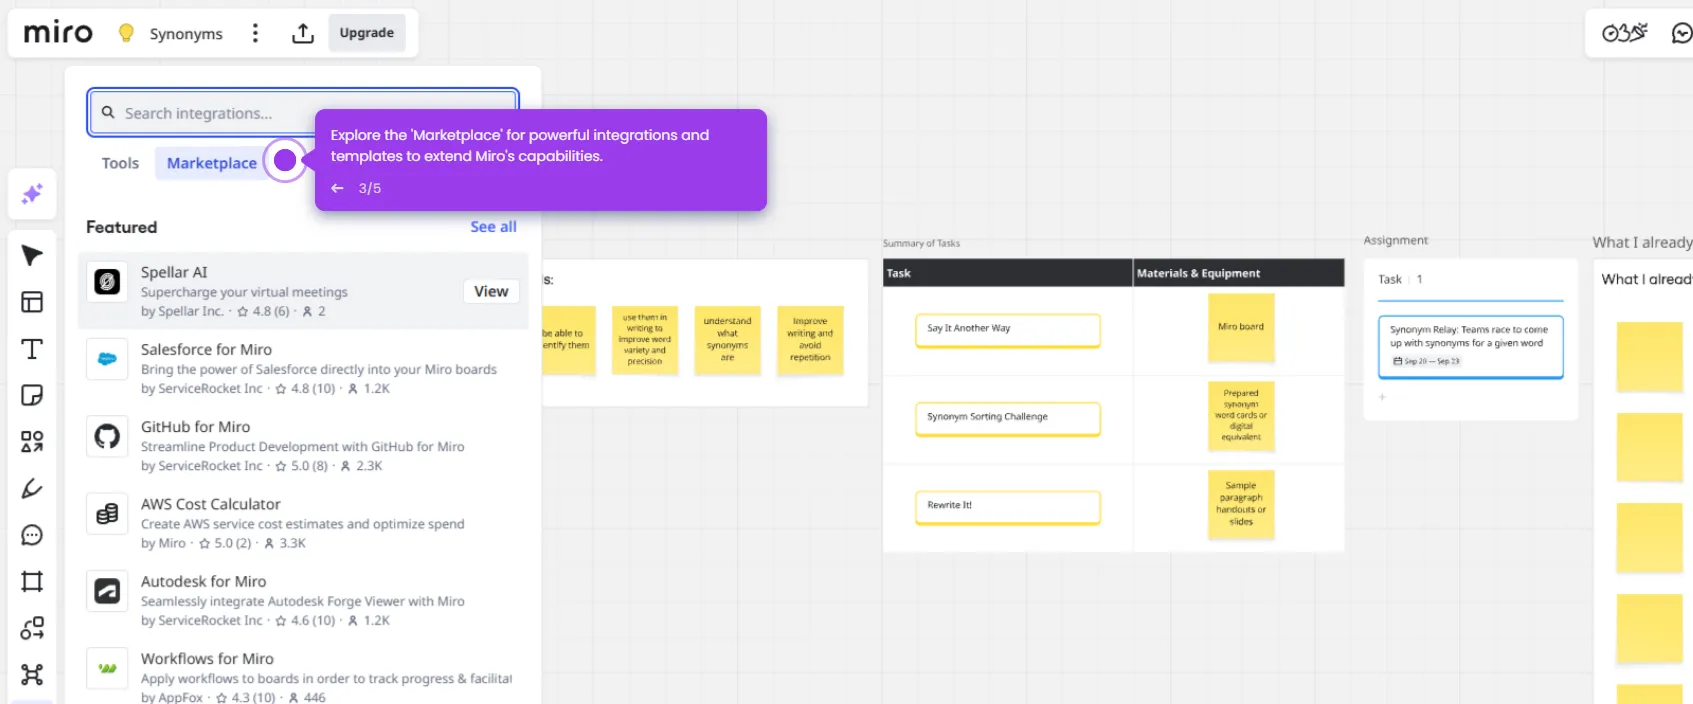
- Upload or drag an image to customize your board.
- Once your board is set up, click 'Share' to collaborate with your team.