Quick summary
This tutorial shows you how to navigate a Miro board using essential controls like zoom, pan, and the Set Start View option. Mastering Miro navigation helps teams orient themselves faster and collaborate more efficiently on shared visual workspaces.
Steps
- Open your Miro board to begin navigating your workspace.
- Use the mouse wheel to zoom in and out, or click the zoom out icon in the toolbar.
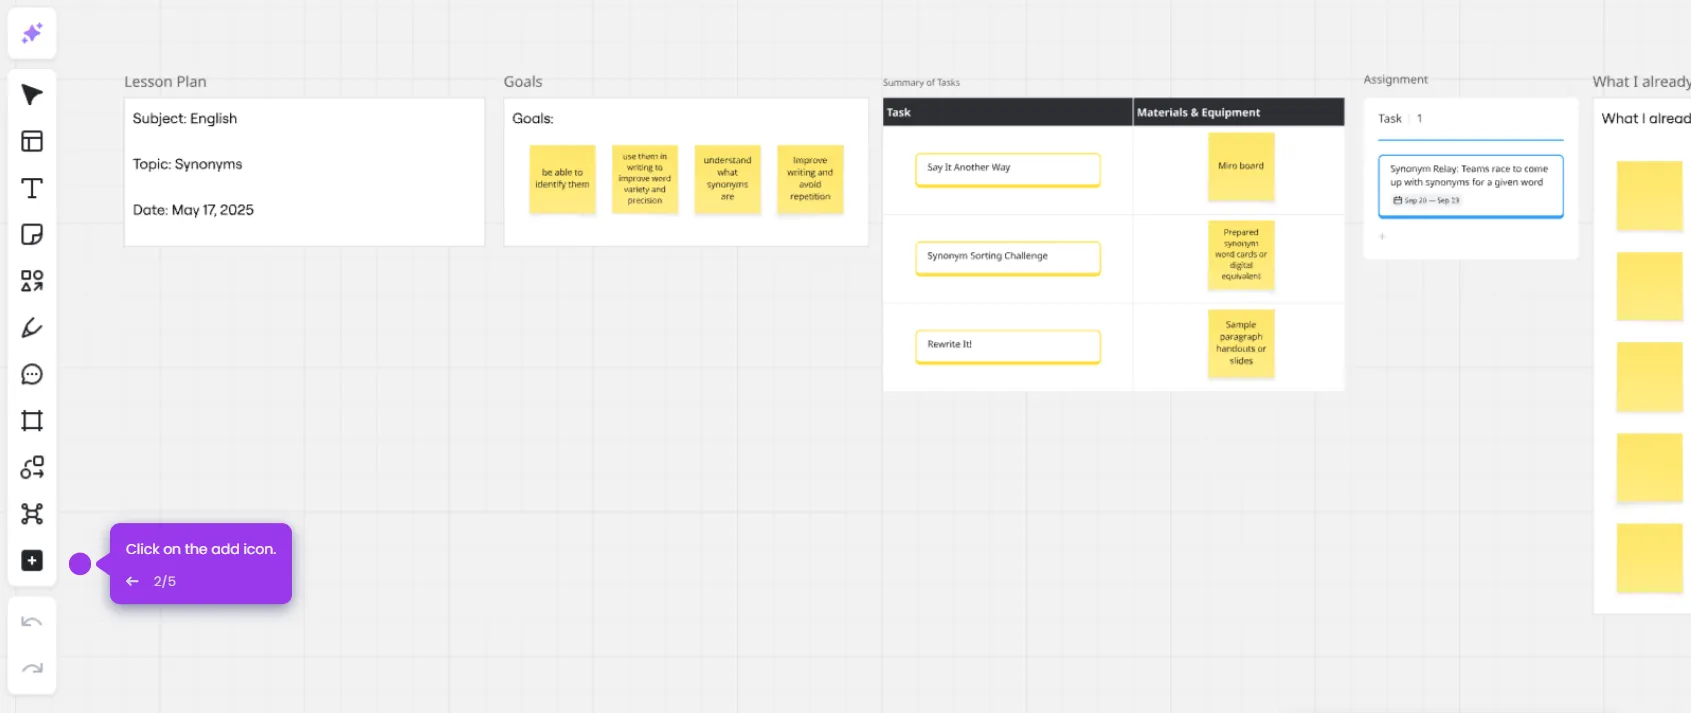
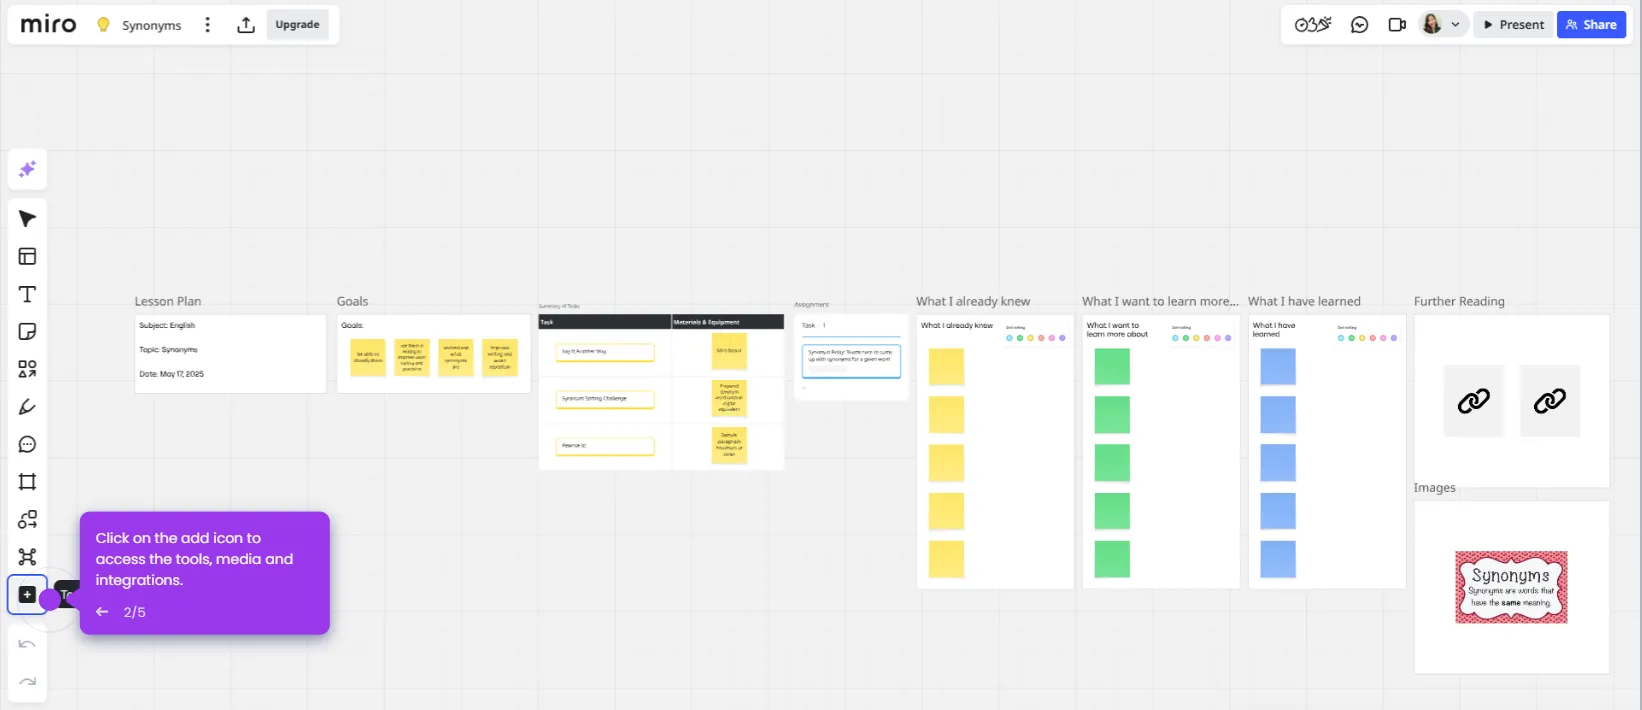
- Zoom in and click the add icon to navigate to your desired area on the Miro board.
- Right-click on the board and select 'Set Start View' to define your default starting position.
- Confirm that your start view has been set successfully.
- Drag the mouse to pan and move the board's view to any area of your canvas.