Quick summary
Adding a table to a Miro board takes just a few clicks using the left toolbar. Once inserted, you can enter Focus mode to edit and organize your table content without distractions.
Steps
- Open your Miro board to get started.
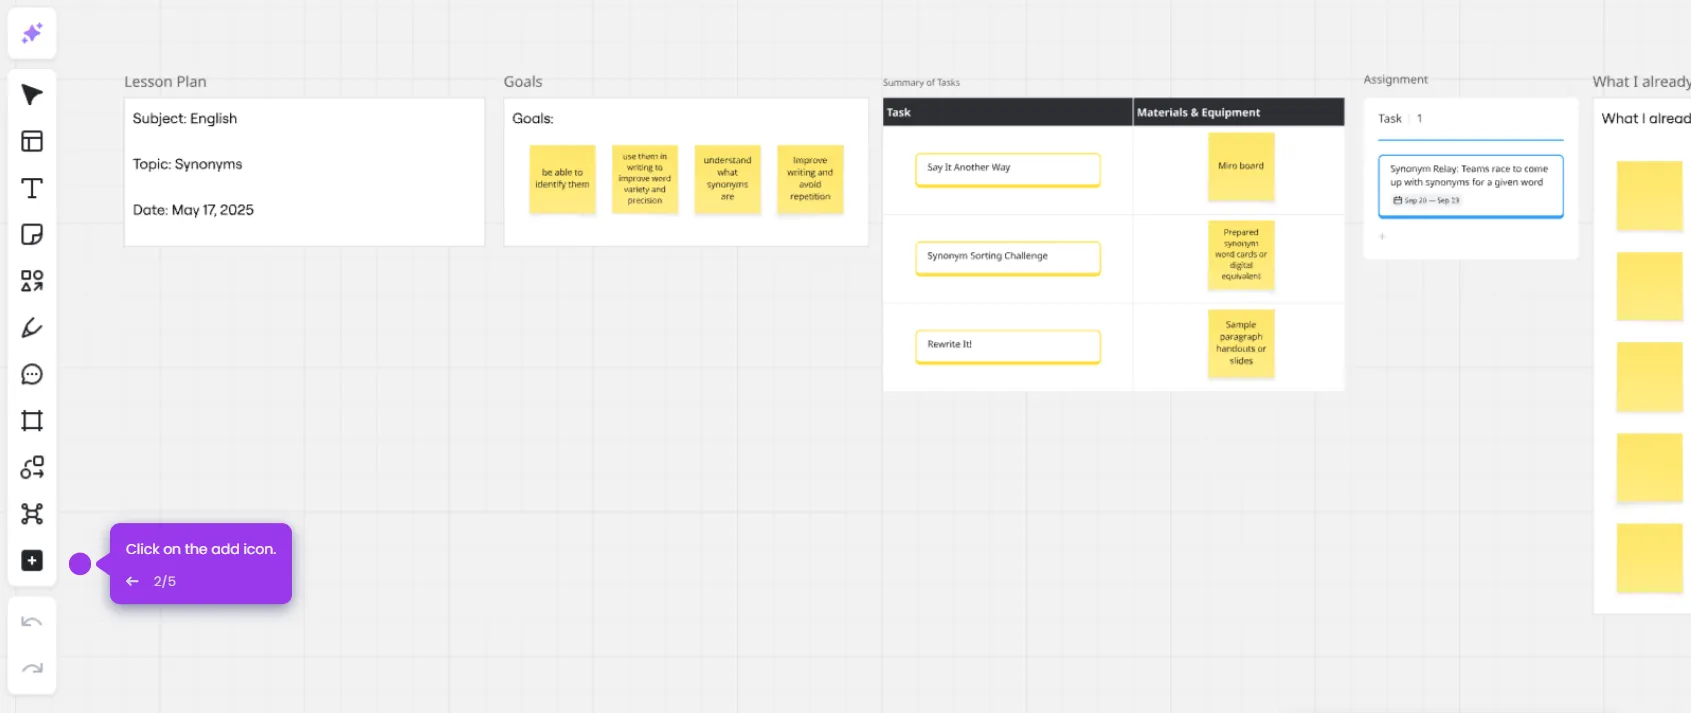
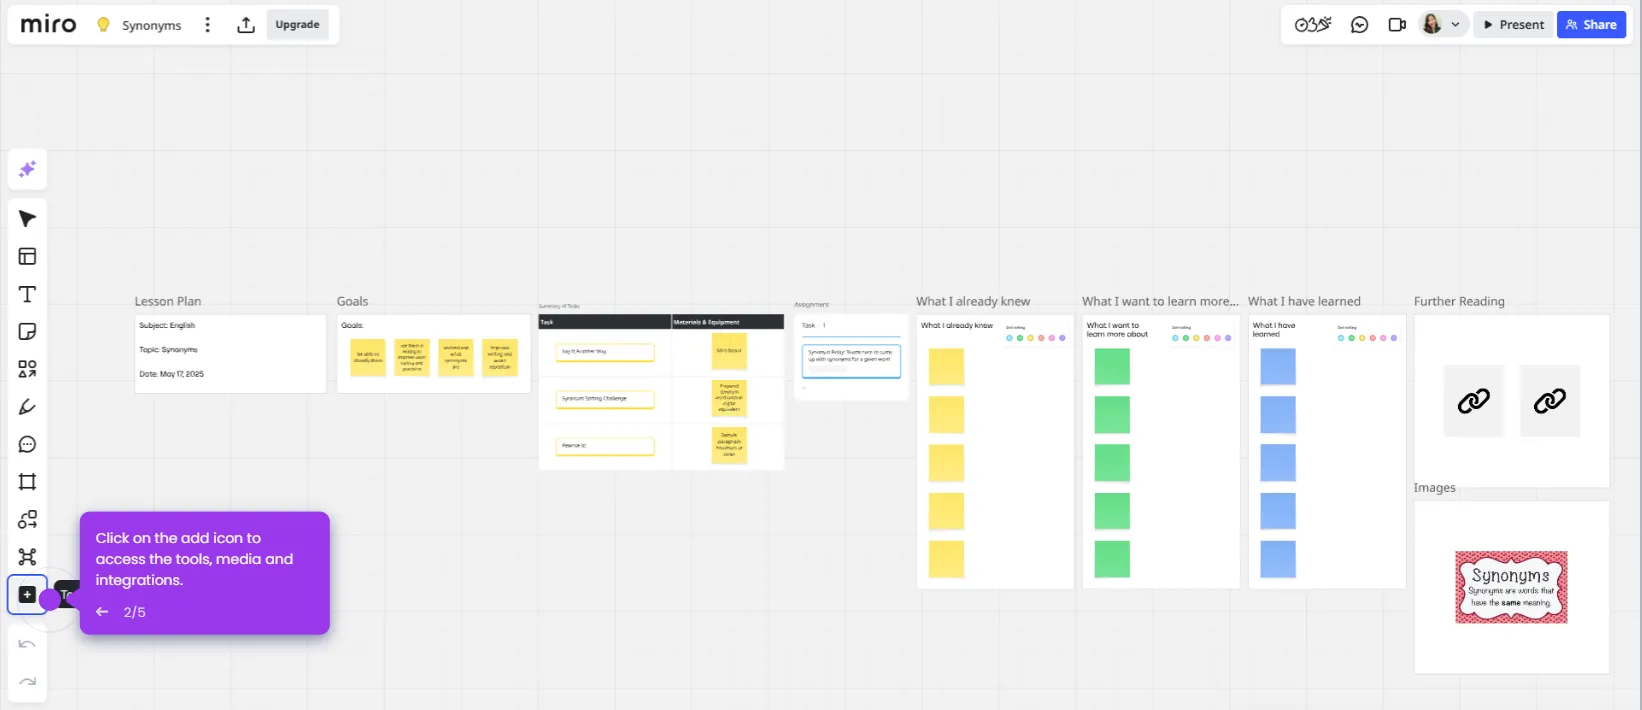
- Click the add icon in the left toolbar to expand the available tools.
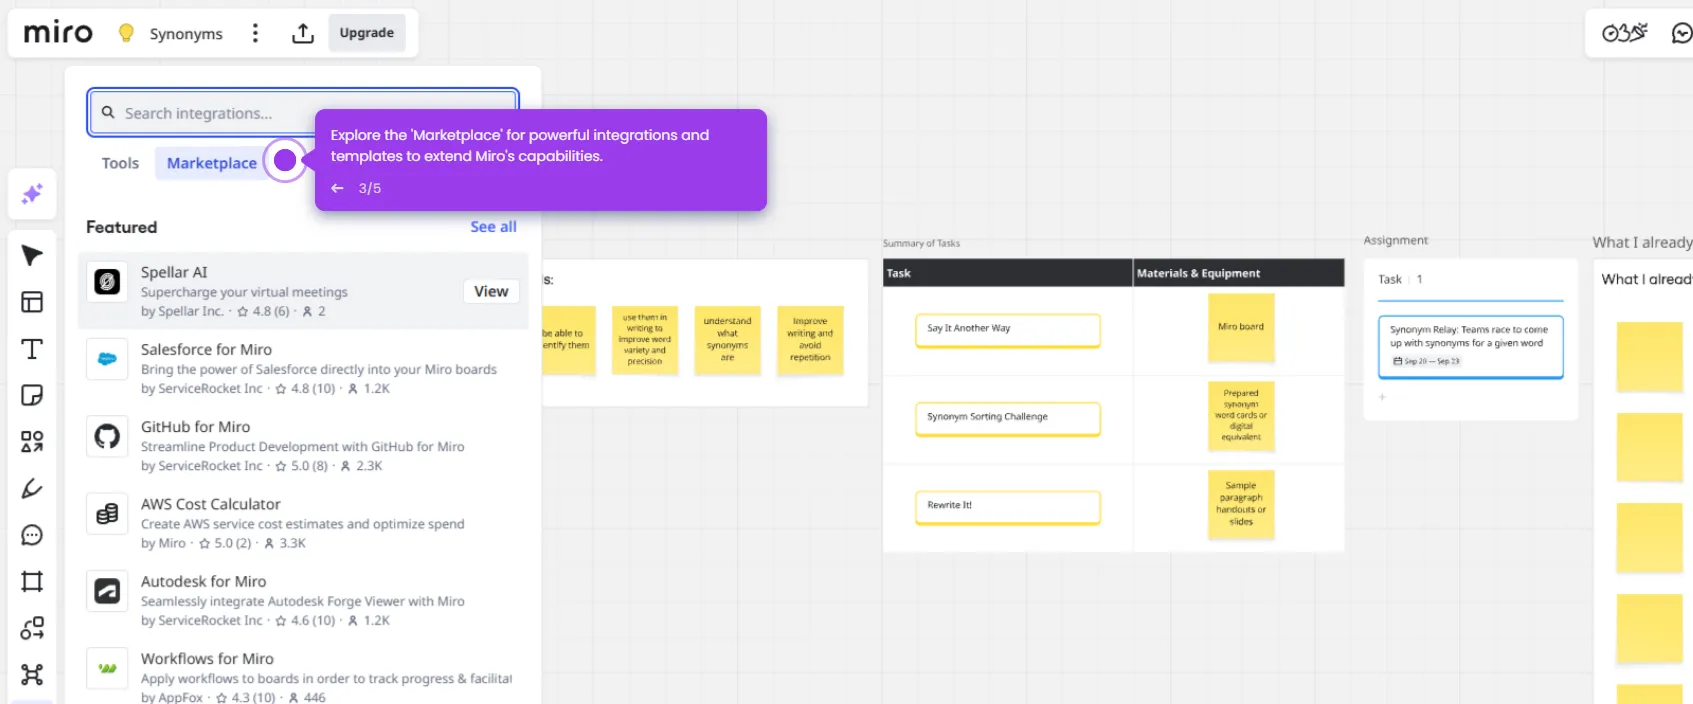
- Select Table from the menu.
- Click anywhere on the board to insert the table.
- Use the toolbar above the table to enter Focus mode for distraction-free editing.
- Your table has been successfully created in Miro.