It is very easy to sync Coda with version control systems. Here’s a quick guide on how to do it:
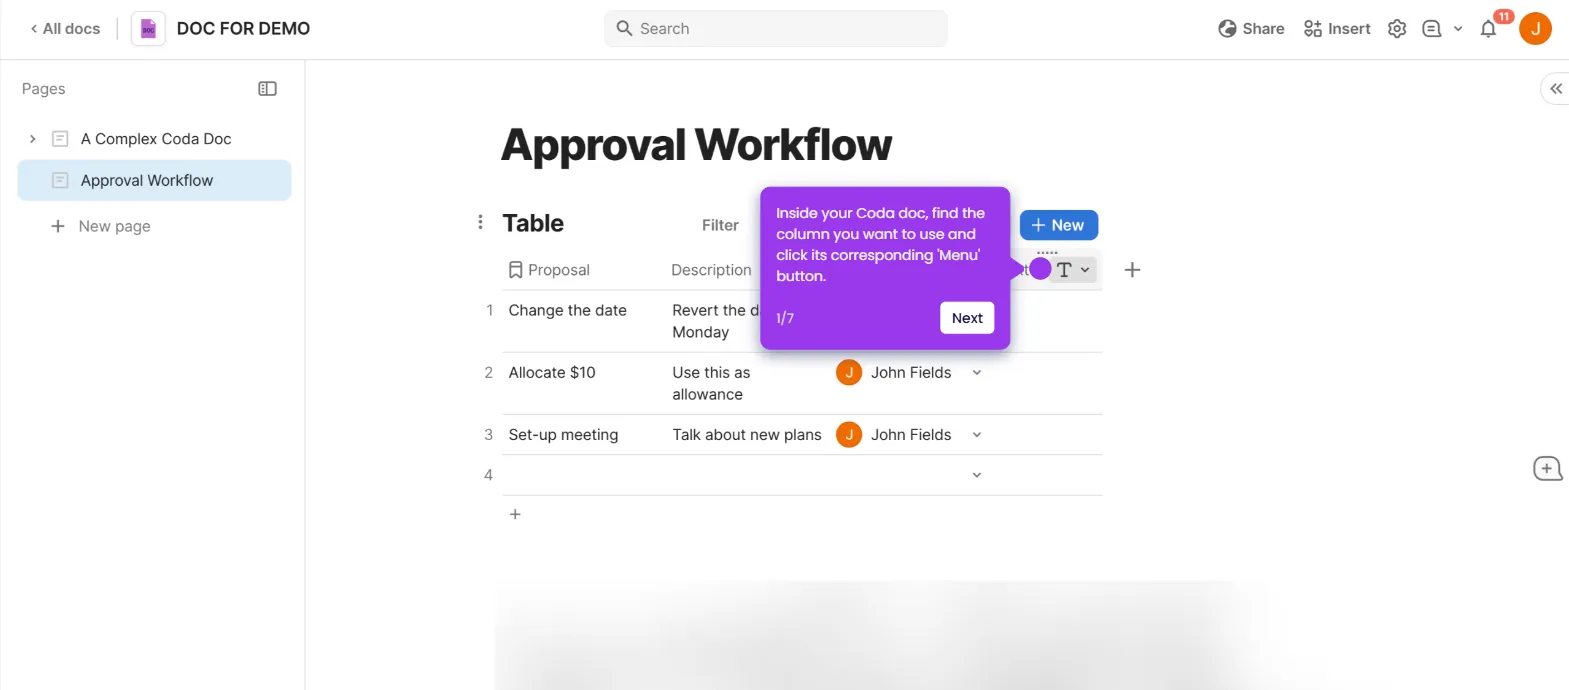
- Inside your Coda doc, navigate to the top-right corner and click 'Insert'.
- Click the provided search bar and type the name of the version control system you wish to use.
- After that, scroll down to the Pack Tables section and select the version control data you wish to sync. Grab and drag it to the main workspace for further customization.
- Click 'Connect Read Account' to establish the connection between Coda and your version control system.
- Subsequently, tap 'Sign In' and then log into your account. Make sure that all required permissions are granted to avoid inconveniences later on.
- Tap 'Complete Setup' afterwards to proceed further.
- Following that, navigate to the right-side panel and configure the settings under Sync. Provide all the information needed to set up the integration properly.
- Once done, tap 'Sync Now' to fetch all the necessary data from your version control system.
- Tap 'Table Options' afterwards.
- Select your preferred format, then configure its corresponding settings based on your preference.
- After completing these steps, the selected dataset from your version control system will be synced with Coda.

.svg)
.svg)


