.gif)
.svg)


Quick summary
Coda lets you create approval workflows directly inside a doc by configuring a Select List column with custom status labels like Approved, Pending, and Blocked. This step-by-step process requires no external tools — just your existing Coda table and a few column settings.
Steps
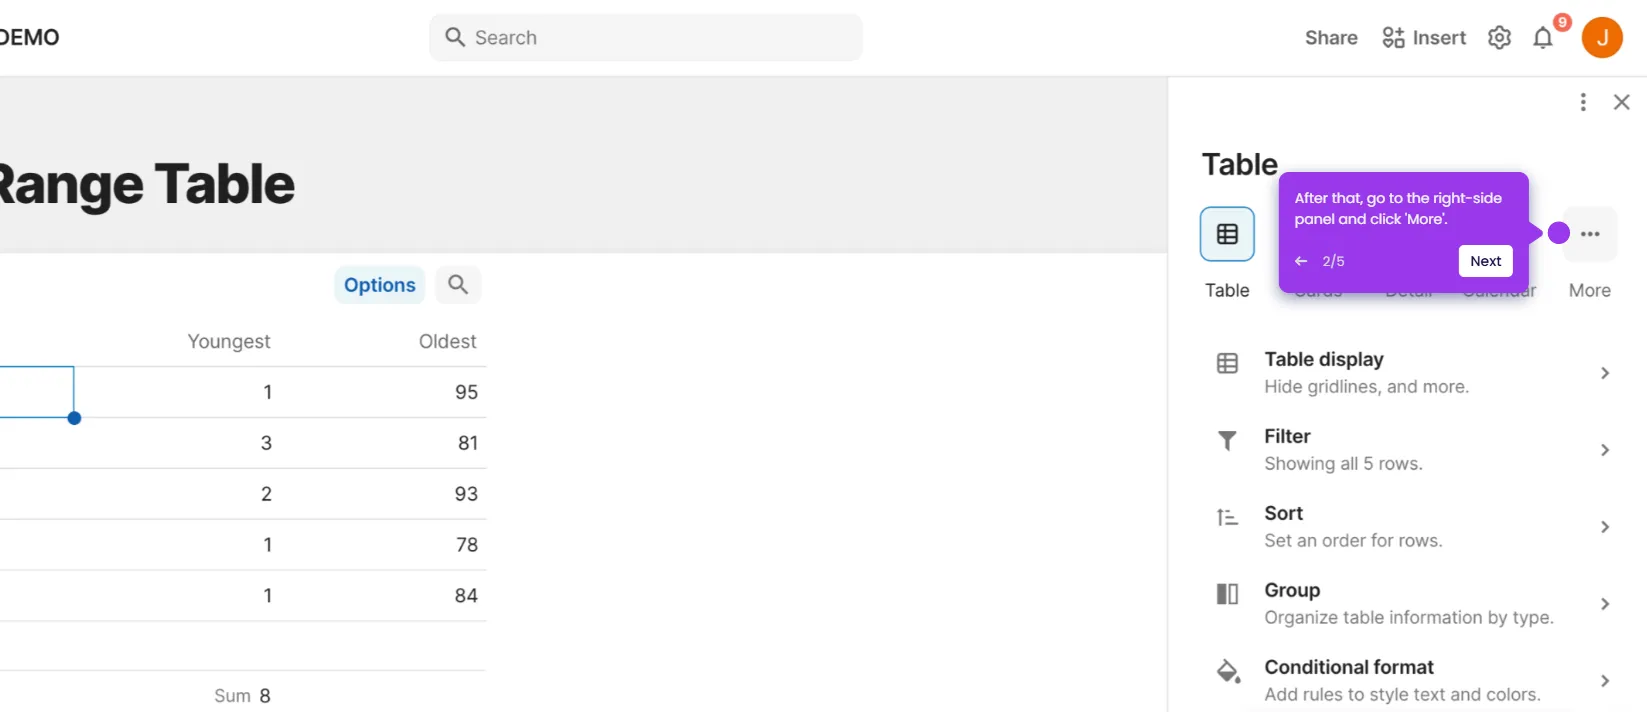
- Inside your Coda doc, find the column you want to use and click its corresponding Menu button.
- Choose Column Type from the list of options.
- Hover over the Select List option, then click New to create a new list.
- Click each default option one by one and replace them with the status labels you want to use.
- Click the Color Picker button next to each label to assign your preferred style.
- Repeat these steps for all labels, making sure to add an option for the Approved status.
- Once complete, your approval workflow will be live in the doc — share it with your team members so they understand the process.