Apollo.io integrates with Wix via Zapier to automatically send Wix form submissions, orders, or bookings as Apollo contacts. Here's the complete step-by-step guide:
- Log in to your Zapier account and click the 'Create Zap' button in the upper-right corner.
- Click on the 'Trigger' button and search for and select "WIX" as the trigger app.
- Make sure your WIX account is connected; if not, connect it by clicking on the Sign In button, then click continue.
- Once you are signed in, choose a Site that you want to connect with Apollo via Zapier, then click Select button.
- Click Agree & Add to authorize the connection and finalize your account setup.
- Choose "Forms" as the trigger event, then click Continue.
- For the Action step, search for and select "Apollo io".
- Click Sign In to connect your Apollo account if it is not already linked.
- In the pop-up window, enter the API Key and Name, then click Continue.
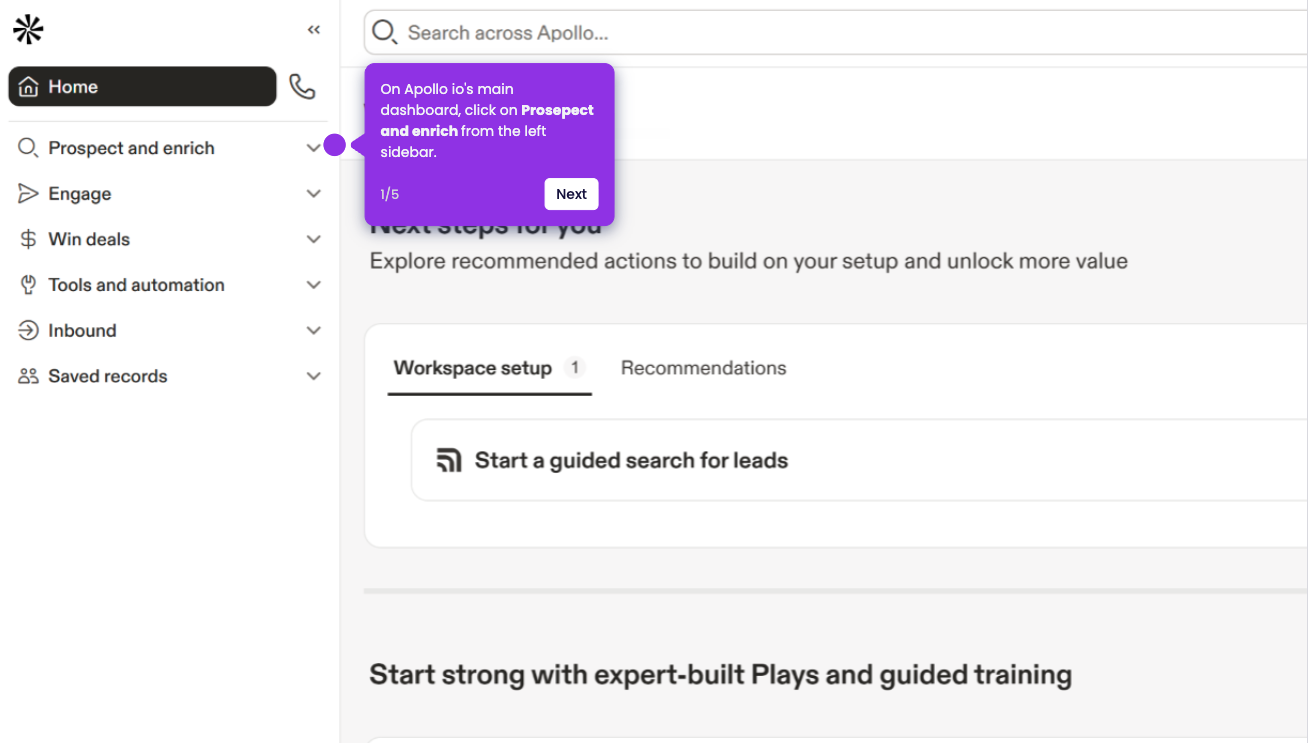
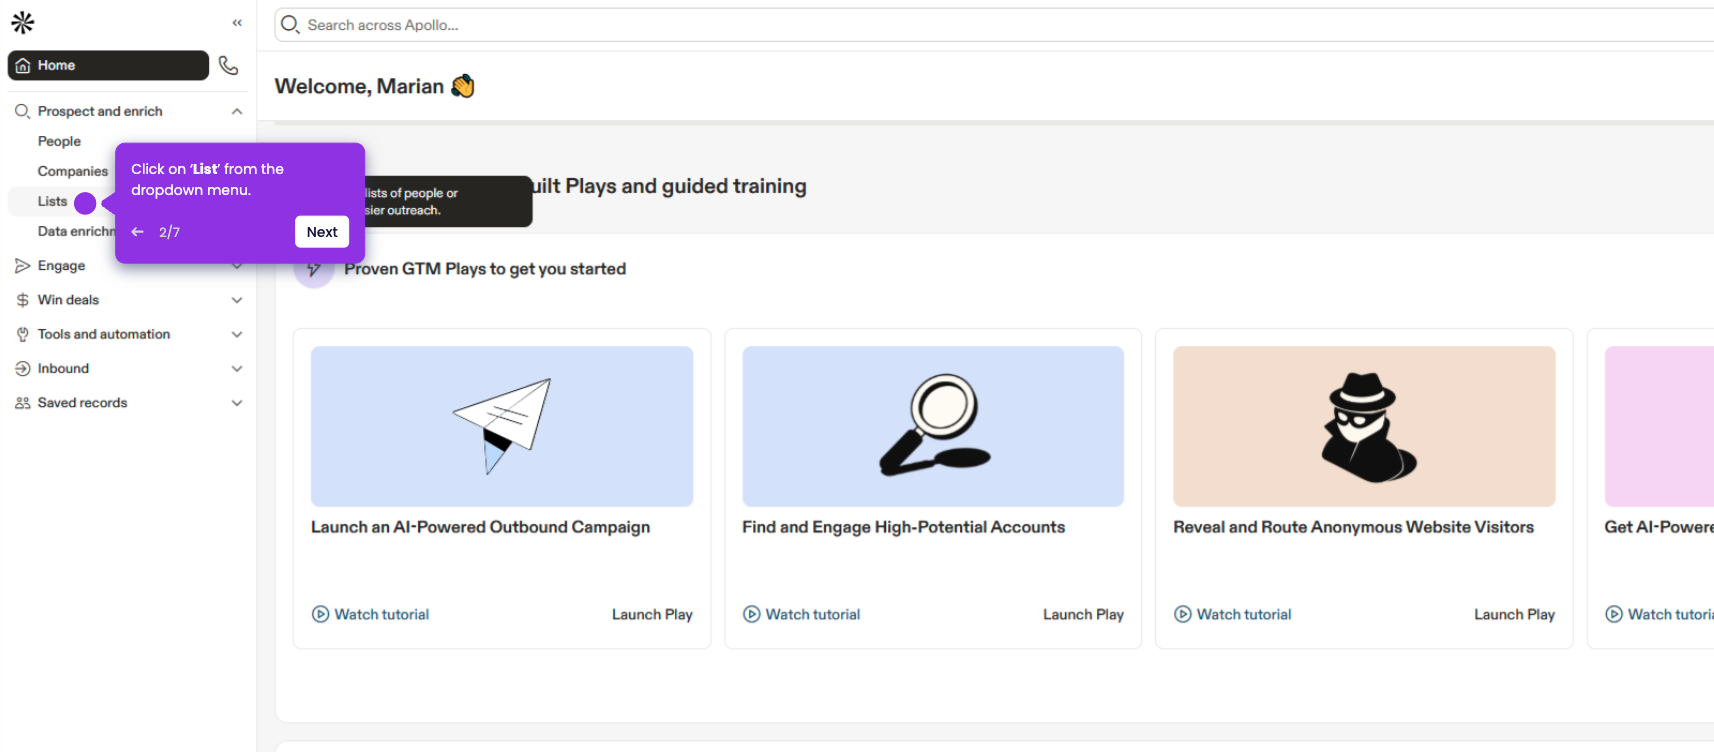
- To get your API Key, go to your Apollo main dashboard, click 'Settings', then select 'Integrations'.
- In the Integrations section, scroll down to locate the API option and click on it.
- Click the '+ Create new key' button in the upper-left corner, personalize your API key, then click the Create API Key button.
- Copy your newly created API Key and paste it into the pop-up window. Click Done.
- Choose “Create Contact” or “Find or Create Contact” (recommended to avoid duplicates), then click Continue.
- Map the Wix form fields to the corresponding Apollo fields, test the action, and click Publish to activate your Zap.