.gif)
.svg)


Quick summary
Editing task labels in Microsoft Planner lets you recategorize and reorganize tasks within any plan by removing outdated labels and applying new ones directly from the task detail view. This process takes under a minute and helps teams maintain clear, accurate task categorization across all their Planner boards.
Steps
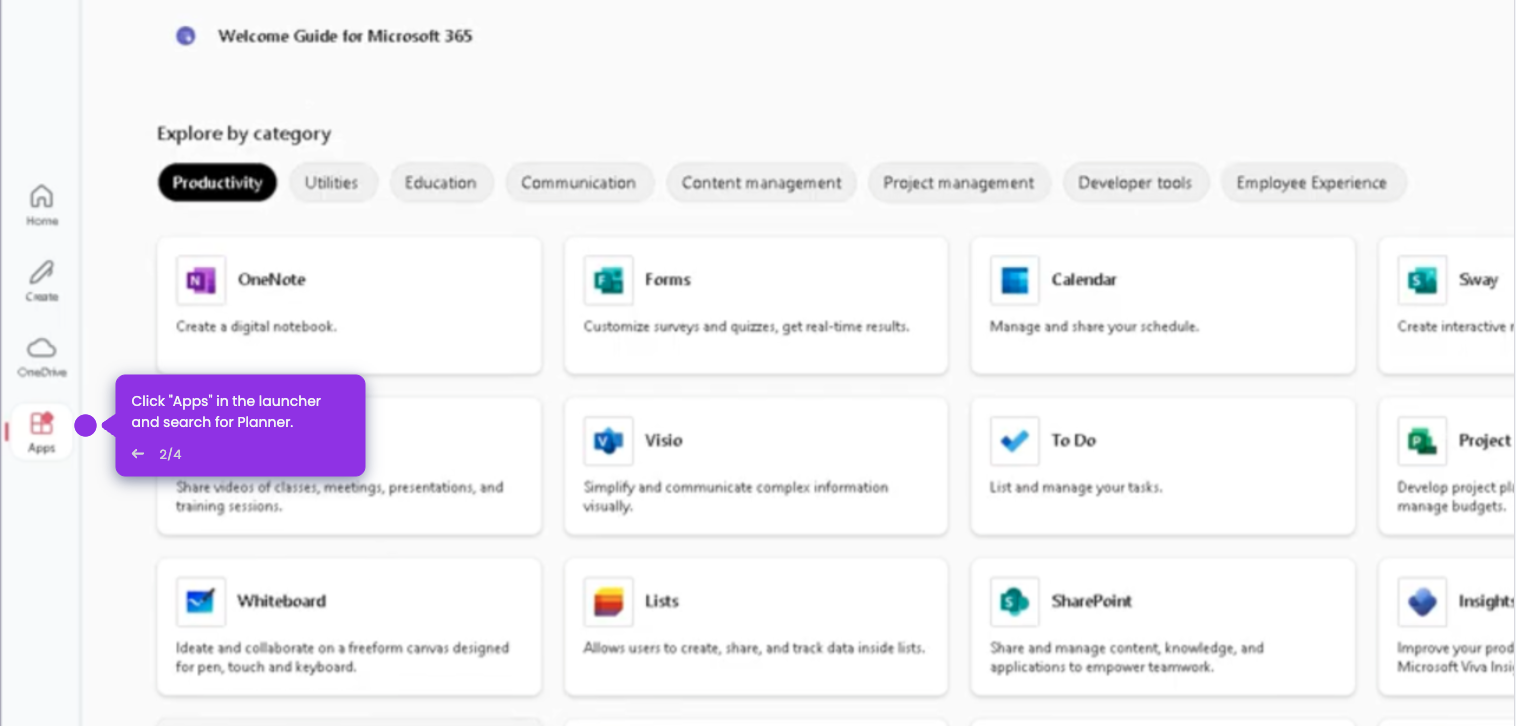
- Go to the left-side panel and click 'My Plans'.
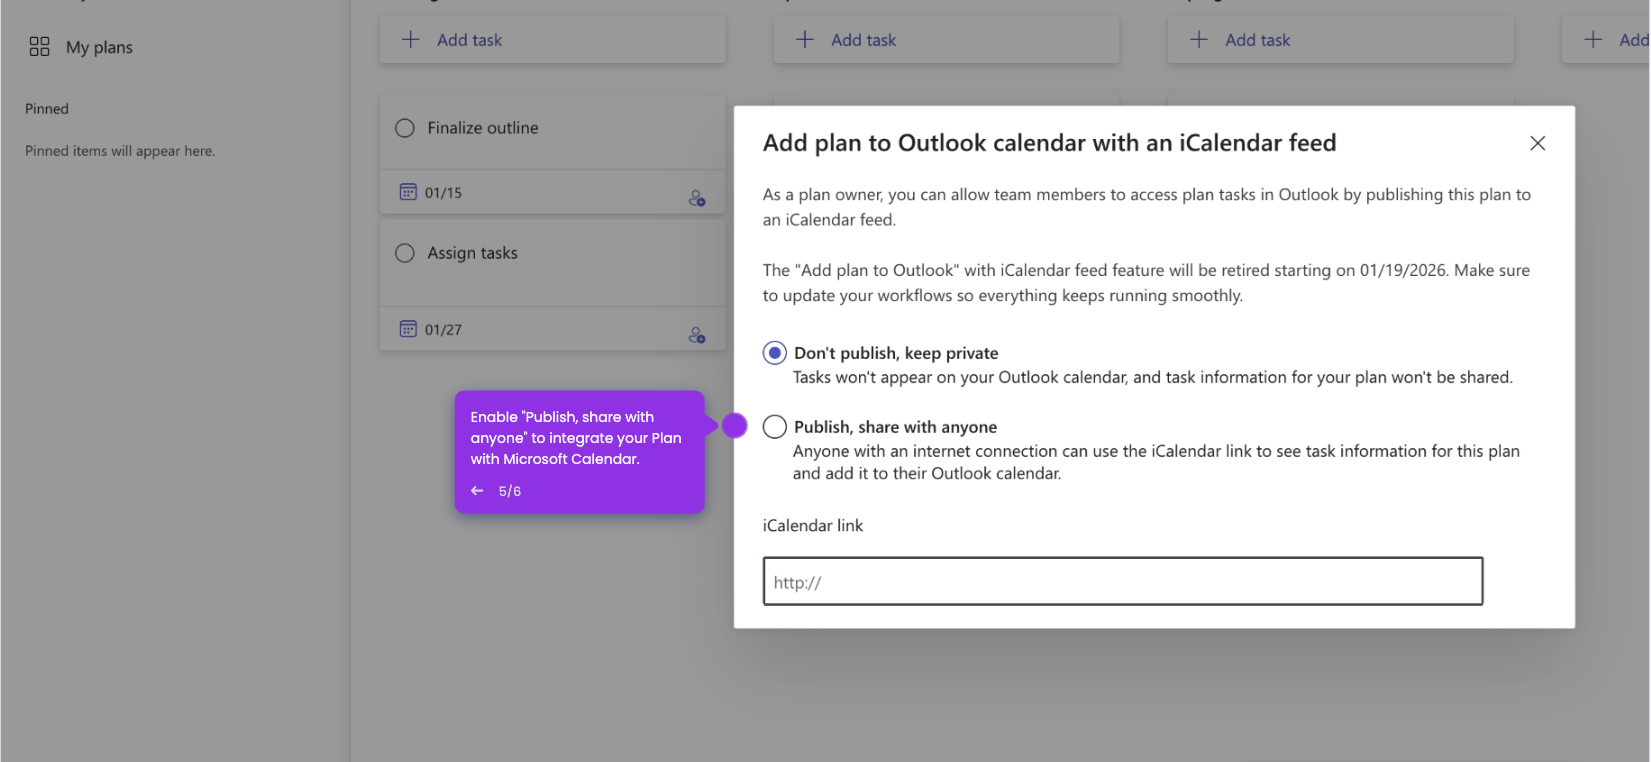
- Select a plan from the list.
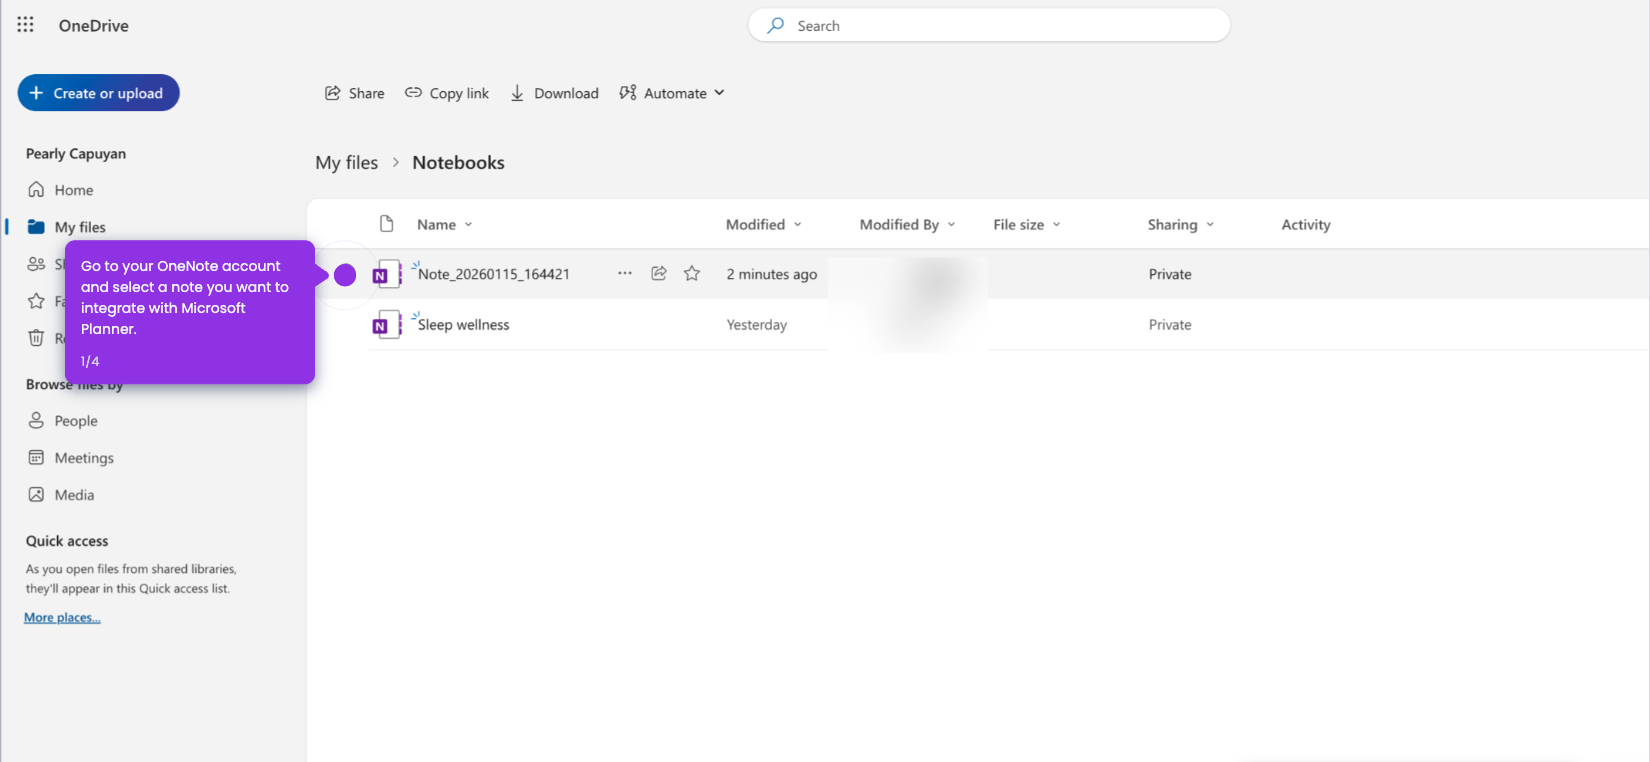
- Find and open the task you want to edit.
- Hover your cursor over the existing label and click the 'Remove' button next to it.
- Choose the new label you want to assign to the task.
- The task label in the selected plan is now updated based on your input.