Quick summary
A team directory in Coda is built by creating a blank doc, adding a structured table with custom columns for names, roles, departments, and profile pictures, then enhancing it with a Timeline view and filters for quick navigation. This step-by-step workflow lets teams centralize member information, assign job responsibilities, and filter records by department, role, or location in one collaborative document.
Steps
- Click '+ Blank doc' to create a new document in your Coda workspace.
- Give your doc a meaningful title — such as 'Team Directory' — so team members can quickly identify its purpose.
- Click the add icon to start inserting content into the document.
- Type /table and select 'Table' to insert a table into the doc.
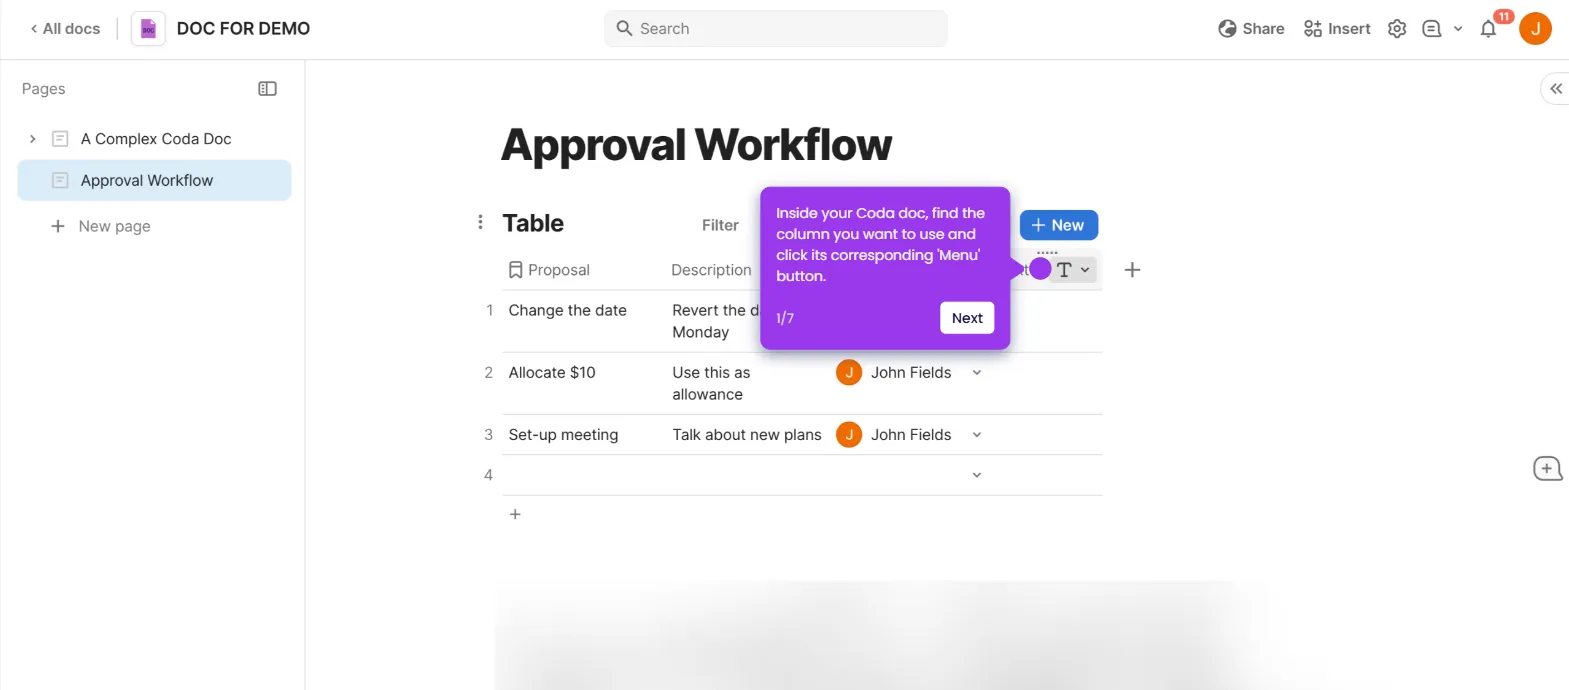
- Add relevant columns to your table to capture the right team member details.
- Use 'Select List' as the column type for roles and departments to ensure data consistency.
- Add a 'Profile Pictures' column by setting the column type to 'Image'.
- Click 'Add' to upload a profile picture for each team member.
- Populate your directory with team member information across all columns.
- Add job responsibilities to each record to provide clarity on each team member's focus areas.
- Add a 'Timeline' view to visualize team members' project schedules and milestones.
- Link your team table to the Timeline for seamless data integration.
- Click 'Options' to access view configuration settings.
- Select 'Filter' to open the filtering panel.
- Click '+ Add filter' to filter the directory view by department, role, or location for quick access.