Creating a Product Roadmap in Coda is a great way to visually organize your product plans, milestones, and timelines. Here’s a step-by-step guide:
- Click '+ Blank Doc' to start your product roadmap from scratch.
- Give your roadmap a clear, descriptive name so your team can easily find it.
- Click the + icon to add your first element to the document.
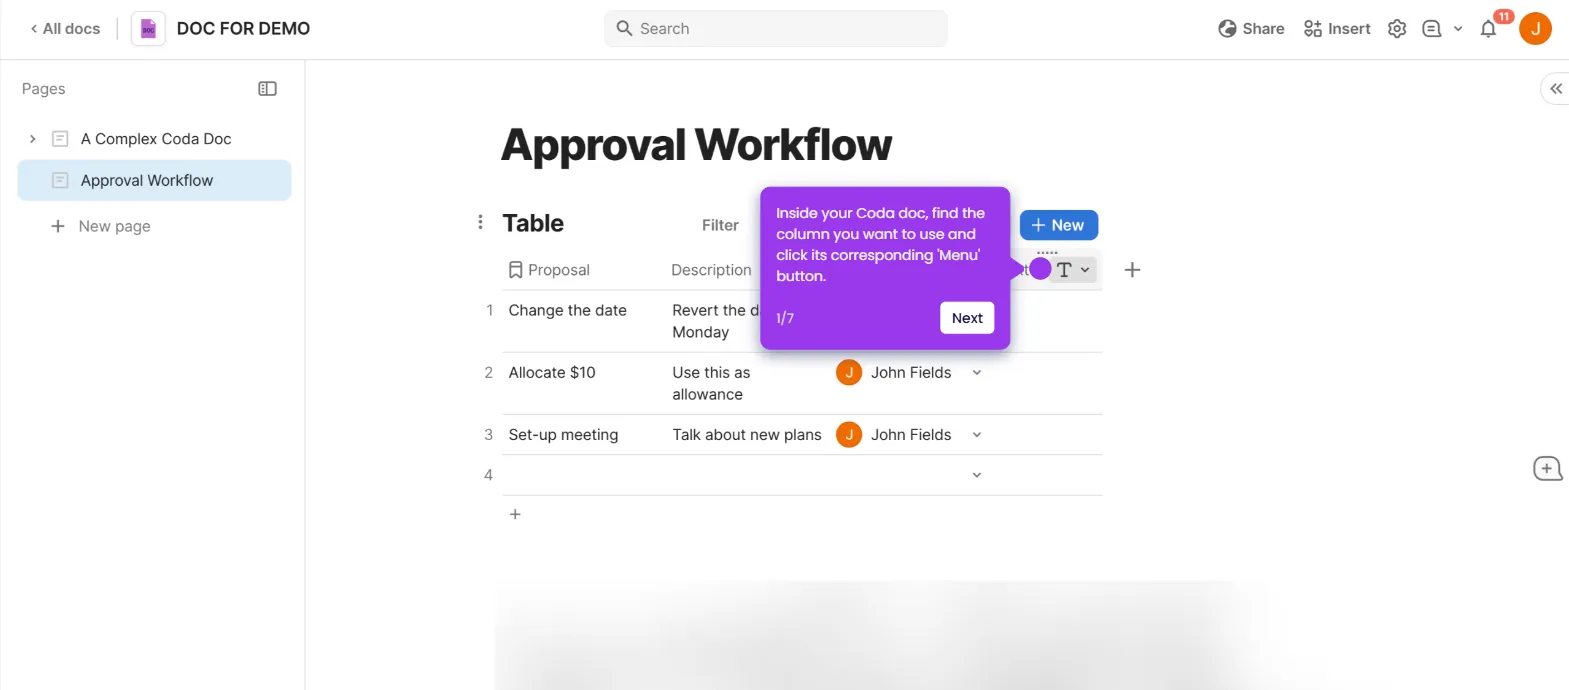
- Type /table and select 'Table' to create the foundation for your product roadmap.
- Create columns for essential roadmap information: feature names, status, priority, release dates, and owners.
- Set up custom fields that reflect your specific product development workflow and priorities.
- Now, type /timeline and select 'Timeline' view to visualize your roadmap chronologically.
- Choose your previously created table as the data source for your timeline view.
- Configure the 'Start Date' and 'End Date' fields to map your feature timeline from planning to launch.
- Assign owners to each feature or milestone to establish clear responsibility and enable collaboration on updates.
- Type /calendar and select 'Calendar' view to get a month-by-month perspective of your roadmap.
- Link your existing roadmap table to this calendar view.
- Define the 'Start date' and 'End date' fields to see your features and releases plotted directly on the calendar.
- Your product roadmap is ready to shine. You now have table, timeline, and calendar views that keep everyone aligned on what's being built and when.

.svg)
.svg)


