Quick summary
Connecting Coda to Zapier lets you automate workflows by using Coda docs and tables as triggers or actions inside any Zap. Once your Coda account is linked via API token, you can instantly sync data between Coda and hundreds of other apps without writing any code.
Steps
- Log in to Zapier, click "Create", and select "Zaps" to begin building a new automation.
- Click "Trigger" or "Action" depending on the role you want Coda to play in your workflow.
- Search for Coda in the app search field and select it from the results.
- Choose a trigger event such as "New File in Folder" or "Updated File" to define what starts your Zap.
- Click "Connect" to begin linking your Coda account to Zapier.
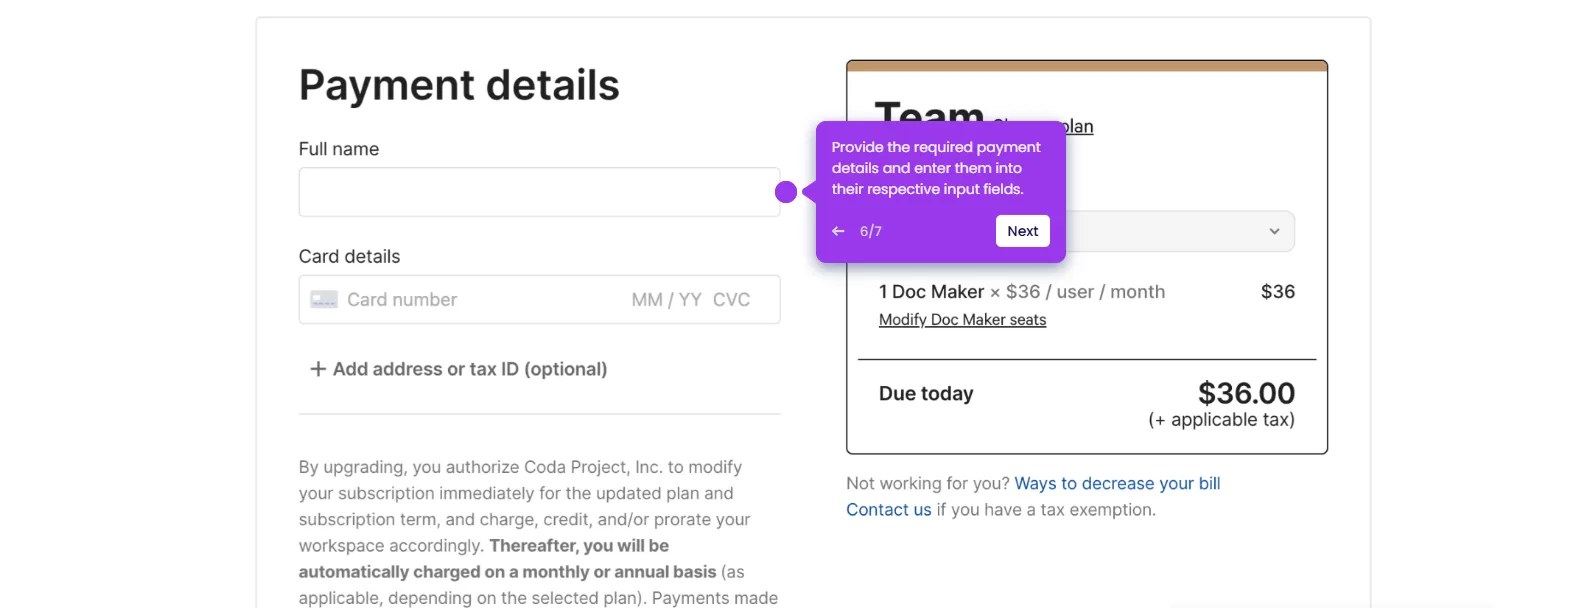
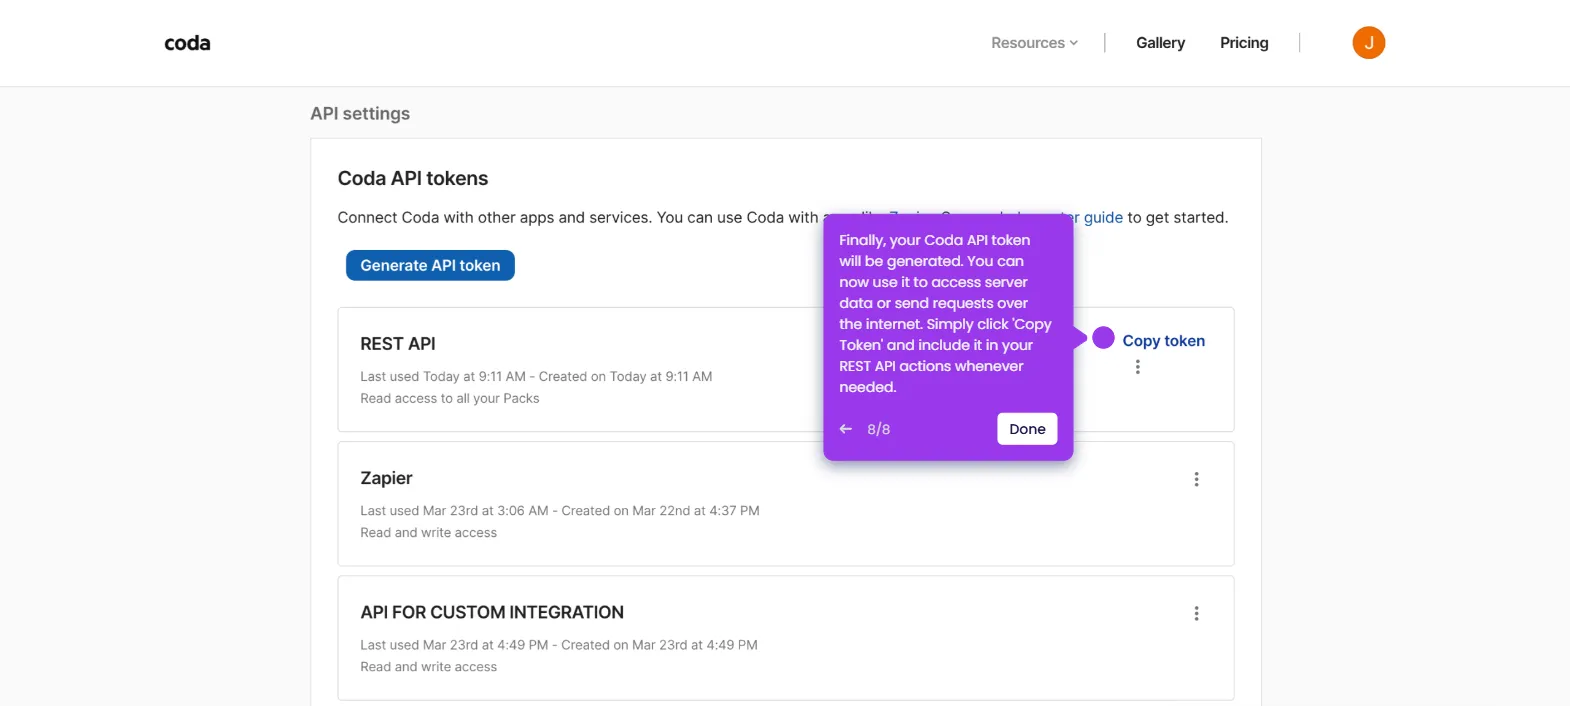
- Go to Coda, click your profile icon, and select "Account Settings" to locate your credentials.
- Copy your API Token from the Coda Account Settings page.
- Paste the API Token into Zapier when prompted, then click "Yes, Continue to Coda" to complete authentication.
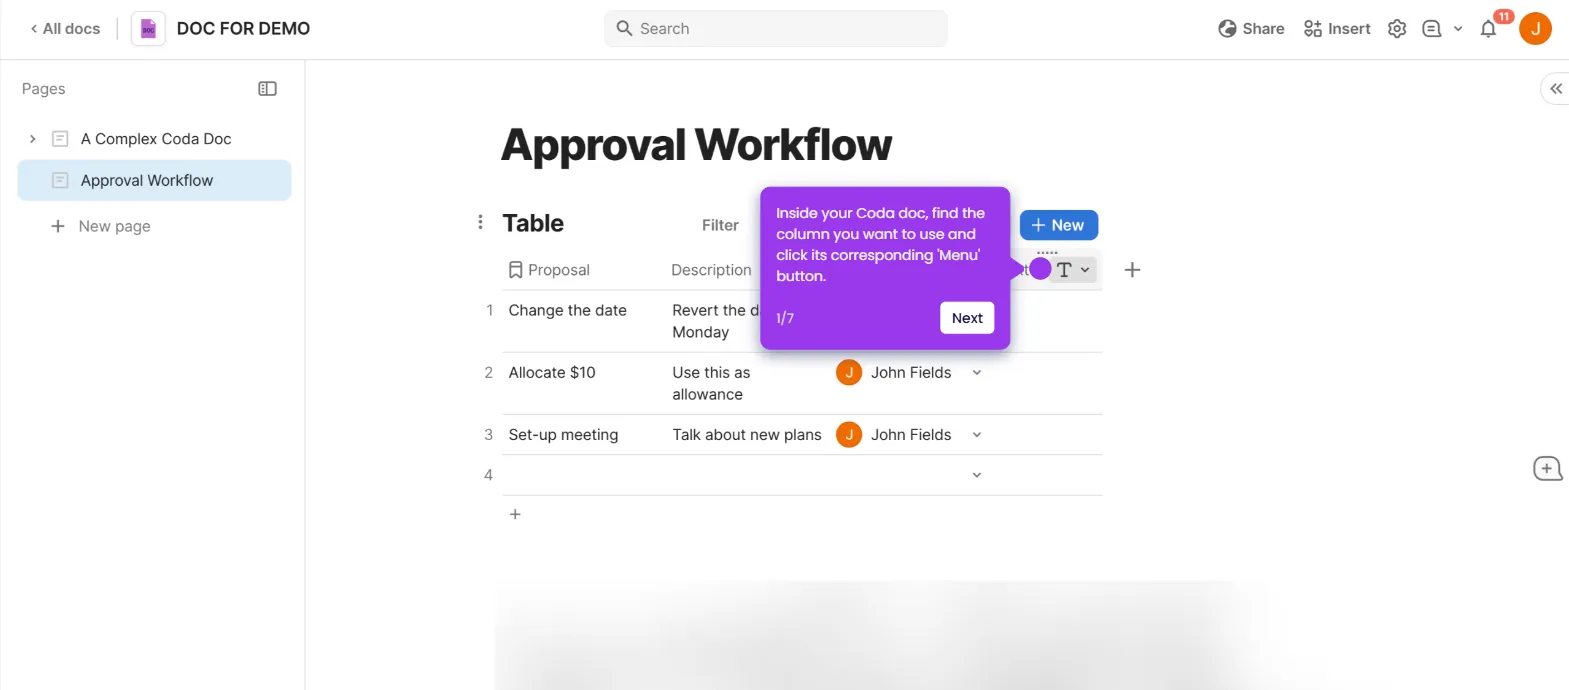
- Once connected, select the doc and table you want to use in your Zap to finish the setup.