It is very easy to build social media calendars in Coda with Buffer. Here’s a quick guide on how to do it:
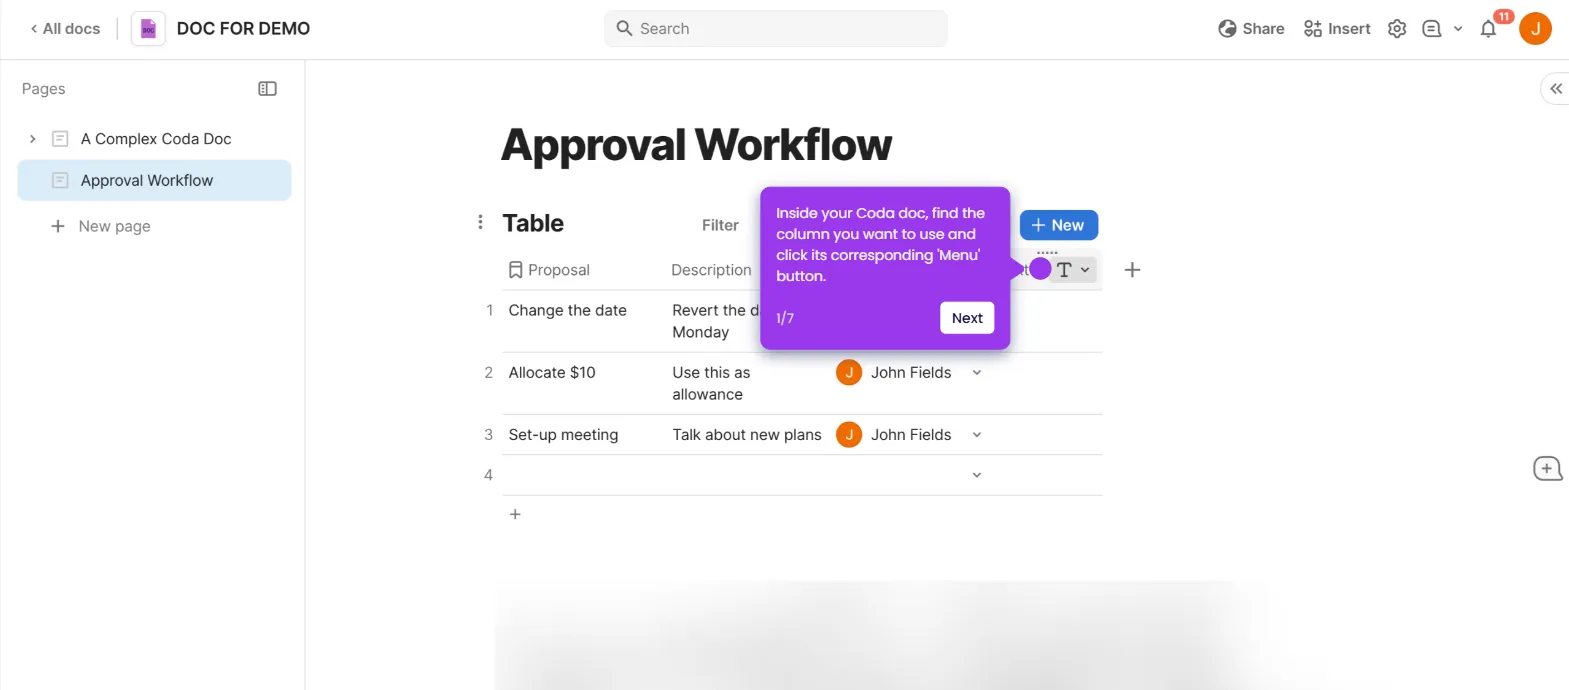
- Inside your Coda doc, click the 'Insert' icon to get started.
- Select 'Grid' from the list of options.
- After that, tap 'Add Column' to insert as many columns as you need.
- Likewise, click 'Add Row' to insert as many rows as you need.
- As for the columns, it's recommended to label each cell with the corresponding posting day. To do that, simply click the cell and start typing.
- On the one hand, the rows are intended for content labels. Do the same thing by adding the necessary labels to their respective cells.
- After that, highlight the column labels and then click the 'Text Formatting' or 'Cell Color' option to customize their style based on your preference.
- Repeat the same series of steps if you want to apply the same customization to the row labels and other parts of your social media calendar.
- Following that, it's time to add content to your social media calendar. Simply click the cell and enter the corresponding text.
- Review the design and the content of your social media calendar. Check every detail and make certain changes if necessary.
- Finally, go to your Buffer's Publish dashboard and click 'New' to schedule the posts accordingly. Use your social media calendar in Coda to manually encode the content into Buffer's Create Post panel.

.svg)
.svg)


