.gif)
.svg)


Quick summary
This tutorial shows how to connect Microsoft Planner to Power BI by building an automated cloud flow in Power Automate that exports task data as a JSON file to SharePoint, ready for import into your Power BI workspace.
Steps
- Head over to the left-side panel and click 'Create'.
- Select your preferred type of automation flow, such as an Automated cloud flow.
- Enter a unique flow name into the provided input field.
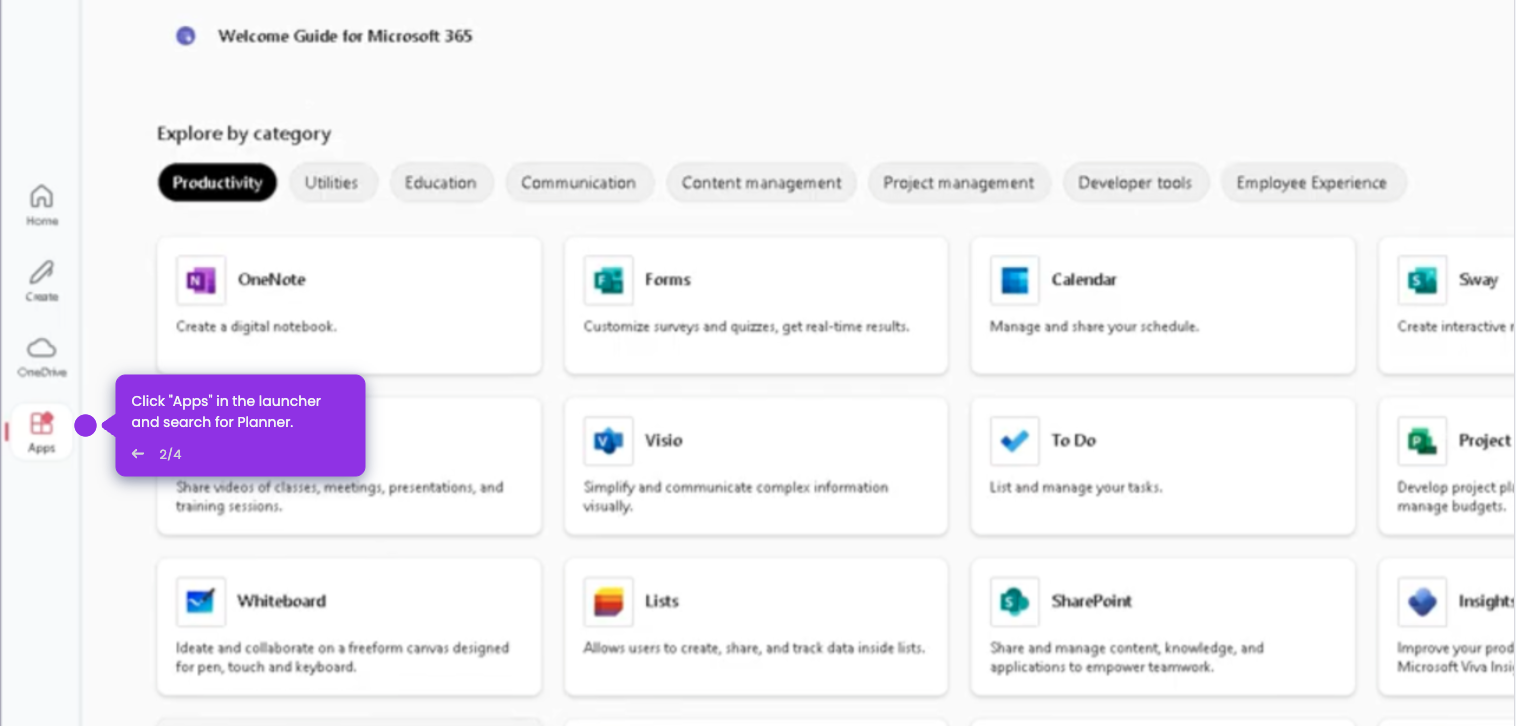
- Search for 'Planner' and select the trigger you want to use by ticking the check mark beside it.
- Click 'Create' to proceed and build the flow.
- Tap the Planner trigger tab to configure its parameters.
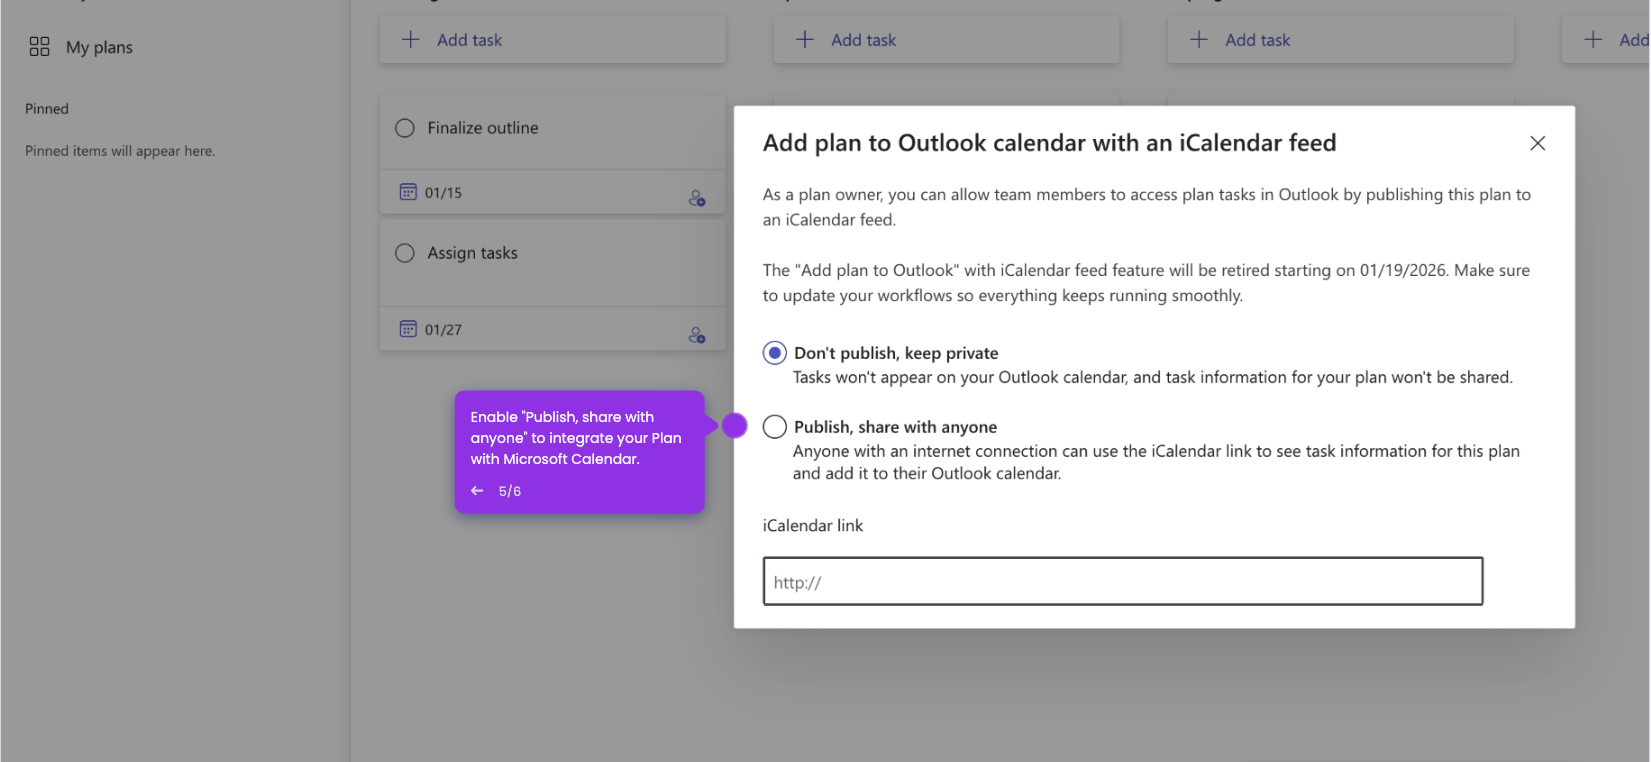
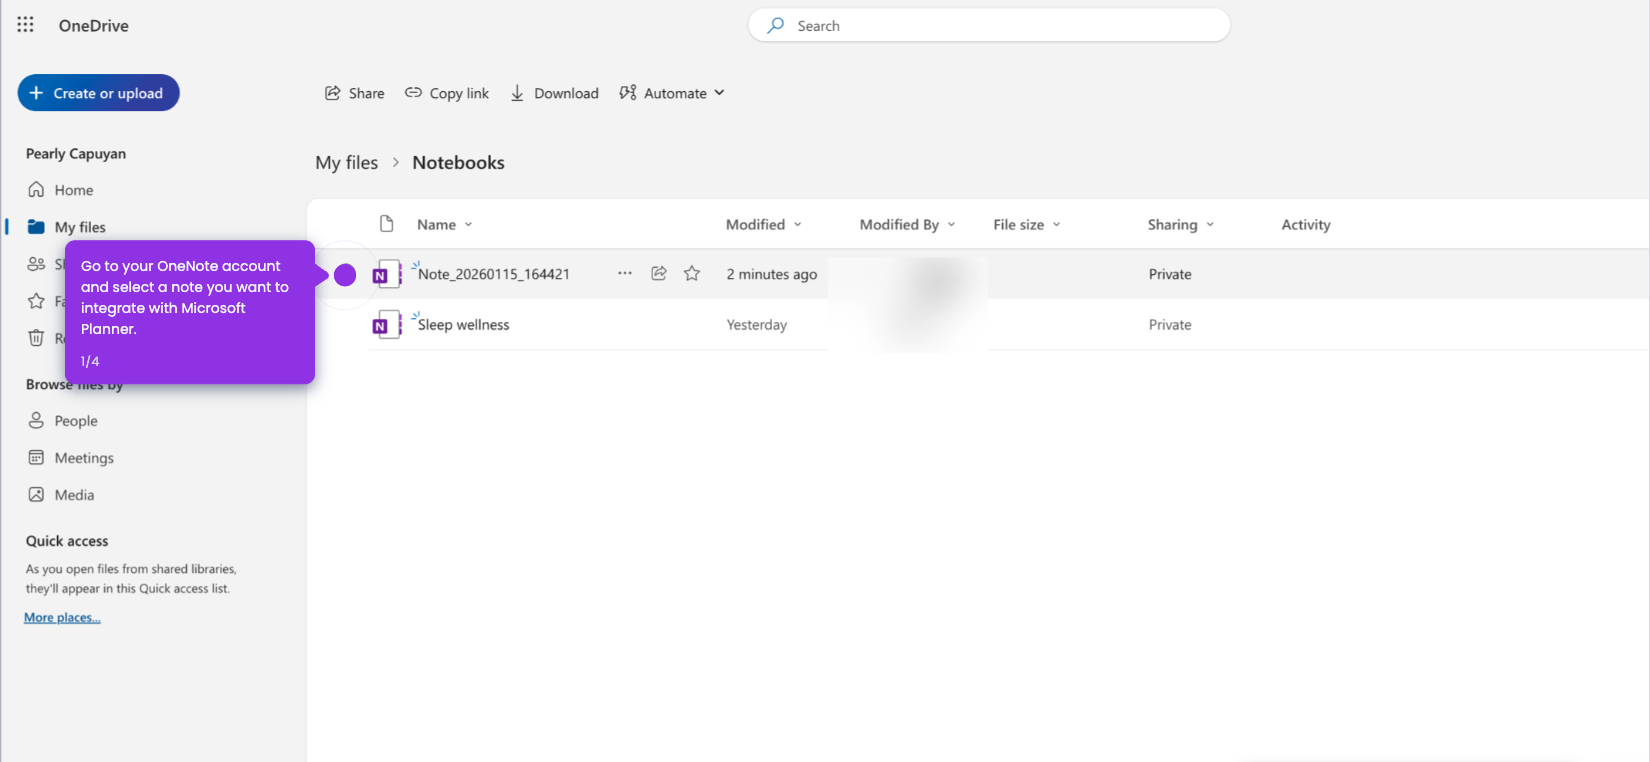
- Specify your Microsoft Planner group and plan by selecting from the respective drop-down menus.
- Click the 'Add' icon to set up the corresponding action for the flow.
- Search for 'Create File' and select the SharePoint option from the recommended matches.
- Fill in the required details: Site Address, Folder Path, File Name, and File Content. Use the JSON extension for the file name to simplify data copying.
- Tap 'Save' to save the flow.
- Test and enable the automation, then download the JSON file from SharePoint and import it into Power BI along with its file path.