.gif)
.svg)


Quick summary
In Microsoft Planner, you can add more labels to a task by opening the Label field inside a task and using the Edit Label Name button to create a custom, named label. Once saved, the new label becomes available to tag tasks within that plan for better organization.
Steps
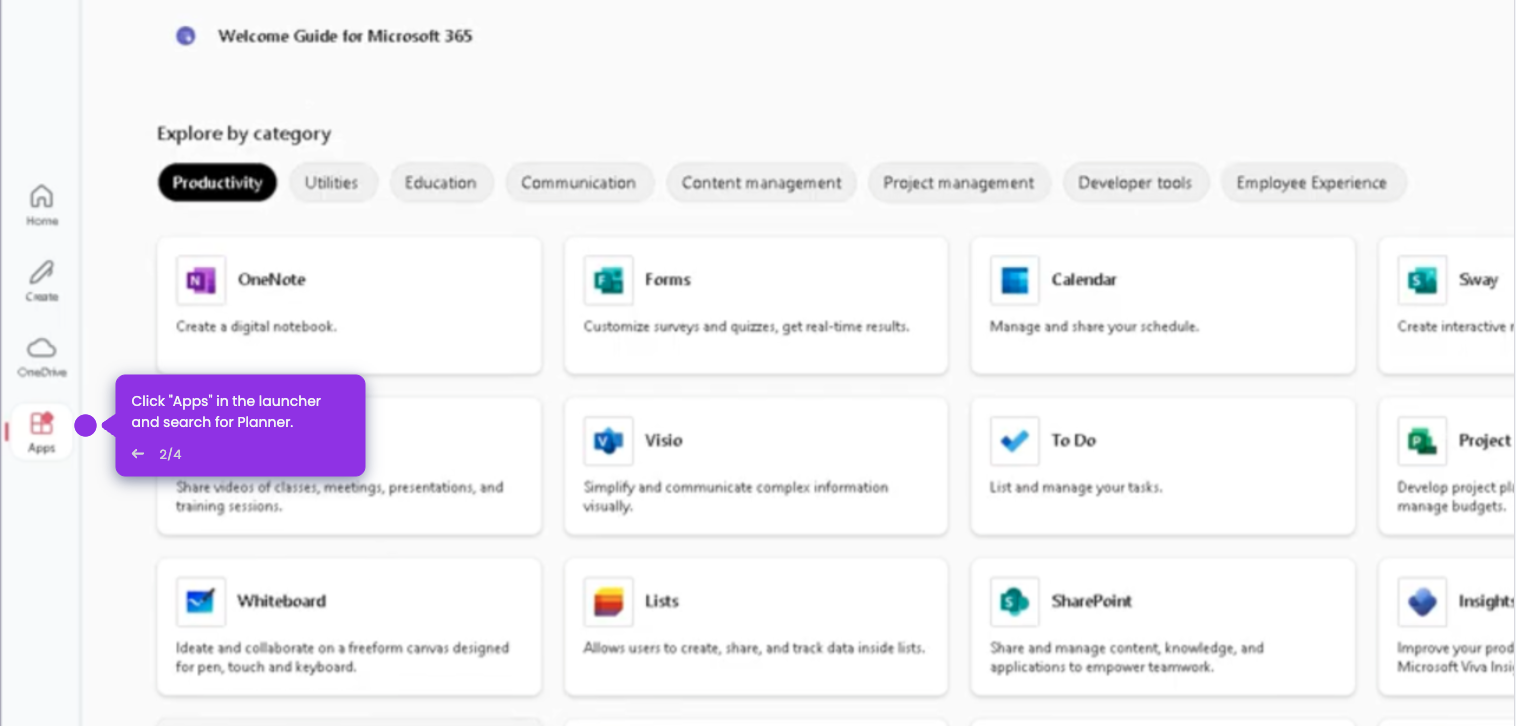
- Go to the left-side panel, then click My Plans.
- Choose a plan from the list of available options.
- Select a task from the plan to proceed.
- Tap the Label field inside the task to view the available label options.
- Find an unedited label and click its corresponding Edit Label Name button.
- Enter a unique label name into the input field, then press Enter or Command to save the changes.
- The new label is now added to the list and can be used to tag tasks within the selected plan.