A beach day, bucket and shovel, and lots of curiosity can provide a safe playground for kids to explore their curiosity.
In a similar fashion, a controlled demo sandbox environment can provide a safe way for your prospects to explore your product, with no strings attached!
Which leads us to the question:
What is a Demo Sandbox Environment?
A demo sandbox environment is a controlled product environment that sales teams can use to showcase a software product in action. A demo sandbox environment helps prospects explore the product, without affecting the live, functioning parts of it. It also provides a strong business case for adoption.
This is especially true in case of SaaS companies, where a demo sandbox is a powerful sales tool. Such an environment helps buyers explore the tool in a controlled manner and get a first-hand experience of the various product features.
An open sandbox can help you push the deal forward once the prospect has experienced a product demo and are convinced of the product’s capabilities. It also gives the sales team the rare opportunity to show the product in a real scenario and close the deal.
Benefits of a Demo Sandbox Environment
Beyond giving a controlled first-hand look and feel of your product, a demo sandbox environment has multiple other benefits. Some of them are:
Customizable Product Demos
A customized SaaS sales demo environment lets you create personalized demo experiences for different prospects, highlighting a particular use case that’s relevant to them. So instead of stuffing your product demo with all your product features, you can highlight only a few that are useful for the prospect. You can also personalize the demo with the prospect’s name, company, and other delightful elements.
Educate Prospects
Creating a demo environment for your prospects provides a safe playground for them to explore the product and familiarize themselves, without worrying about breaking anything or getting lost. Such a safe environment will allow them to experiment with different functions on their own and move further into the sales cycle if they are satisfied with the outcome of your product.
Buyer Enablement
Because you’re able to provide a look and feel of your actual product and show its value to the prospect, it helps them become a champion for the product and easily get internal buy-in from the decision makers at their organisation.

Sales team efficiency
Sales teams need demo tools that don't slow them down. The best sandbox demo tools for sales let reps personalize demos in minutes. Reps can also track engagement from these demos to prioritize hot leads. Storylane's browser extension and native apps (Gmail, Salesforce, HubSpot) enable reps to create and share custom demos directly from their workflow. Unlike traditional sandboxes that require engineering tickets for each change, Storylane puts demo control in the hands of sellers—so they can respond to prospect requests in hours, not weeks.
Engagement Data to Create Better Demos
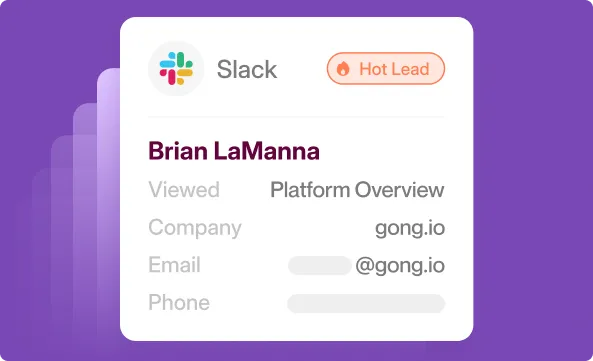
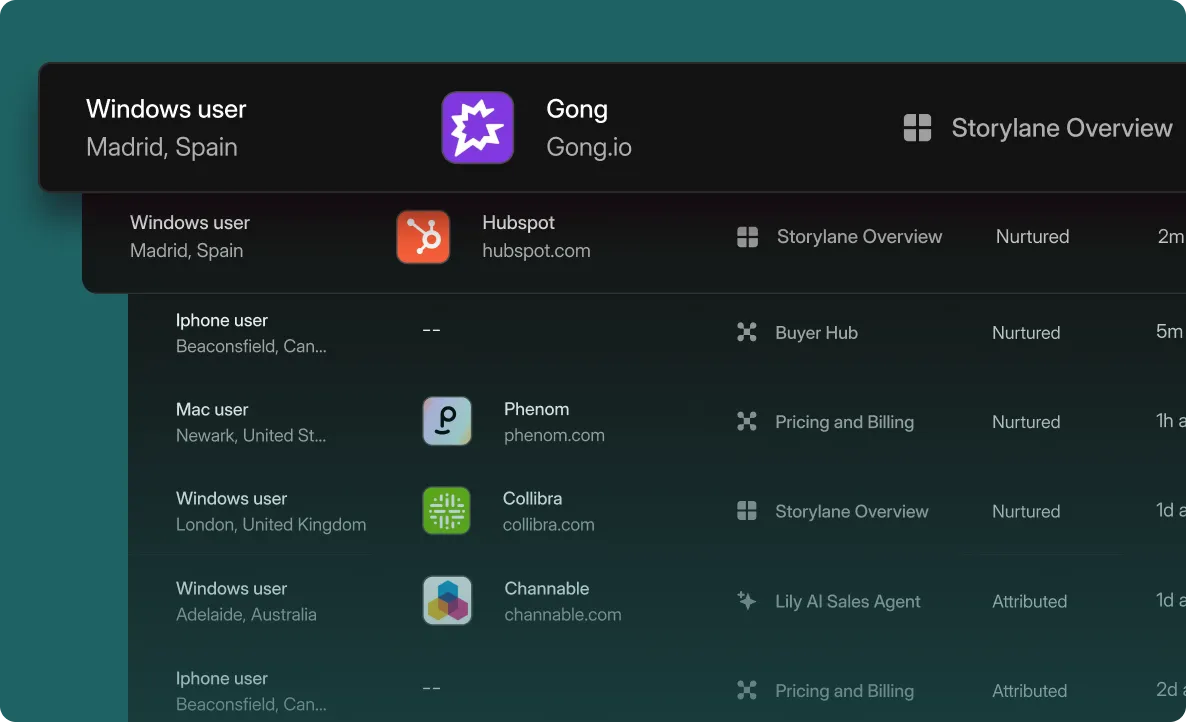
With advanced analytics features with a demo creation platform like Storylane, you can now easily measure which demos were viewed the maximum, which are the top features, the completion rate for the demo, conversion rates, etc.
Onboard New Customers
A sandbox environment is not just meant to show product demos to a prospect. Once you have a current customer, use a sandbox environment to onboard them and train them on product usage. Sandbox environments can help you create interactive product demos and tutorials. Remember, a smooth product onboarding experience will help you reduce churn and save you from embarrassing moments of running into bugs or unexpected errors.
Limitations of a Traditional Sandbox Environment
While a traditional sandbox environment has many benefits, one of its biggest limitations is it takes a lot of time to create a sandbox environment manually. Here’s an example:
Groundswell’s sales team used to manually create a sandbox environment that would typically take them six weeks. But this became a challenge for their small sales team when they wanted to scale up.
Moreover, the manual sandbox environment came with other limitations such as:
- Inability to customize the production environment for different user personas without having to build up demos from scratch
- Inability to callout specific features or data in the product
- Inability to tell a compelling story of what their product can do and give their prospects an actual product experience
That’s when the team decided to look up an interactive product demo tool and they found Storylane to be the perfect fit for their requirement.

How an Interactive Demo Environment Solves the Problem
While testing the capabilities of Storylane, the Groundswell team created different demos for their various buyer personas, without any coding or involving their sales engineering teams or developing teams.
They could also easily customize the demo environment and update it with new features as and when they launched them in real time, without creating demos from scratch.
And you can do the same for your product too!
Also Read: How Groundswell Tailored Demos To Different Personas Using Storylane
How do you Create an Interactive Demo Environment?
Building a demo environment demands time and effort, along with having engineering resources involved in its creation and maintenance process, making this a tough ask as the IT talent acquisition has its own set of challenges. This makes it all the more important to have a no-code demo editor in your toolkit to set up an interactive sandbox environment for your demos in minutes.
An interactive demo environment allows your sales team to create a specific scenario and show your product in action in solving your prospect's problems.

Below are the four steps to create an interactive demo environment on Storylane:
Step 1: Capture Essential Parts of Your Product
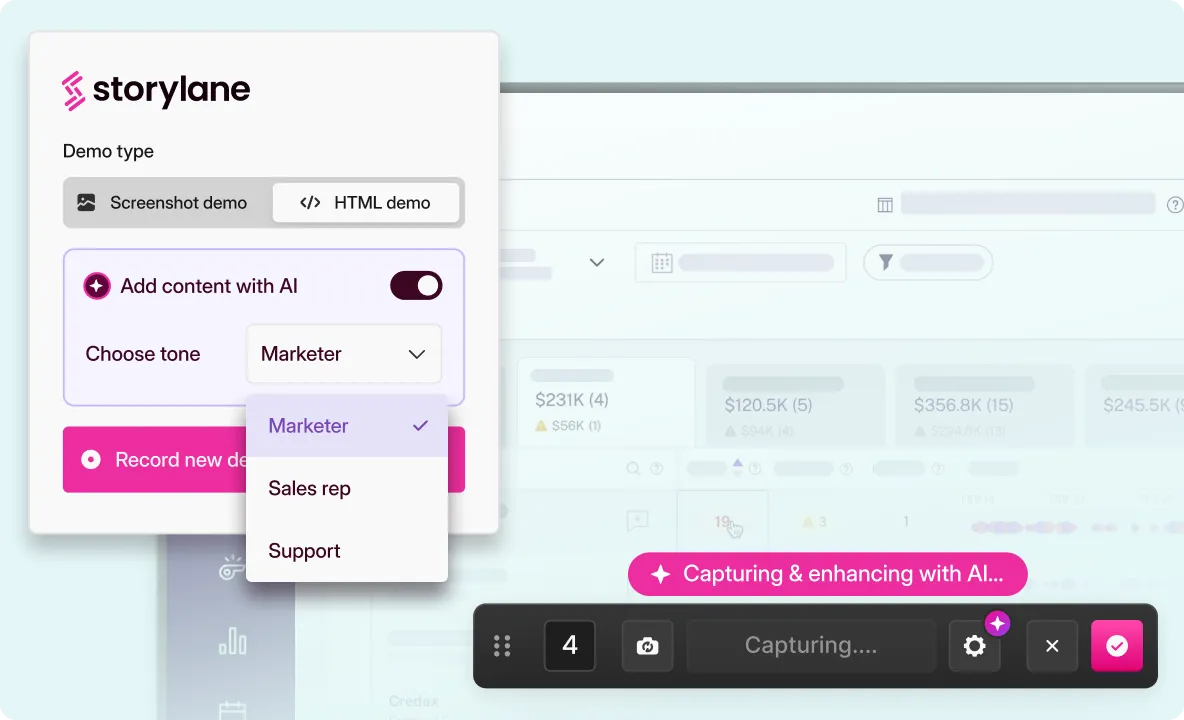
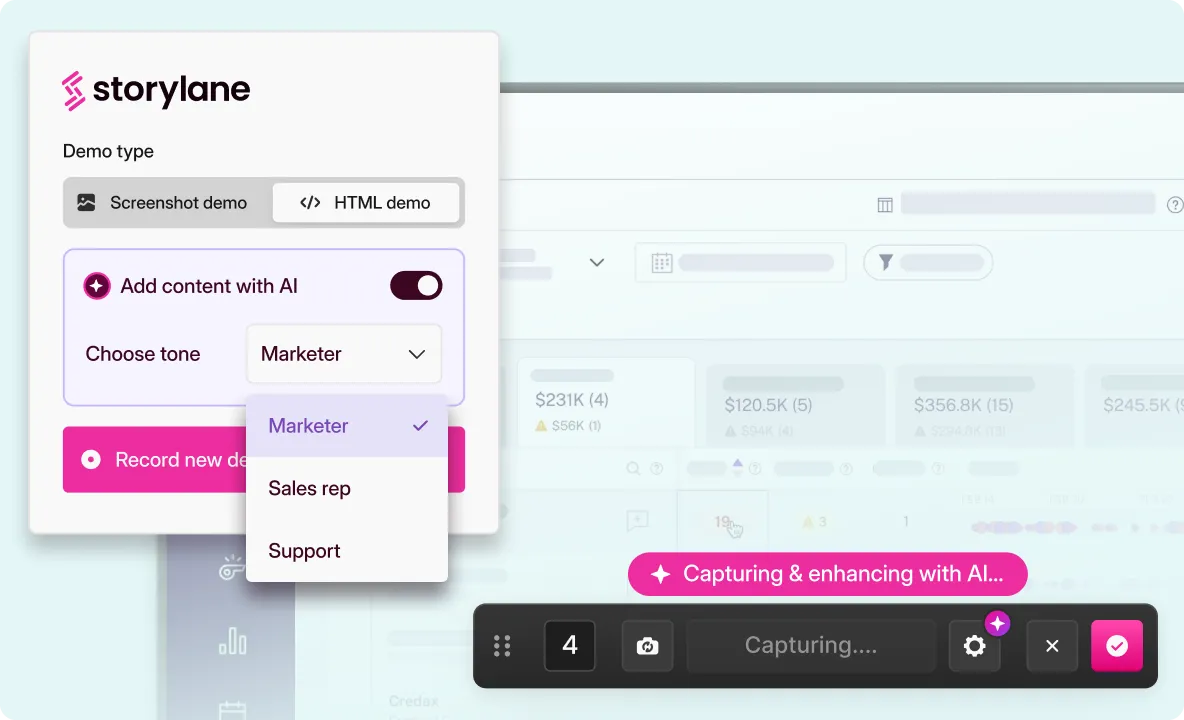
Storylane’s Chrome extension lets you easily capture all your product pages and stitches them together to build an interactive guided demo. You can also upload screens manually for mobile or desktop applications.
Learn more about building an interactive demo on Storylane

Step 2: Customize Demos with a No-Code Editor
The next step is to customize the product screens as per your requirements. Worrying about coding skills? Not anymore!
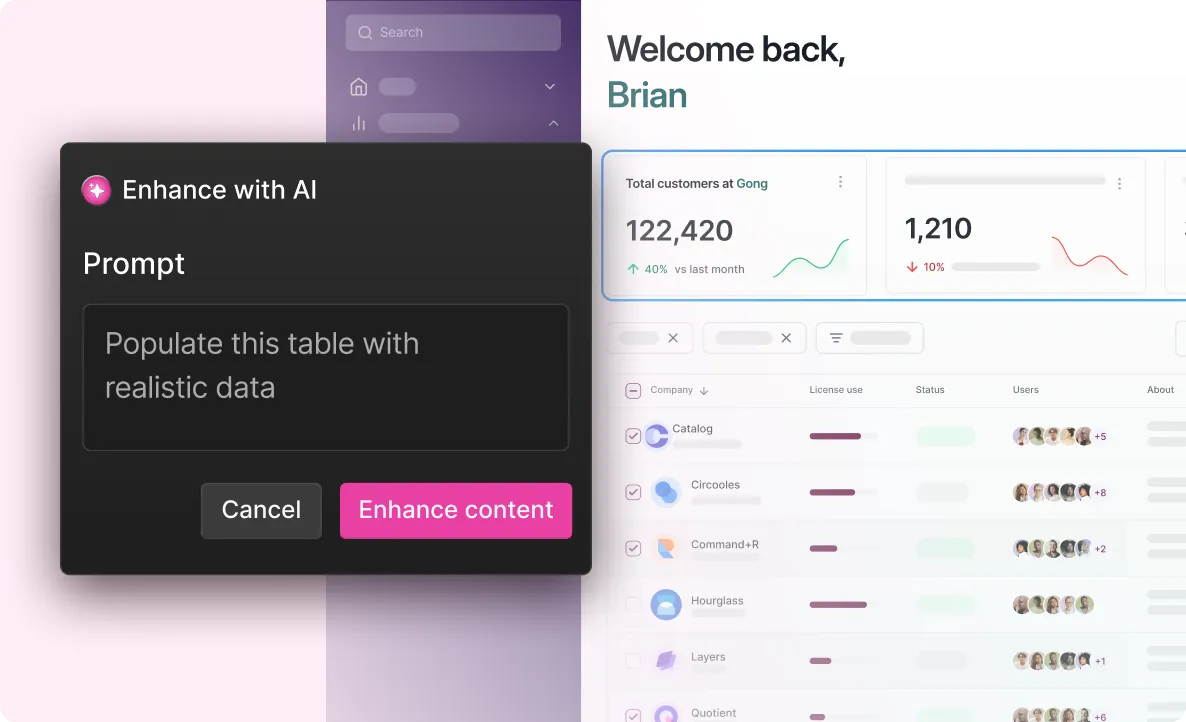
With zero coding involved, you can alter any element on the product screens, swap images, rearrange screens, blur sensitive elements, add auto-personalization features, and more.
If you have multiple buyer personas, you can personalize the demo for each of them using Storylane’s product tours option, where each buyer can choose their own adventure. Other personalization tokens include text, date/ time, and images.
To make your demos memorable and truly interactive, you can also add widgets from the multiple options available.

Step 3: Publish and Share Demos
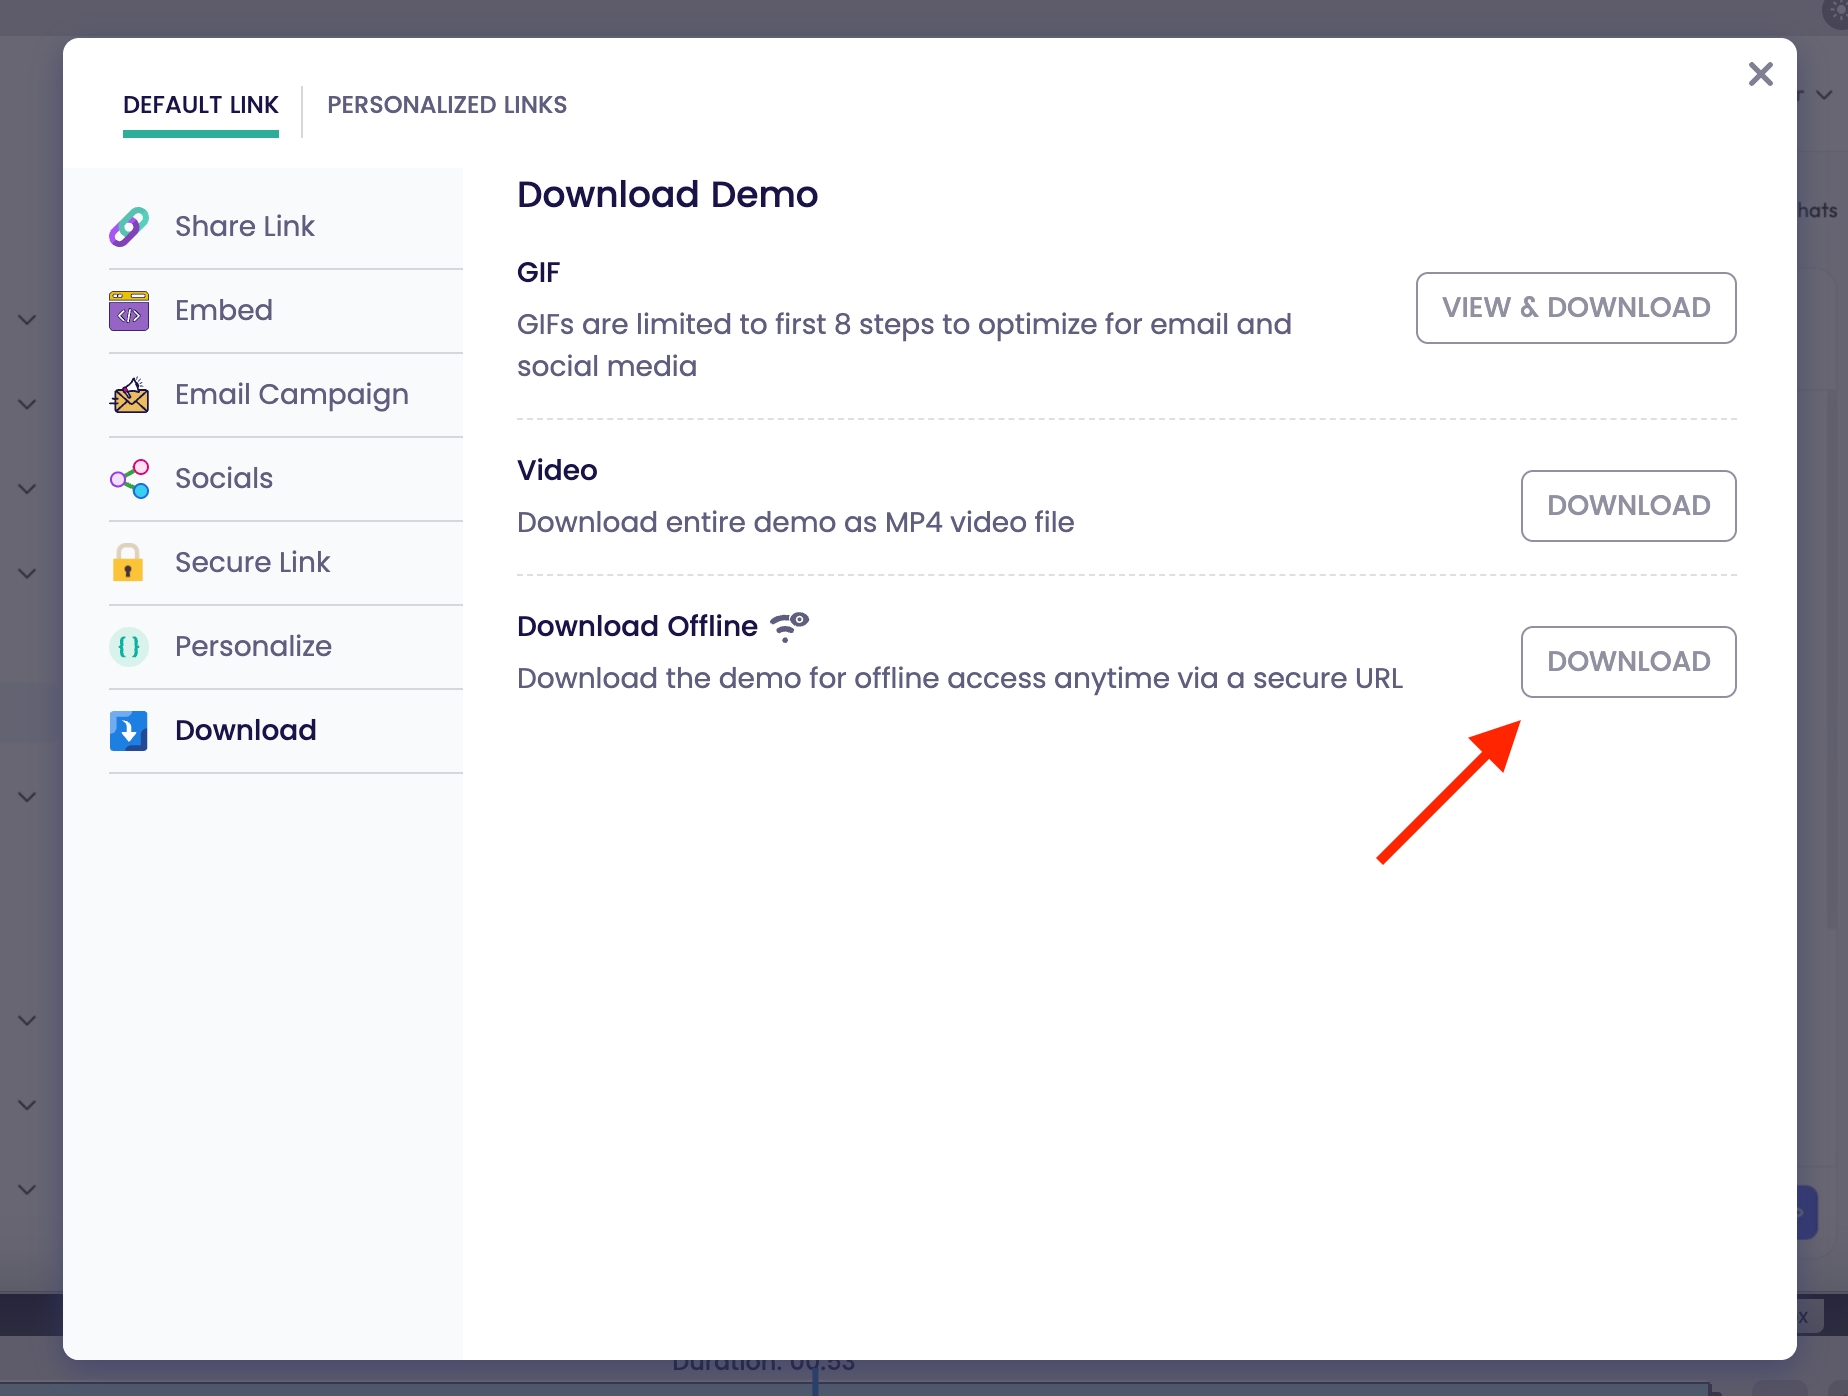
Once you create your demo, you can securely share it across your email campaigns, social media channels, or embed it on your website.
In all these cases, you can give a chance to your prospect to experience your product and how it can fit into their existing workflow.

Step 4: Analyze, Optimize, and Improve the Product Demo
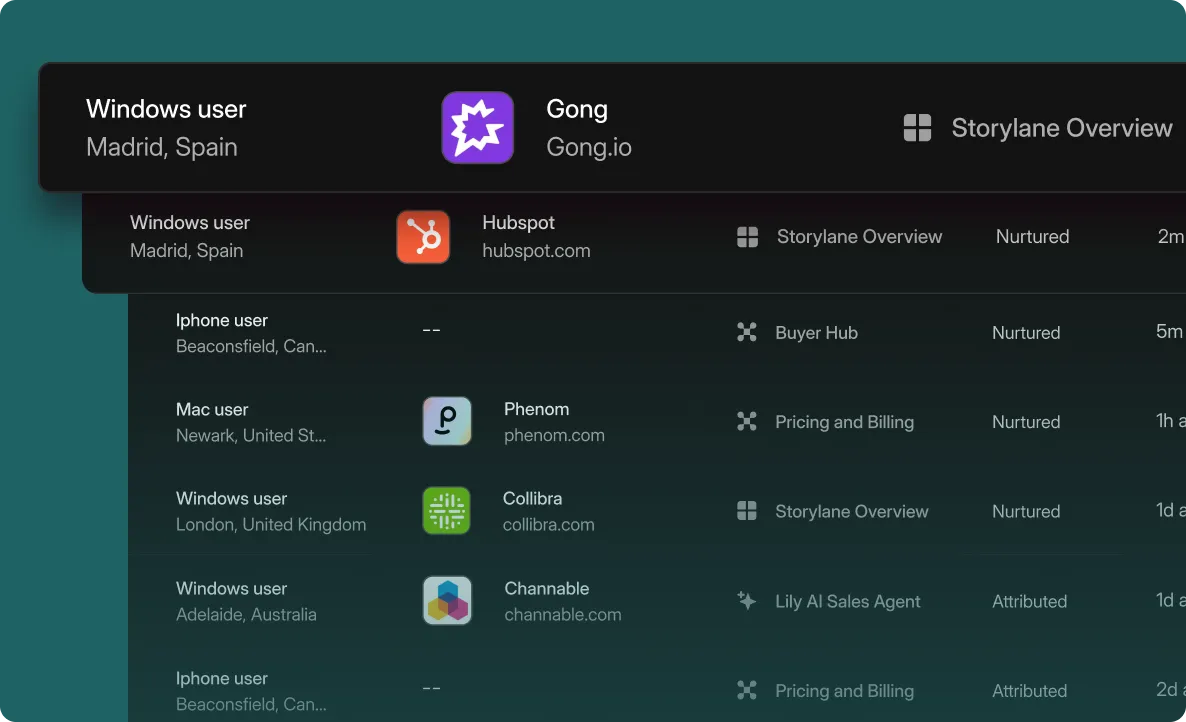
Publishing an interactive demo experience is just one aspect of it. By utilizing demo analytics, you can uncover the entire picture of how your prospects react to your demo, while also using the engagement data as a critical metric to score and qualify leads.

How to create live demos without affecting your production environment
The most reliable way to demo your product is to avoid your production environment entirely. Interactive demo platforms capture your product's interface as HTML or screenshots—completely separate from your live systems. This means:
- No production risk: Your demos run independently of databases, APIs, and backend services. Even if your production environment goes down, your demos keep working.
- No data exposure: Demo environments use sample data that you control. No customer information, no sensitive metrics, no compliance concerns.
- No technical dependencies: Updates to your production code don't break your demos. You maintain separate demo environments that only change when you want them to.
- Build flows with greater flexibility: The HTML screen capture allows you greater flexibility by letting you stitch together screens in custom order and create flows for different buyer scenarios.
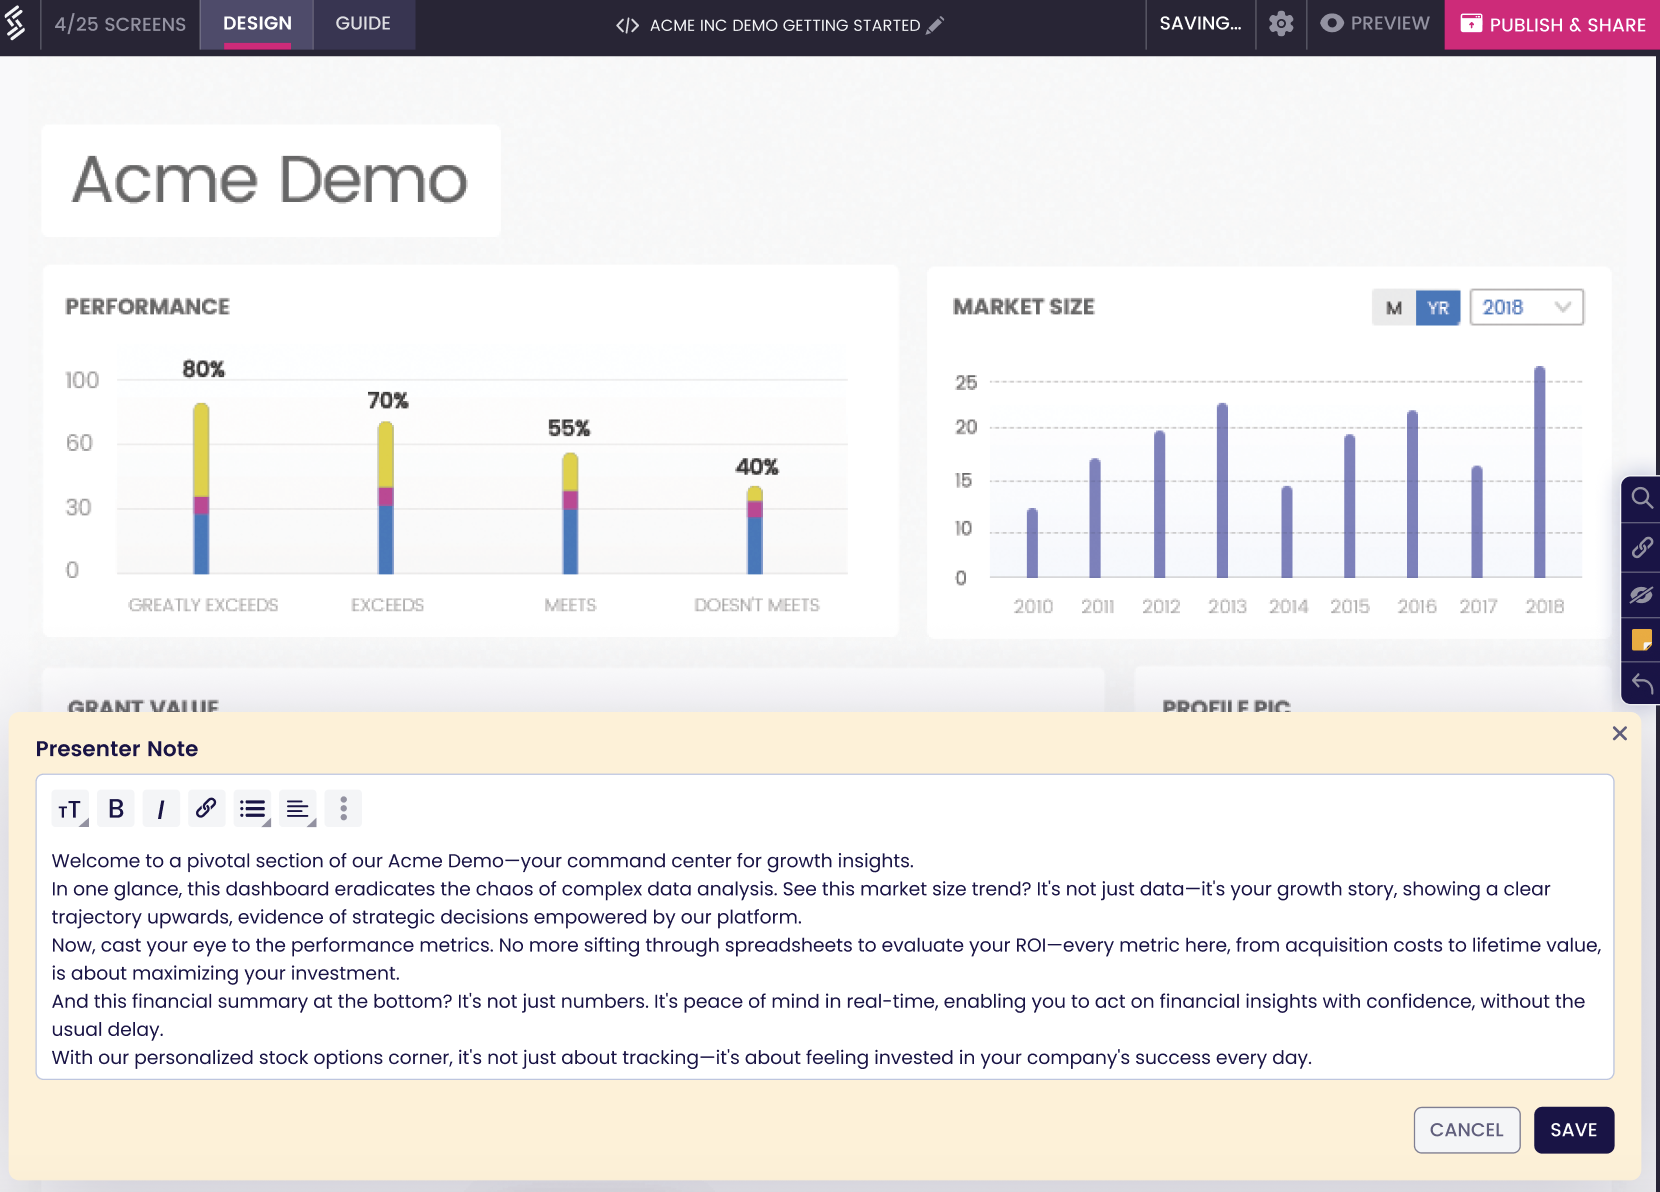
- Presenter mode: Access your private talking points and notes in a separate, hidden view—all while presenting a distraction-free screen to your audience.
Storylane captures your product's front-end in minutes using a browser extension, creating stable demo environments that sales teams can use confidently—without worrying about crashes, bugs, or exposing unfinished features.
Staying Ahead of the Demo Sandbox Environment
A demo sandbox environment provides a prospect with a quick insight into how your product works in real-time to solve their problem, enabling them to experience its value. When you create a demo environment, they can dive deeper into your solution and immerse themselves in the actual experience.
By creating a sandbox environment for your product demos using an interactive demo platform like Storylane, you can customize the product experience for your prospects without the added complications of investing engineering time and effort into this.
Ready to create your first demo sandbox environment on Storylane? Get started for free now!
Sandbox environments - Frequently asked questions
Q. What is a demo sandbox environment?
A demo sandbox environment is a separate, stable version of your product interface used specifically for sales demonstrations. Unlike production environments, it allows you to customize data, remove sensitive information, and ensure demos never break during prospect calls.
Q. How long does it take to build a sandbox environment for sales demos?
Traditional engineering-built sandboxes take 4-6 weeks for initial setup. No-code interactive demo platforms like Storylane reduce this to minutes. You capture your product once, then create unlimited personalized demos instantly without engineering dependencies.
Q. Do I need engineering resources to create demo sandbox environments?
Traditional sandbox environments require significant engineering time—both for initial setup and ongoing maintenance. No-code interactive demo platforms eliminate this dependency entirely. Sales and marketing teams build and customize demos independently using screenshot or HTML capture.
Q. What's the difference between a traditional sandbox and an interactive demo environment?
Traditional sandboxes are full product clones requiring infrastructure and engineering maintenance. Interactive demo platforms like Storylane capture your product's front-end interface. You can run these demos without live production dependencies—no databases, APIs, or backend systems. They're lightweight, faster to deploy, and eliminate the risk of exposing production data or encountering technical issues during demos.
Q. Can sandbox environments help generate Product Qualified Leads (PQLs)?
Yes. Demo sandbox environments track which features prospects explore, how long they engage, and which use cases they prioritize. This behavioral data identifies high-intent buyers who understand your product value—converting 20-30% compared to MQLs at ~6%.
Q. How much does it cost to build and maintain a demo sandbox environment?
Engineering-built sandboxes cost $50K-$150K annually when accounting for developer time, infrastructure, and maintenance. Interactive demo platforms typically cost $10K-$30K yearly with zero engineering overhead—delivering 5-10x ROI through faster deal cycles and reduced presales bottlenecks.
Q. How do interactive demo platforms compare to building sandbox environments in-house?
Interactive demo platforms deploy in hours versus weeks for custom builds. They require zero engineering maintenance, offer built-in analytics and personalization, and scale instantly. In-house sandboxes give more control but demand ongoing developer time and infrastructure costs that rarely justify the investment.
Q. What are the best tools to demo technical products without exposing bugs?
Tools that eliminate production dependencies entirely. Storylane creates stable, front-end replicas of your product that can't crash—no database timeouts, API failures, or integration issues. Interactive demos in general offer similar stability, while Storylane's multiformat approach gives you more flexibility over the demo.
Q. What is the best product demo software for live sandbox environments?
If you need a live-feel sandbox without the risks of production, platforms like Storylane, offer guided or free-roam demo environments. Storylane excels at controlled flows. Go for TestBox for giving if you want to give your prospects deep hands-on evaluations.
Q. Storylane vs. TestBox—what should I choose?
- Choose Storylane if you need guided demos, sales narratives, and fast personalization.
- Choose TestBox if prospects need a deep, hands-on trial environment with full feature access.

.svg)
.svg)






.svg)

.webp)