It is very easy to use the webhook trigger in n8n. Here’s a short tutorial on how to do it in simple steps:
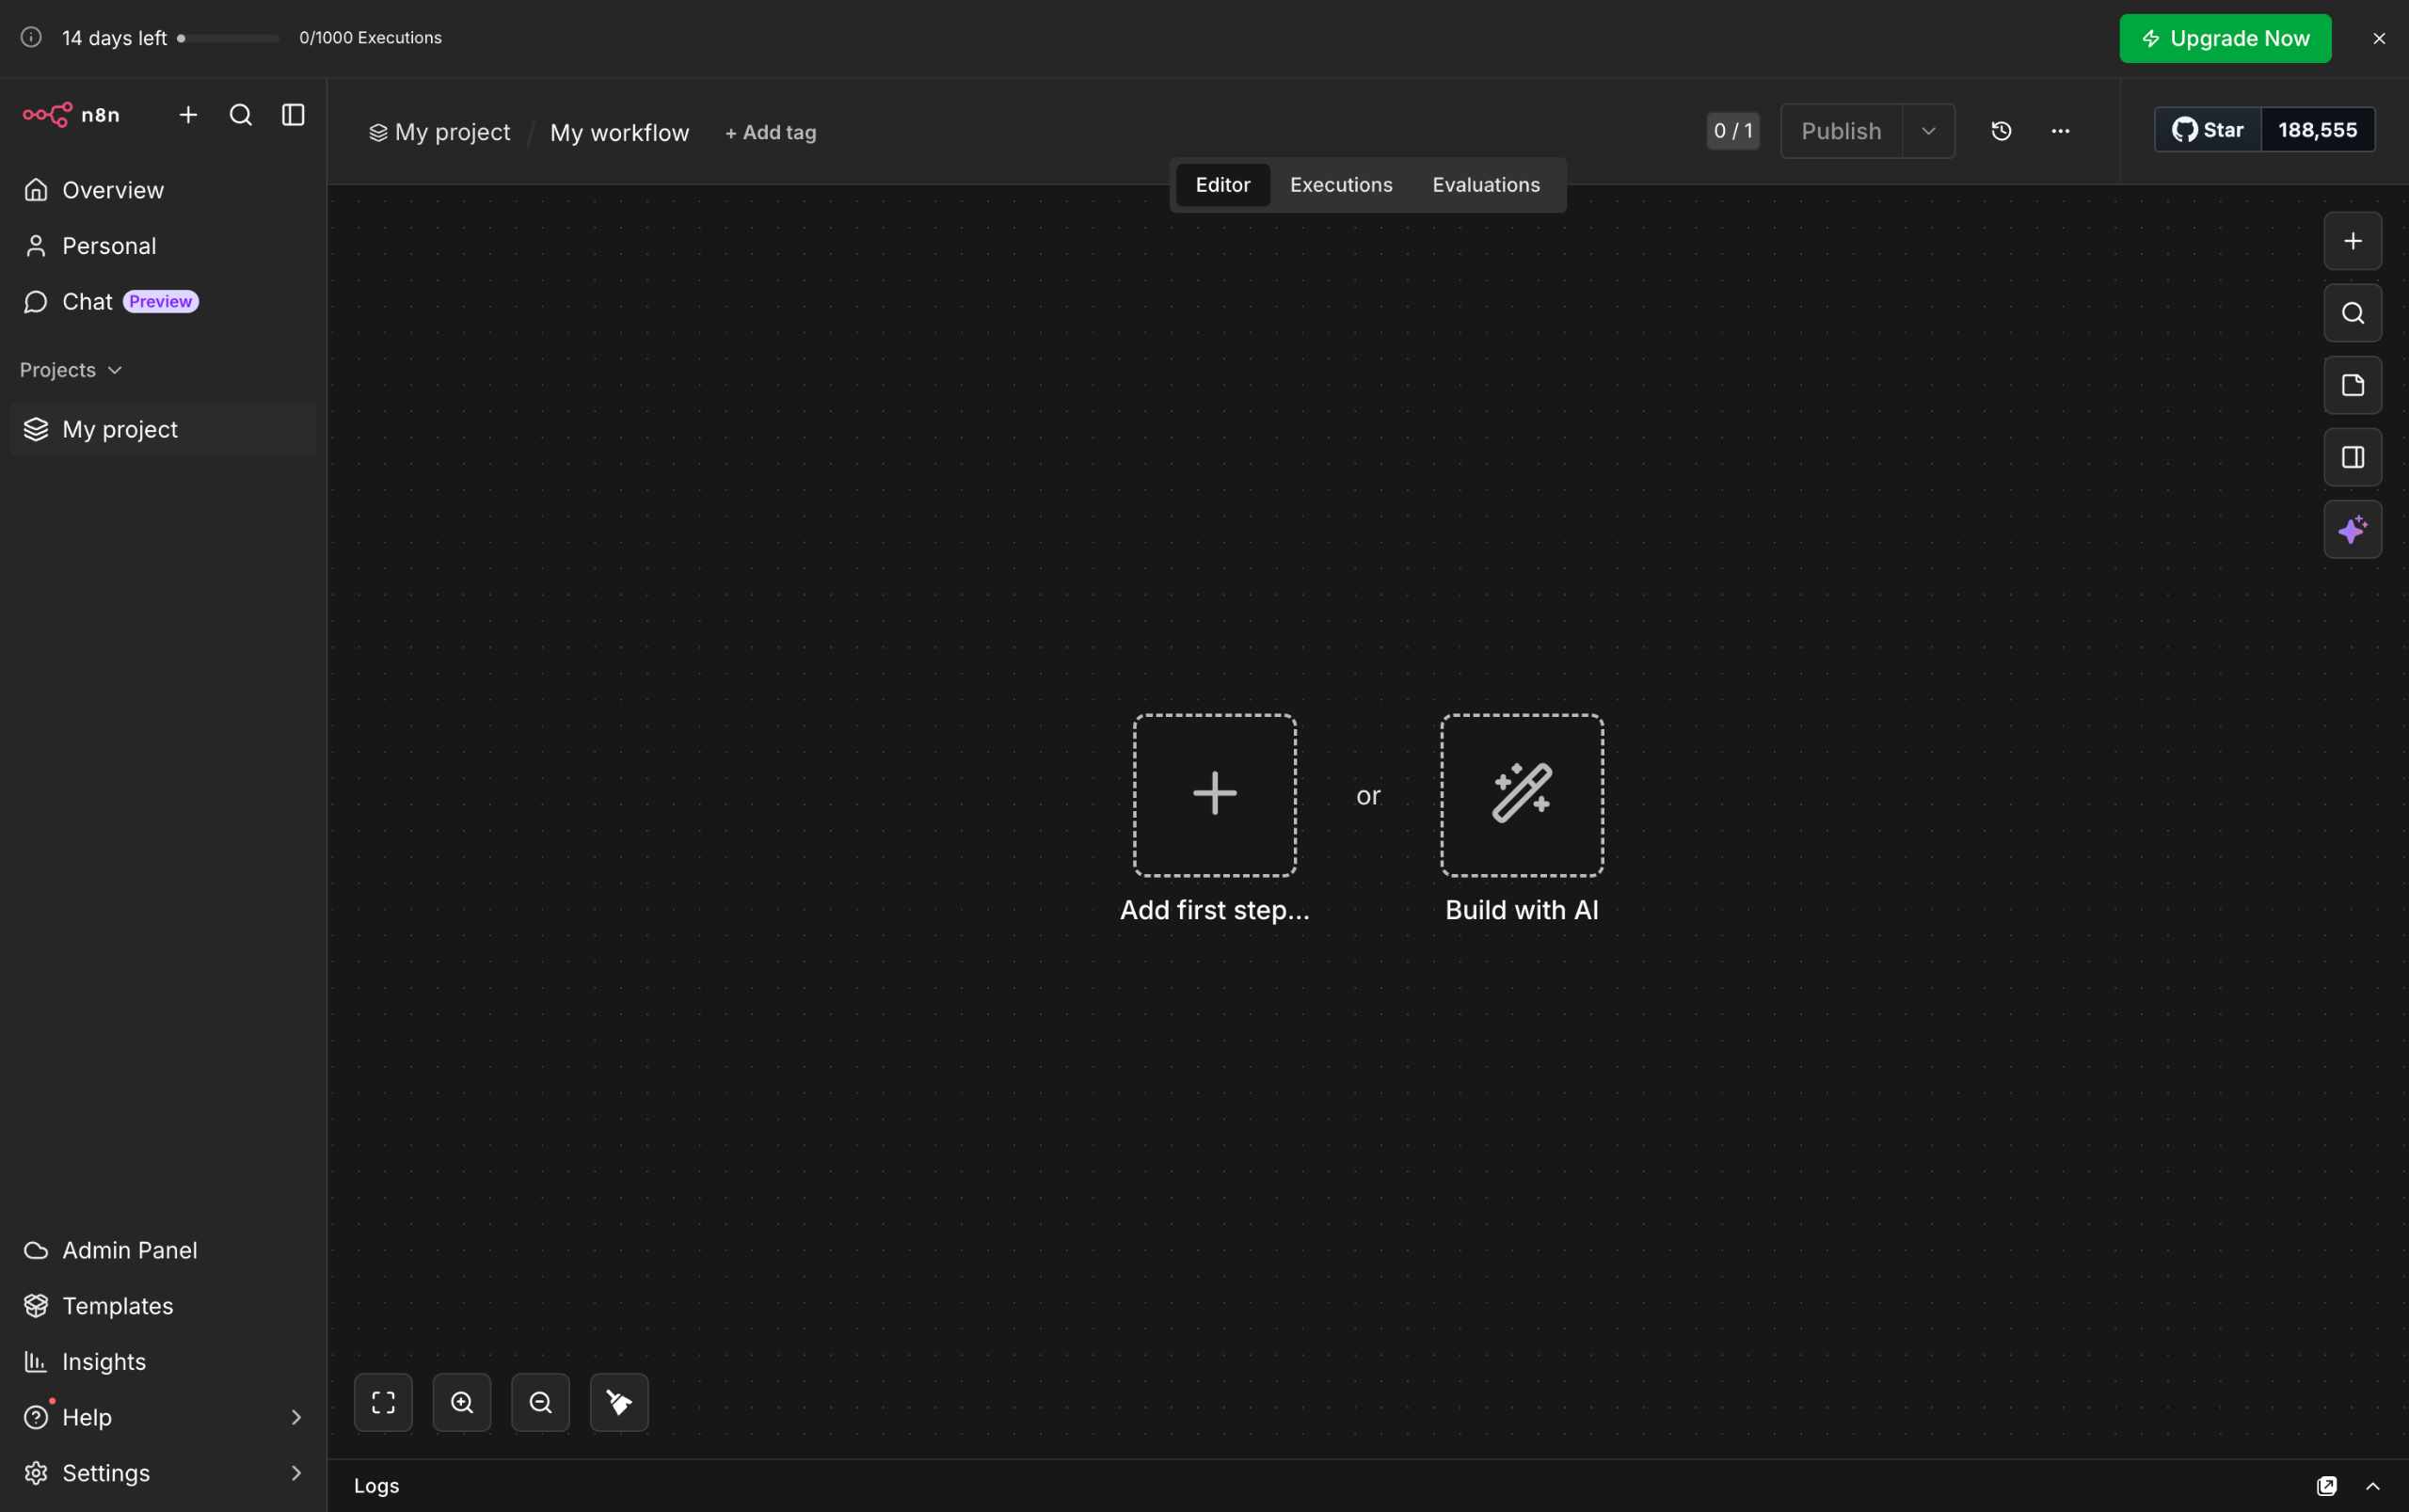
- Inside your n8n workflow, click the 'Add First Step' tab to get started.
- After that, choose 'On Webhook Call' from the list of options.
- Now, it's time to set up the selected Trigger. Select your preferred HTTP Method, edit the Path, set an Authentication, and specify your preferred Response Time. Use their respective menus and input fields to provide the required details.
- Following that, click the webhook URL to copy it and then add it to another program or service from which you want to send a request.
- Once done, click 'Listen For Test Event' to proceed.
- After a few seconds, the request will be sent to the provided webhook URL and will be processed in the workflow accordingly. Tap the 'Close' button in the top-right corner to return to the main workspace.
- Finally, the webhook trigger will be activated in your n8n workflow. You can now set up the next step according to your preference.