Agentic demo automation is here.
Meet Lily
This interactive demo was created free with Storylane in 2 minutes. Create your own demo
Start free

How to Use Miro Sticky Notes

‍

‍

Using sticky notes in Miro is simple and powerful for organizing thoughts, capturing feedback, or collaborating in real time. Here's a step-by-step guide:

‍

  1. Open your Miro board.
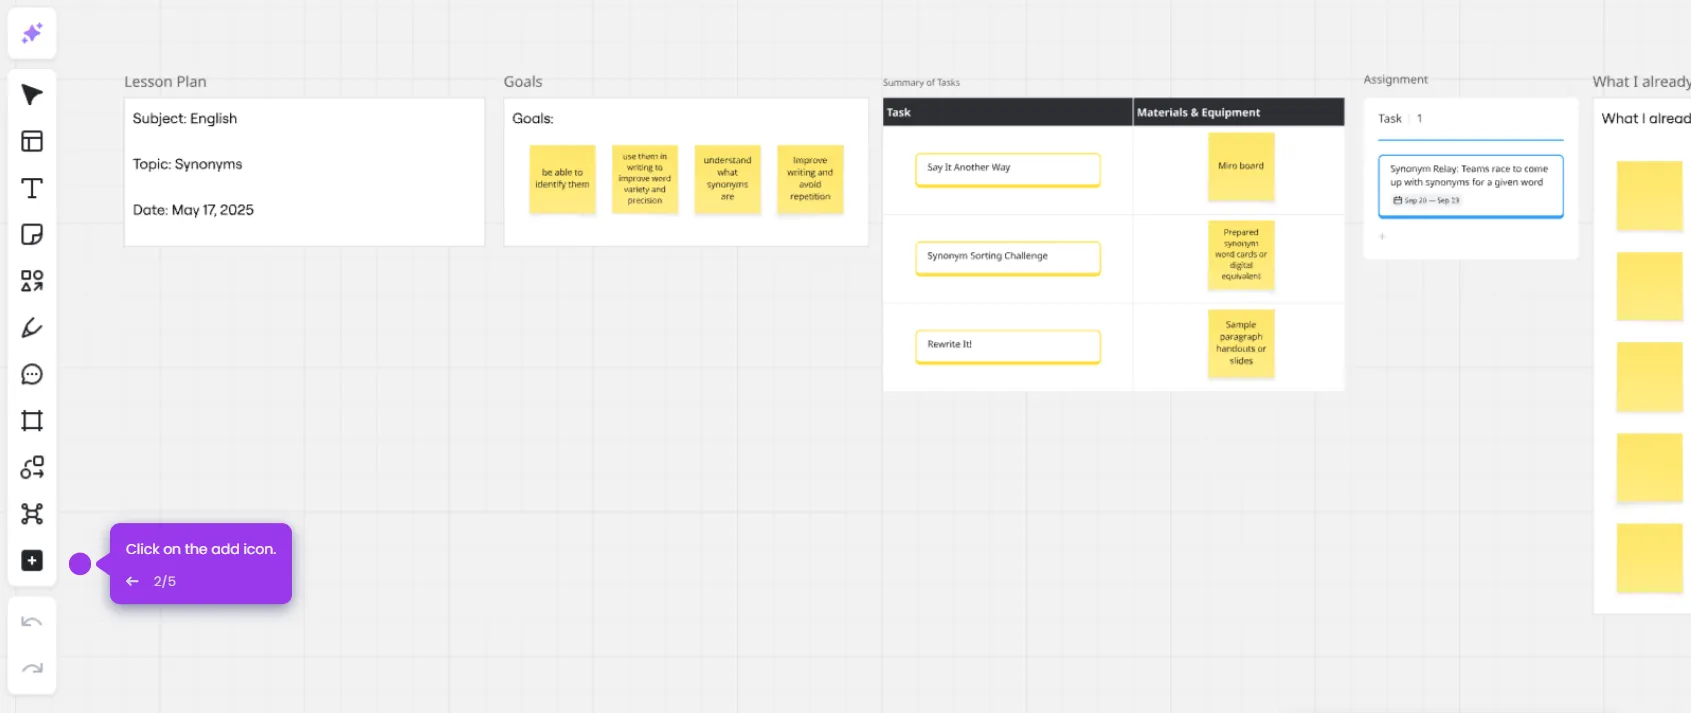
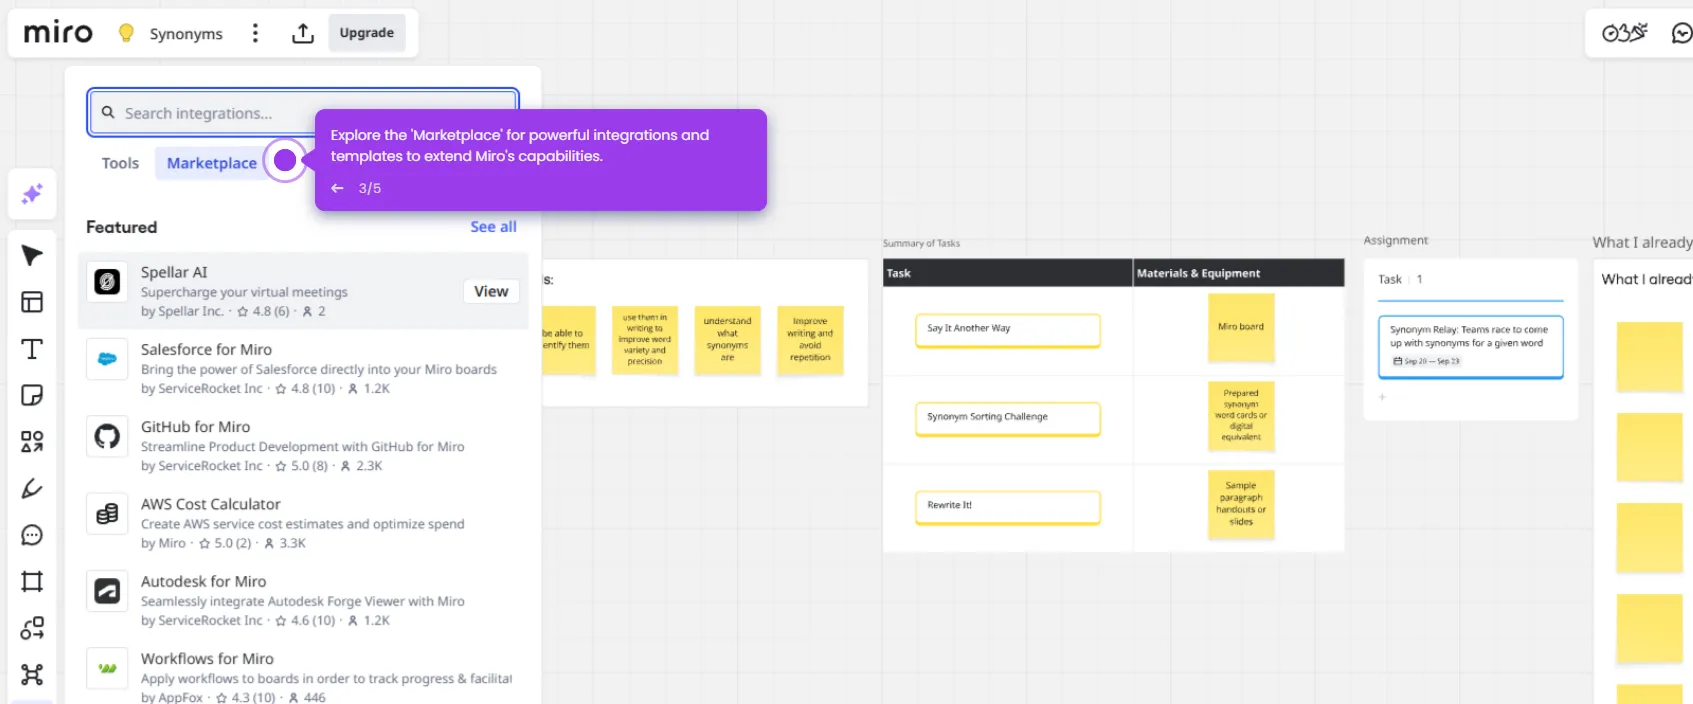
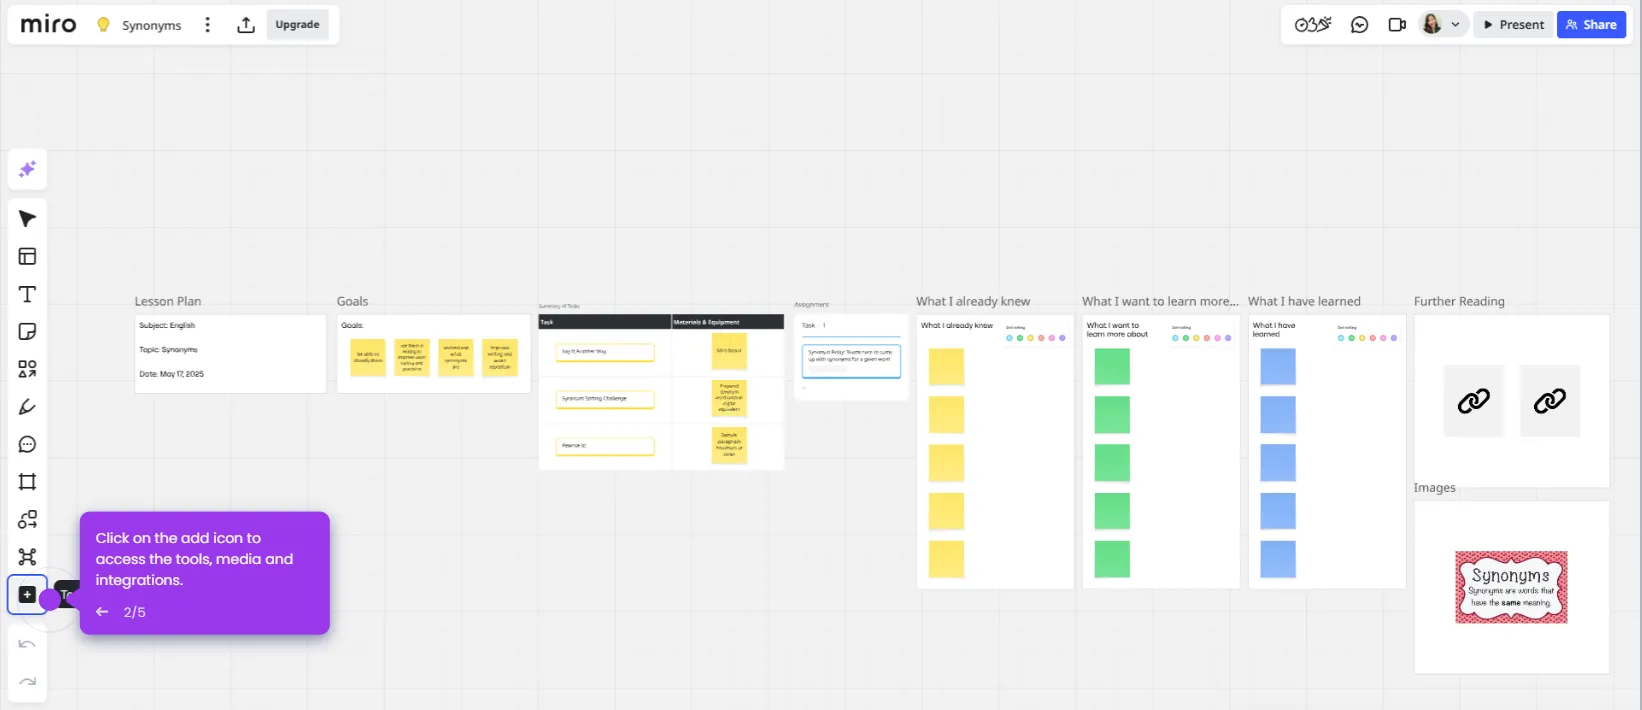
  2. Click the sticky note icon on the left toolbar.
  3. Choose your preferred sticky note.
  4. Click anywhere on the board to place the note.
  5. Just type your message or idea.
  6. Resize by dragging the corners if needed.
  7. Change the color to organize ideas.
  8. Align your notes to organize them.
  9. Click on the arrow icon to add another note.
  10. Right-click a sticky note to export your note by clicking 'Export to CSV'.
  11. Click the 'Share' button to collaborate with team members can add sticky notes in real time.
Similar Articles

Integrate Google Tasks with Miro

Mural Miro Integration

Miro Google Drive Integration

Build Killer Demos in 2 Minutes
Chrome Extension Icon
Try our Chrome extension
DOWNLOAD

Desktop app for macOS
DOWNLOAD
Backed by
Y combinator
AICPA SOC
GDPR
Products
Guided DemosSandbox DemosDemo Hub
Featured
Account RevealPersonalizationIntegrations
Solutions
EnterpriseGrowth & Demand
MarketingProduct MarketingSalesPresales
Resources
BlogTutorialsHelp DocsWhat’s NewDemo DundiesPlaybooks
Company
CareersPricingPartnersContactTrust CenterDemo Abuse
Customers
Demo ShowcaseCase Studies
Built in San Francisco Bay Area - ©2025 Storylane
Backed by
Y combinator
AICPA SOC
GDPR
Privacy PolicyTerms & Conditions
X Corp (formerly Twitter)LinkedIn
This website uses cookies to ensure you get the best experience on our website. Learn More
Got it