Quick summary
Miro is a visual collaboration tool that teachers can use to plan lessons, organize student activities, and run interactive classroom sessions on a single digital board. This walkthrough shows how to structure a Miro board with frames, assignments, polls, and group workspaces to support engaging, organized classroom instruction.
Steps
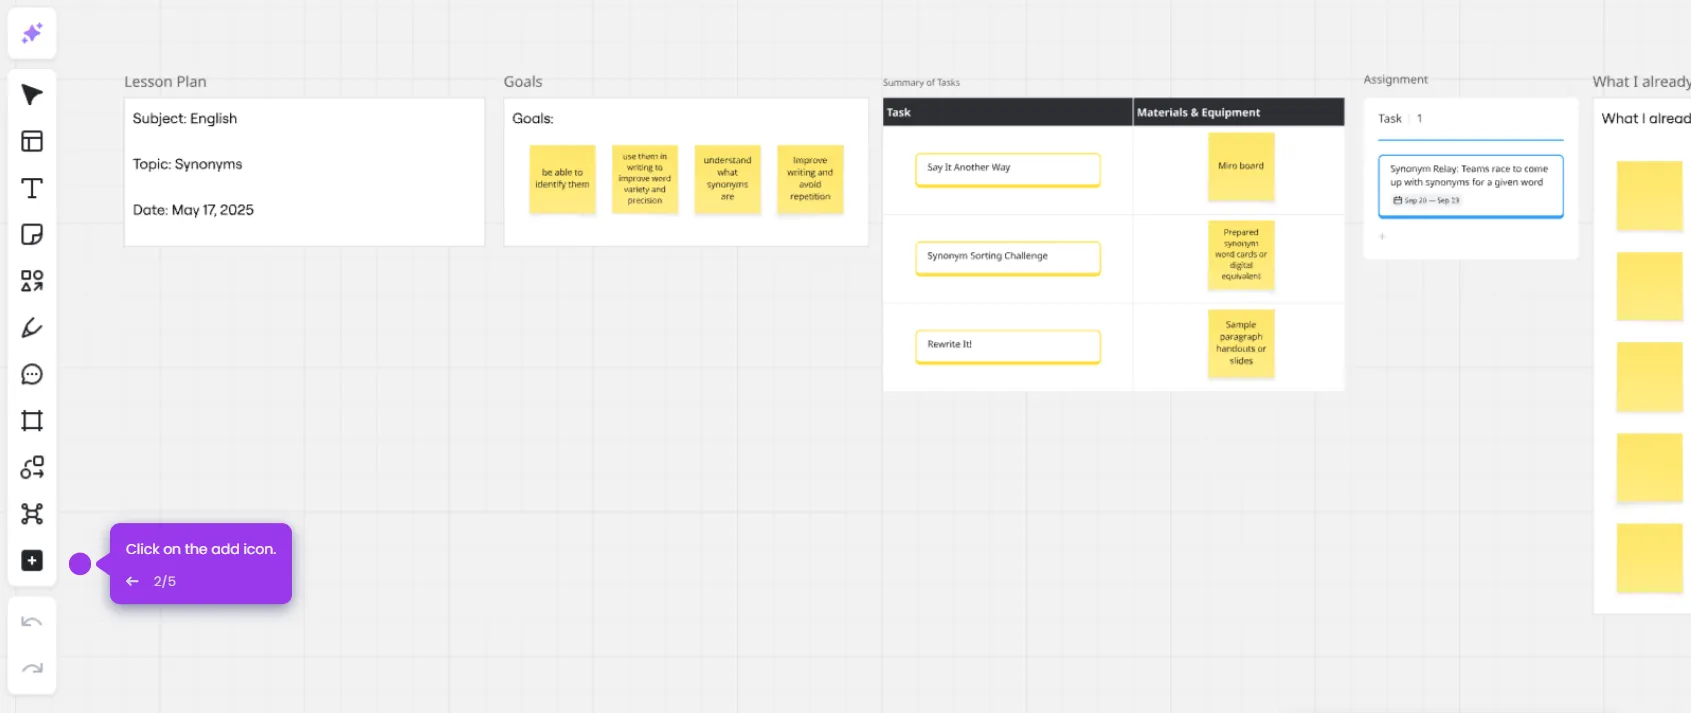
- Create a new board and name it by class or topic to keep your workspace organized.
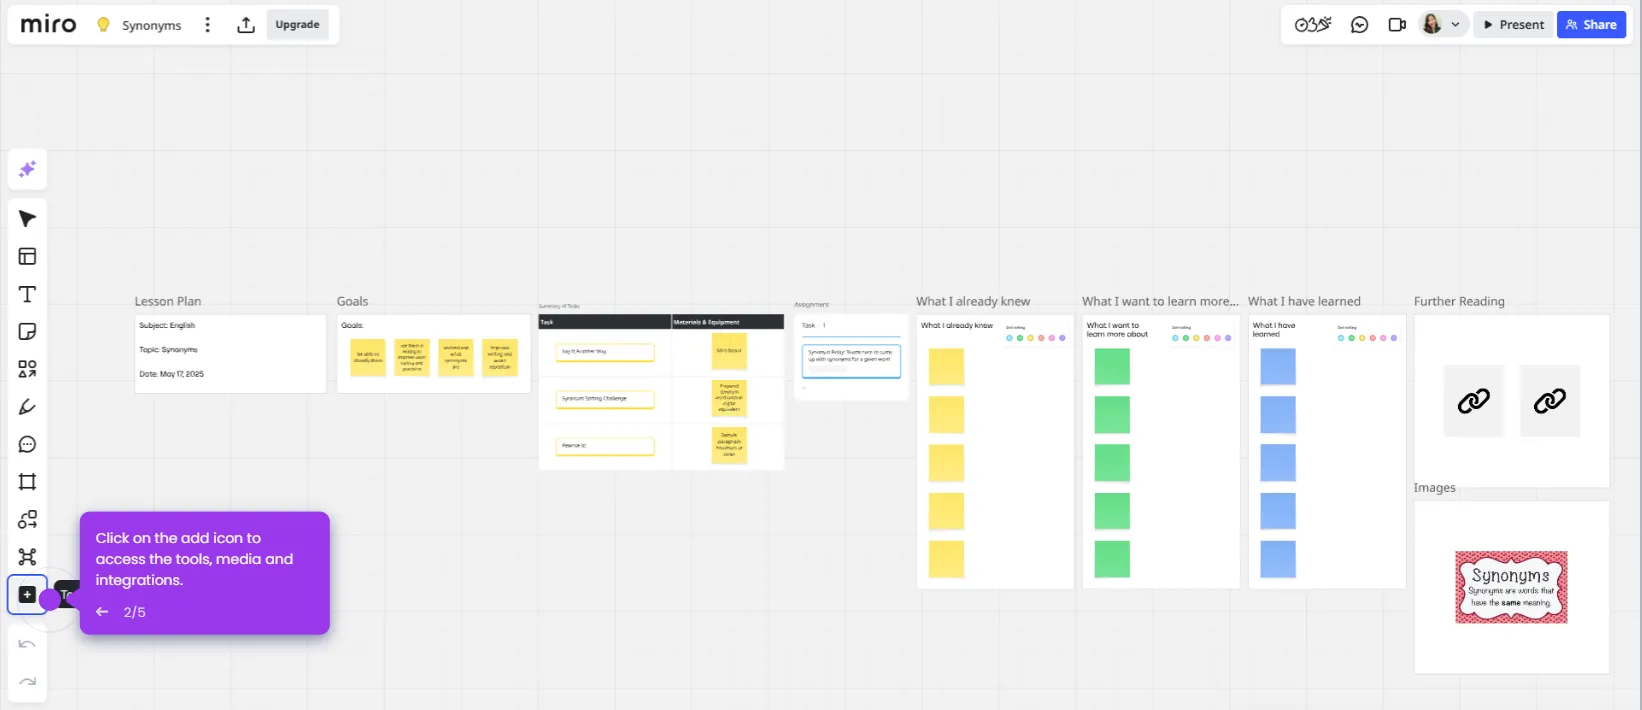
- Use frames to divide your board into clearly defined sections.
- Plan lessons like a visual slide deck by grouping learning objectives into one frame.
- Add tasks and activities for your lesson to make your classroom interactive.
- Add an assignment section for your lesson and set up your due dates.
- Include a voting poll to encourage student collaboration.
- Set up dedicated areas for each group and use comments to give private feedback.
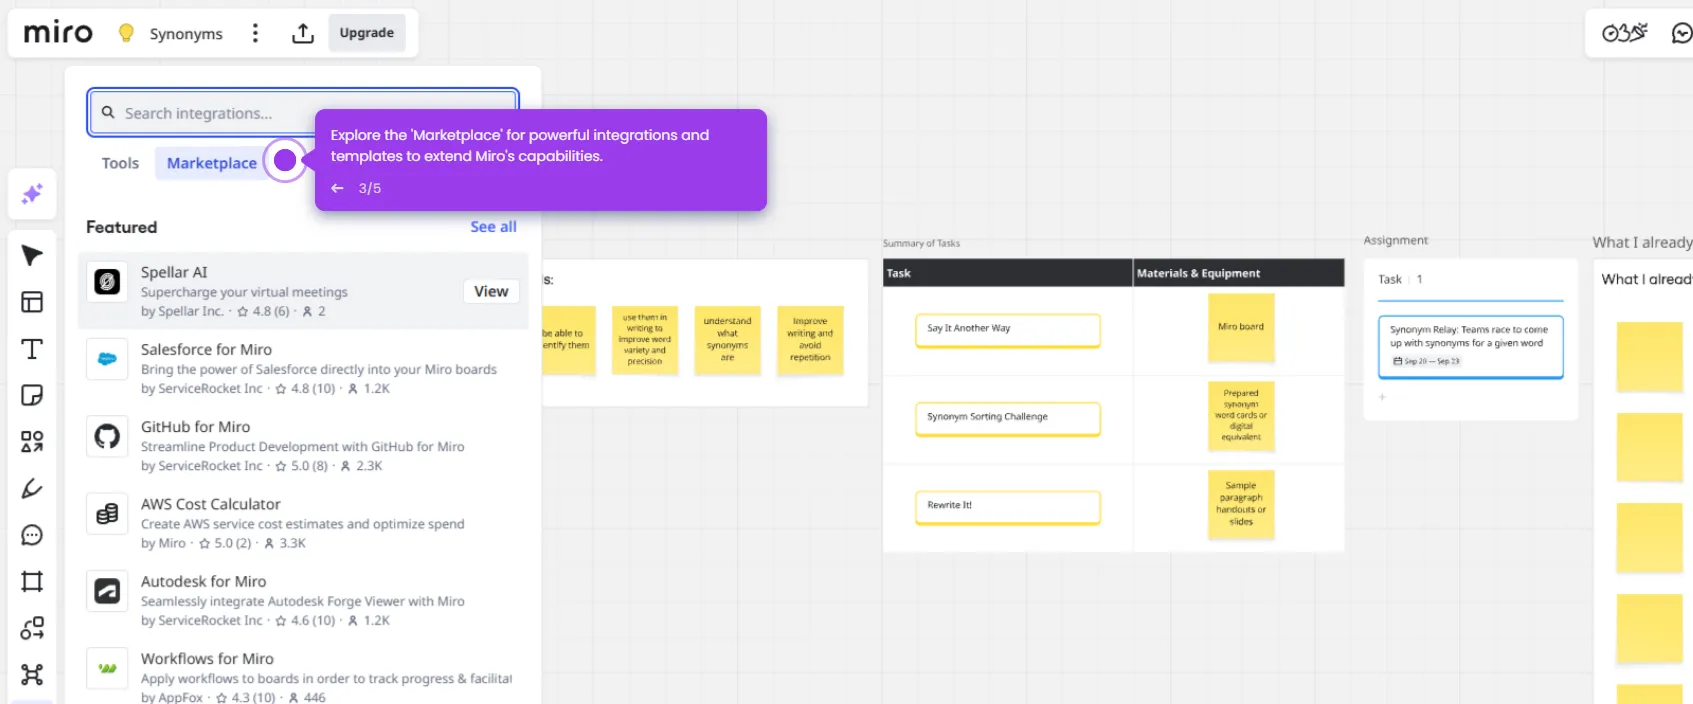
- Upload learning tools and additional resources for your students.
- Let students add images, draw, or diagram concepts directly on the board.
- Click Present to launch your Miro board live in the classroom.