Quick summary
Miro's Retrospective template lets teams collaborate visually by adding sticky notes, voting on priorities, and sharing boards — all in one structured online whiteboard. This step-by-step walkthrough covers how to set up and run a Quick Retrospective in Miro using built-in tools for reflection, categorization, and team alignment.
Steps
- Log in to Miro, browse the templates from the dashboard, and choose Quick Retrospective.
- Create a frame for each retrospective category on your board.
- Have each team member add sticky notes under the relevant sections.
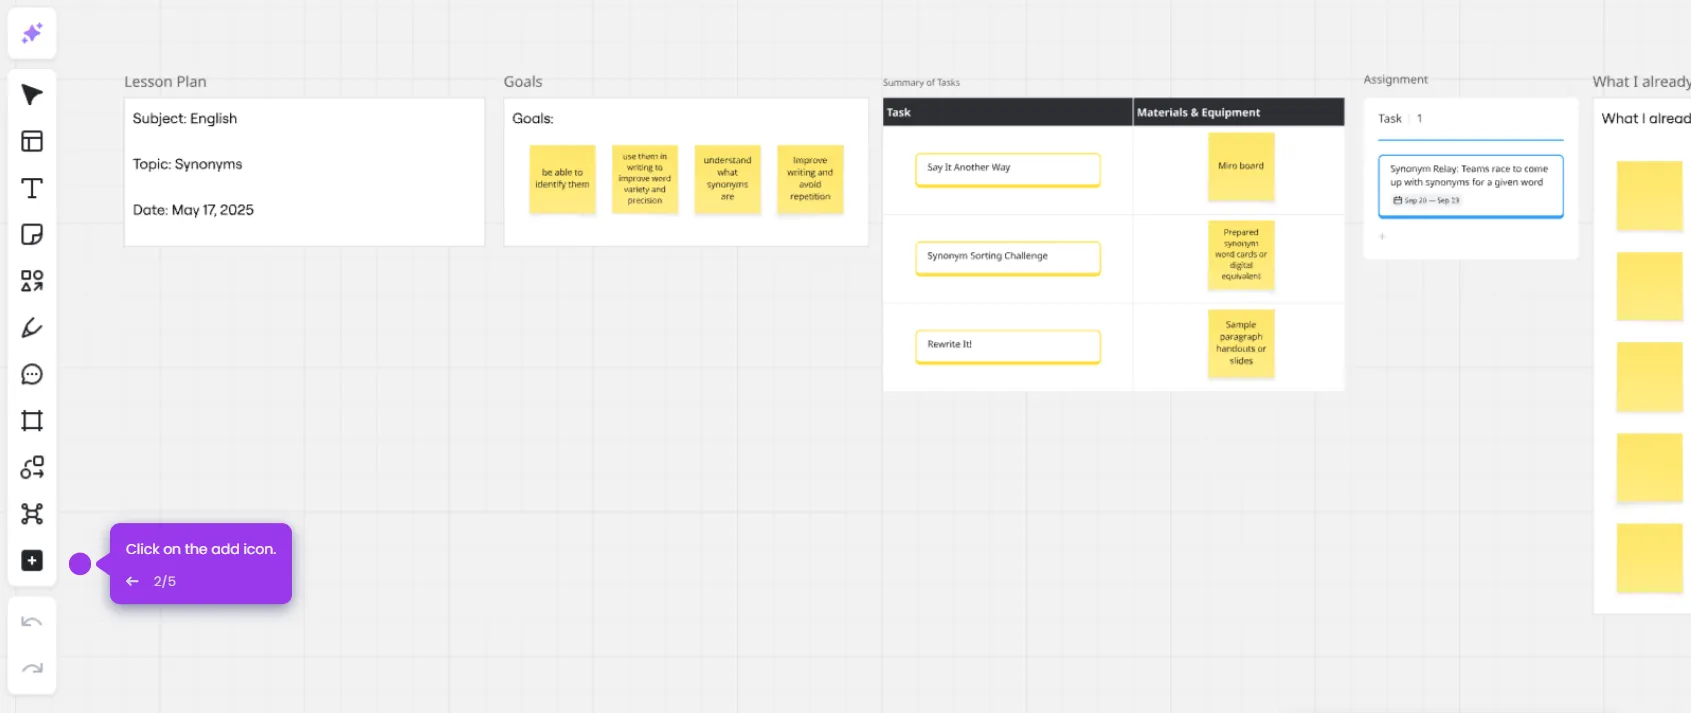
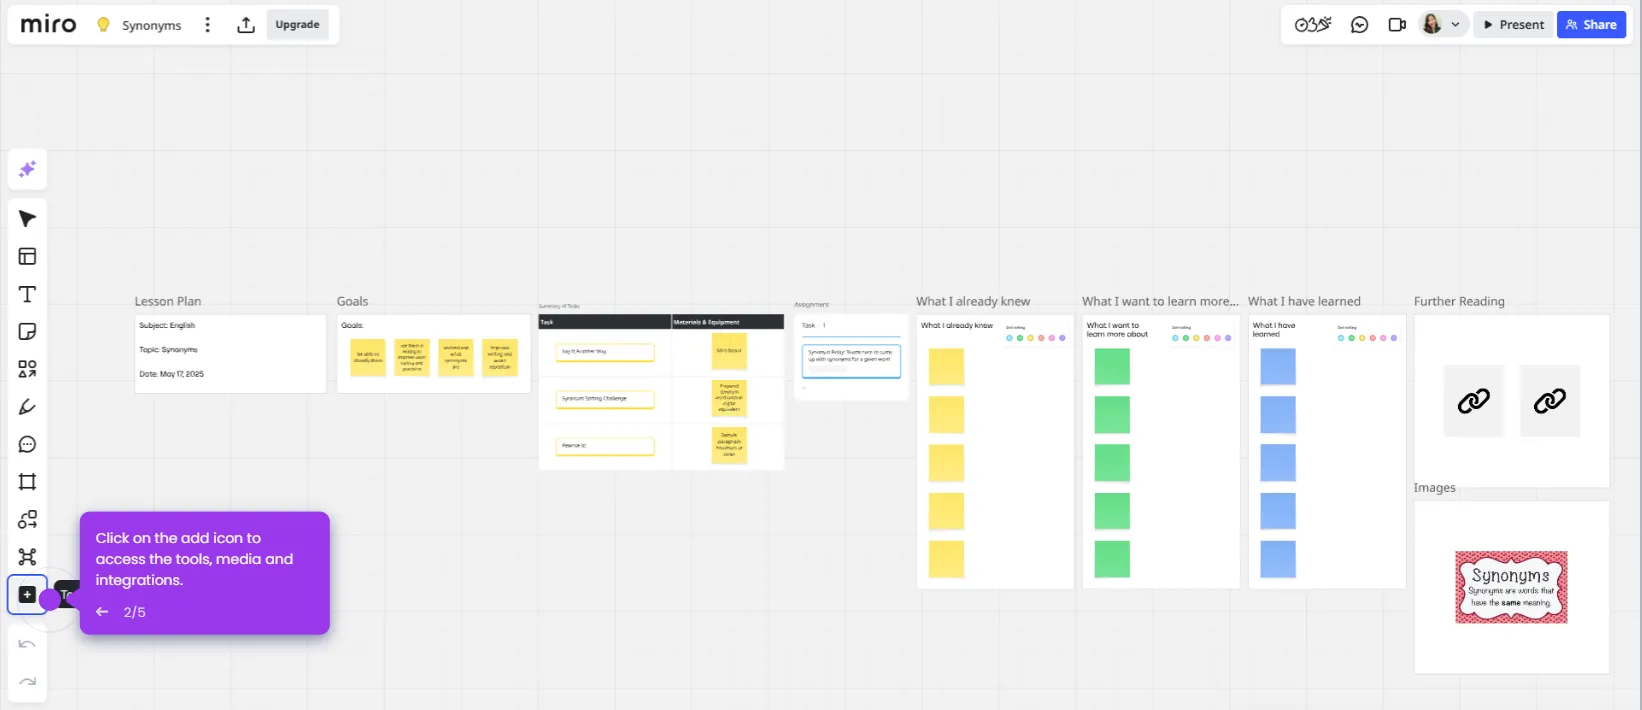
- Click the interactions tool to reflect on team performance.
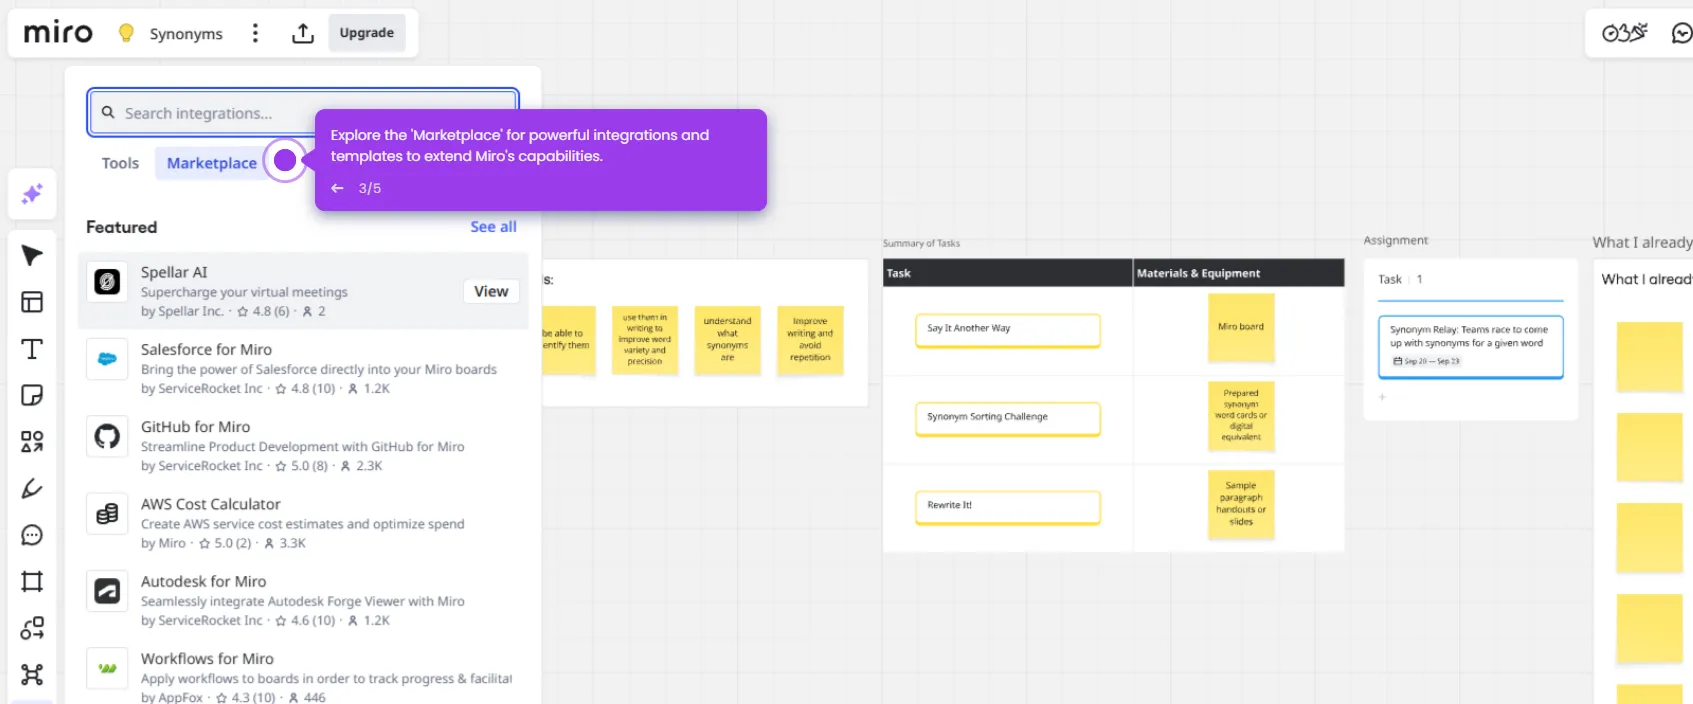
- Use the featured Retrospective tools available on your board.
- Provide a name for your retrospective board.
- Add a description to your retrospective for additional context.
- Use Miro's voting tool to let participants vote on top items and prioritize what the team should focus on next.
- Click the Share button to share the board with your team.