.gif)
.svg)


Quick summary
Miro is a collaborative online whiteboard platform that lets teams plan and manage projects using templates, sticky notes, cards, and Kanban-style boards. This guide walks you through creating a project management board in Miro, assigning team members, adding tags and due dates, and enabling real-time collaboration.
Steps
- Provide a name for your board for project management.
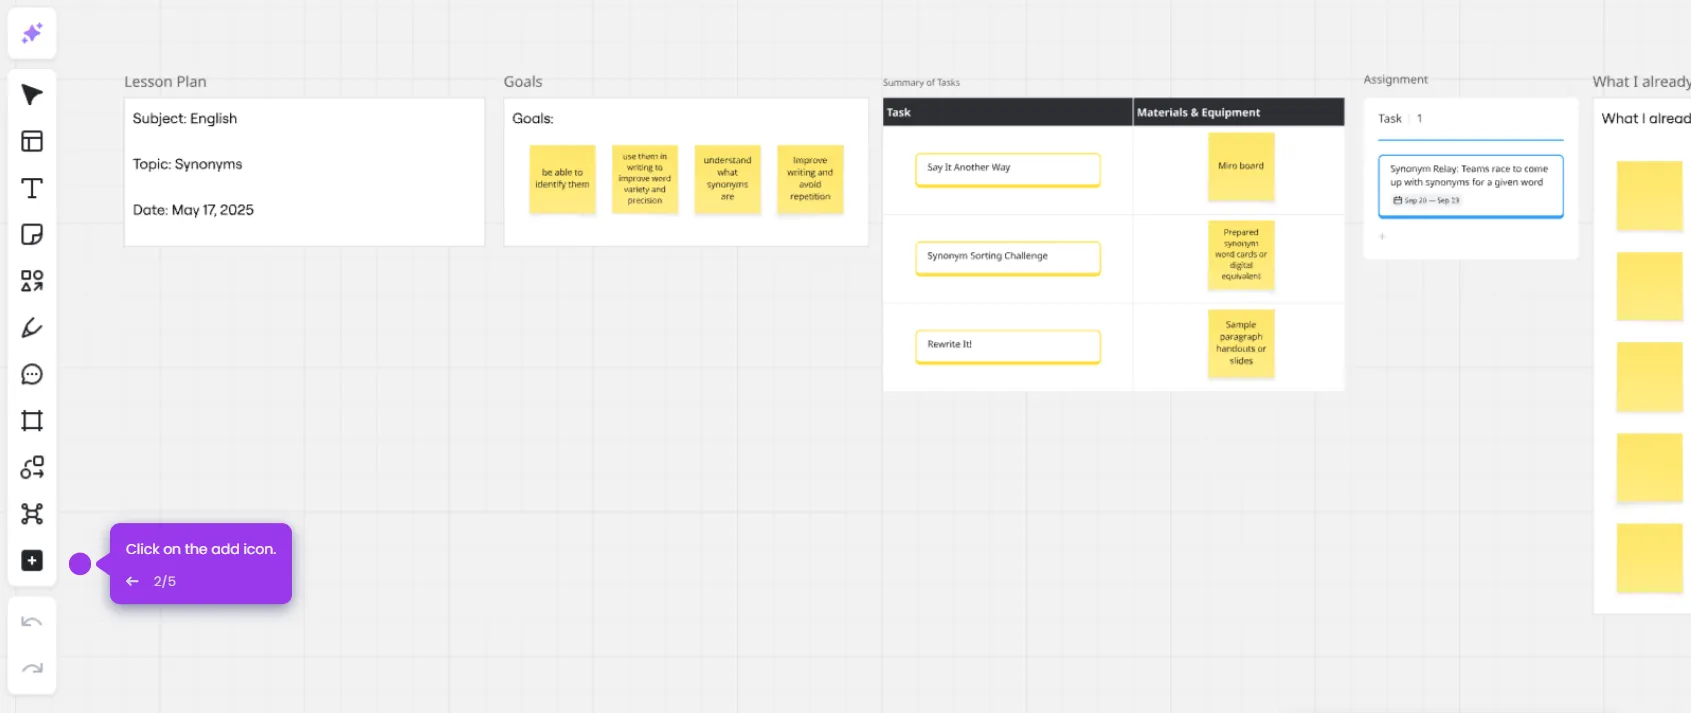
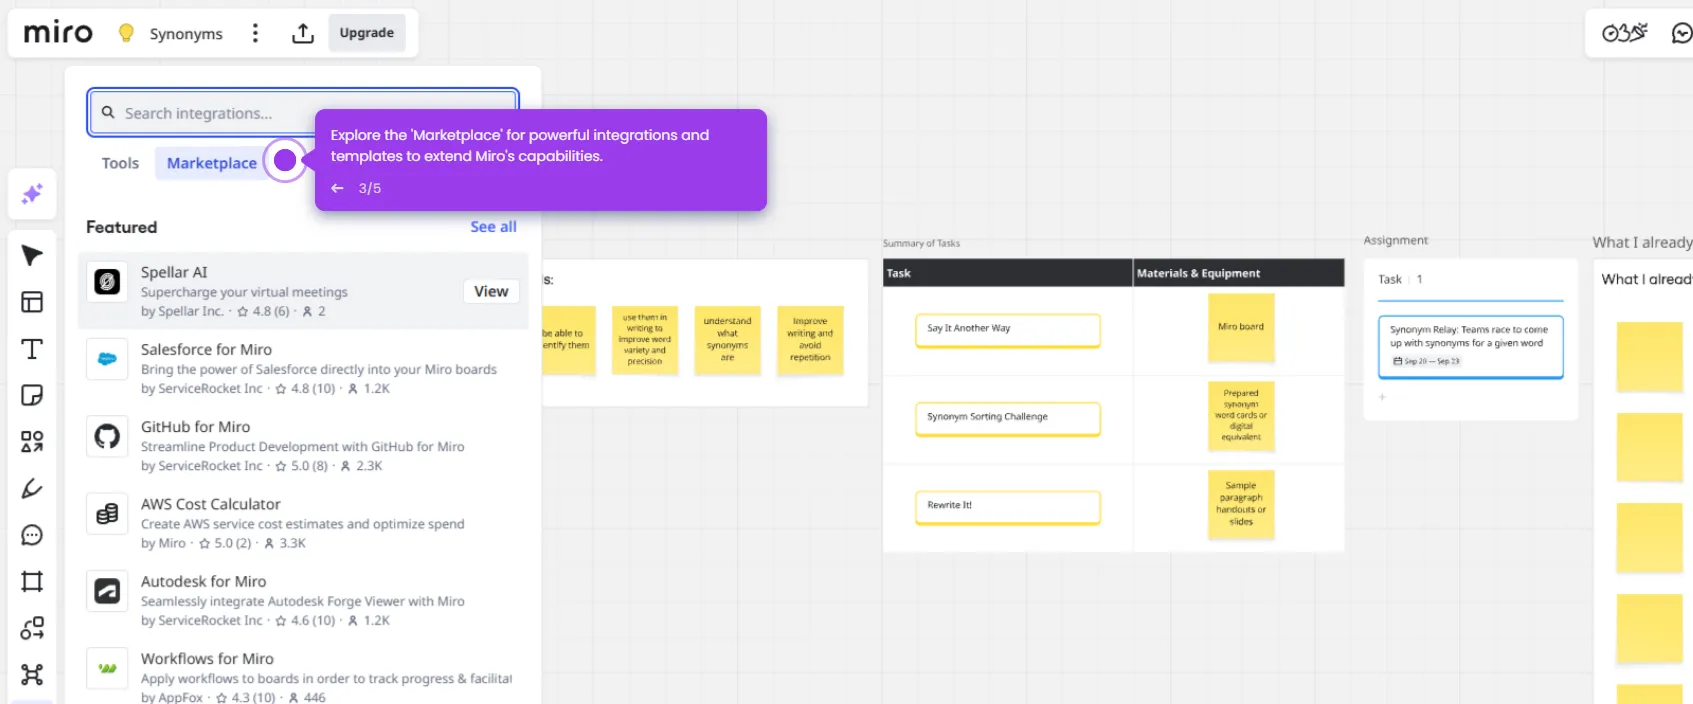
- Access templates by clicking the templates icon and browse Project Management templates for optimized workflow solutions.
- Find the perfect template using the search functionality.
- Refine your template selection with advanced filtering options.
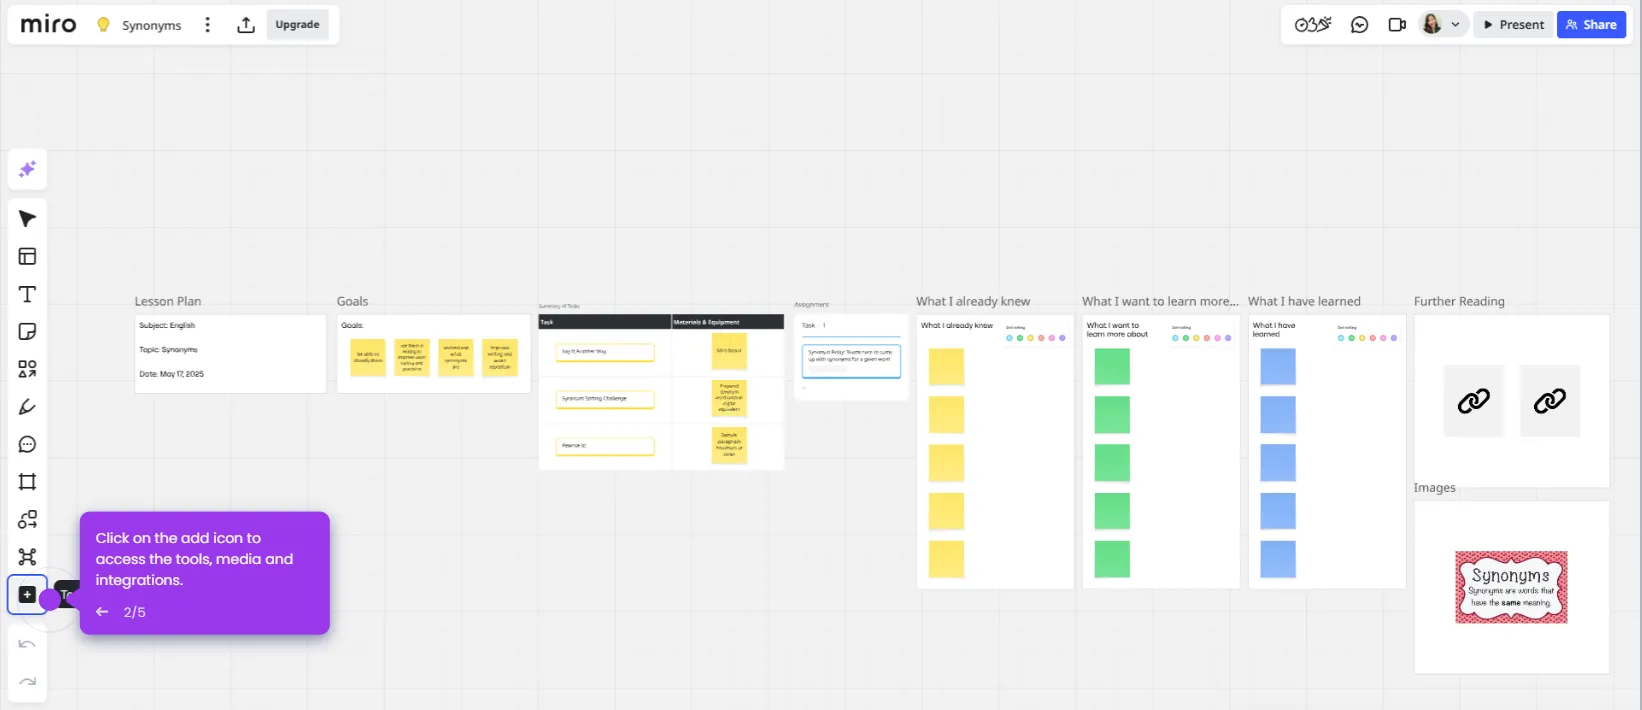
- Use Miro's sticky notes, shapes, and cards to divide the project into phases or milestones.
- Assign team members to collaborate on the board together.
- Manage collaborator permissions and assign board ownership.
- Customize your board with tags for better organization.
- Add descriptive tags that reflect your project's focus areas.
- Set your start and due dates for the project.
- Use comments to provide feedback and collaborate in real-time.
- Review that assignees, due dates, and tags have been added to cards for tracking.
- Finalize your board setup and launch your collaborative workspace by clicking the Share button.