It is very easy to set up n8n’s Filter node. Here’s a short tutorial on how to do it in simple steps:
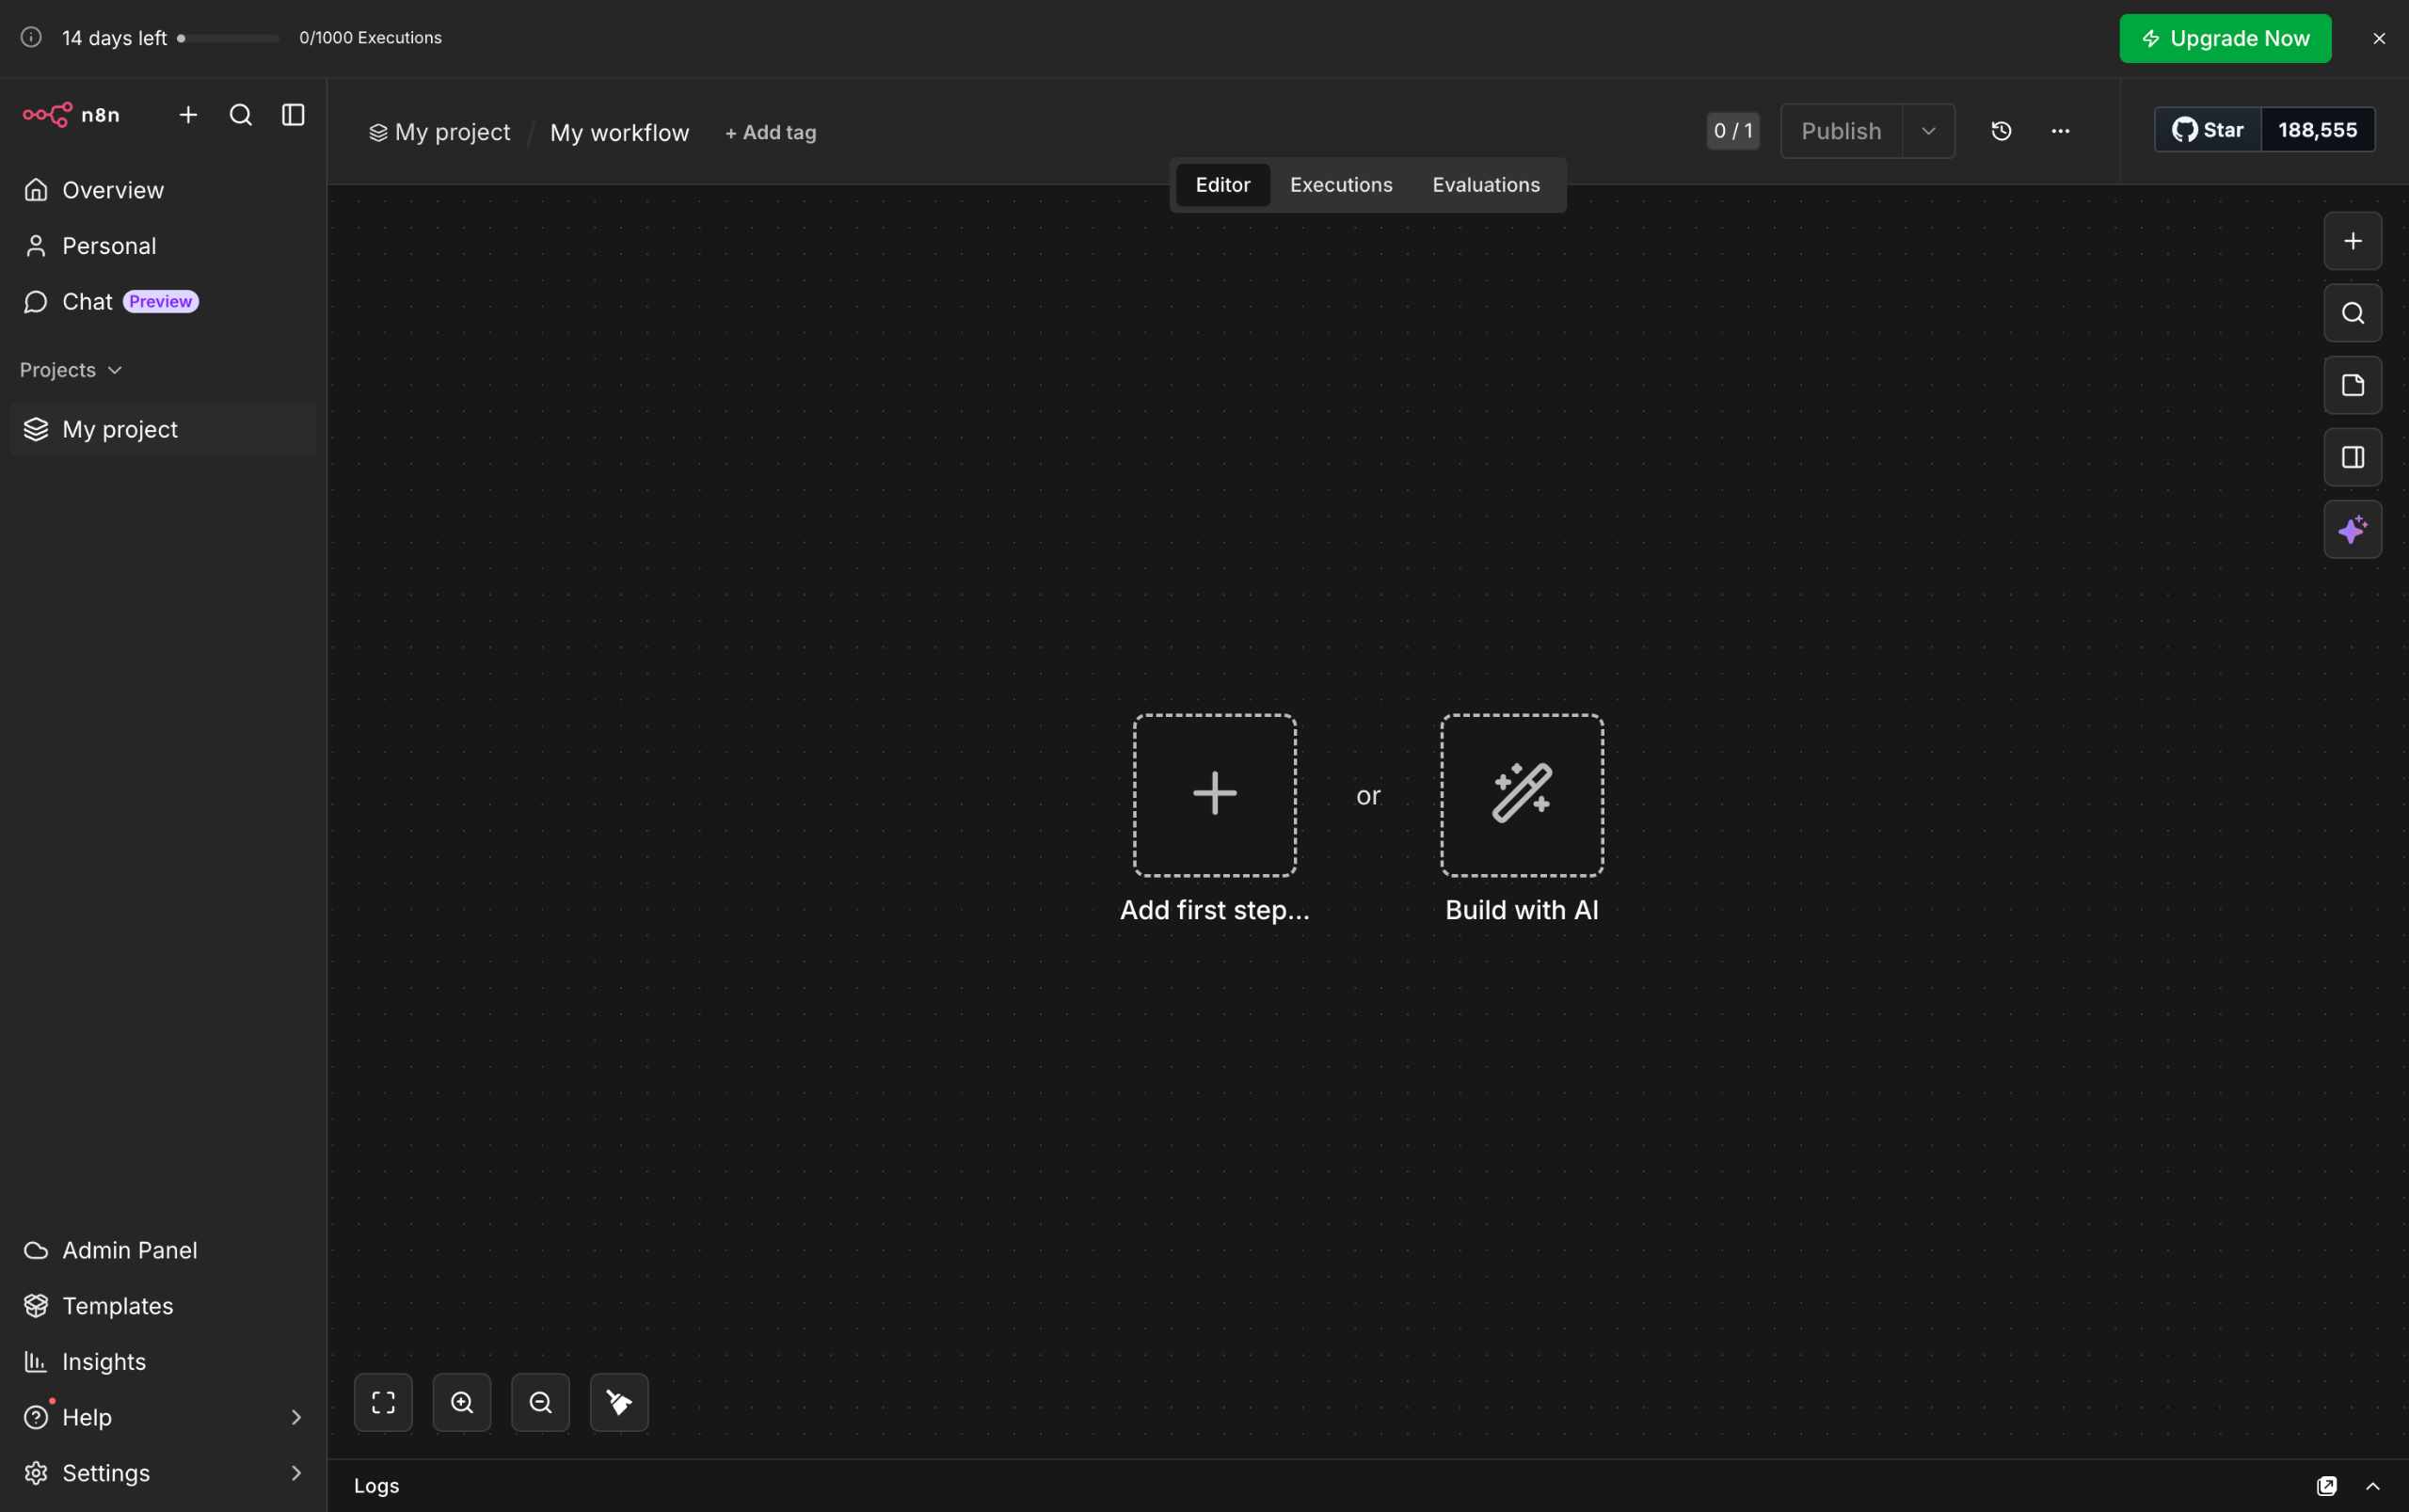
- Inside your n8n workflow, tap the 'Add' button to create a new step.
- After that, go to the right-hand panel and click 'Flow'.
- Find and select 'Filter' from the list of options.
- Now, it's time to configure the Filter node according to your preference. To get started, go to the Input Panel in the left-side corner and then tap the data you want to use.
- Drag it afterwards into the Condition field.
- Following that, click the menu next to it.
- Choose the type of data you want to filter.
- Subsequently, select the specific condition you want to set.
- If you need to add more conditions, simply tap 'Add Condition' and repeat the same procedure.
- Once done, click 'Execute Step' to proceed.
- Finally, the Filter node will be activated in your n8n workflow based on the provided configurations.