Quick summary
Organizing Miro boards helps teams find, filter, and manage their visual workspaces more efficiently. This walkthrough covers naming conventions, thumbnail customization, board filtering, sorting, and deleting unused boards.
Steps
- Go to your Miro dashboard and click '+ Create new' to start a new board.
- Name your board clearly using a consistent, descriptive naming convention.
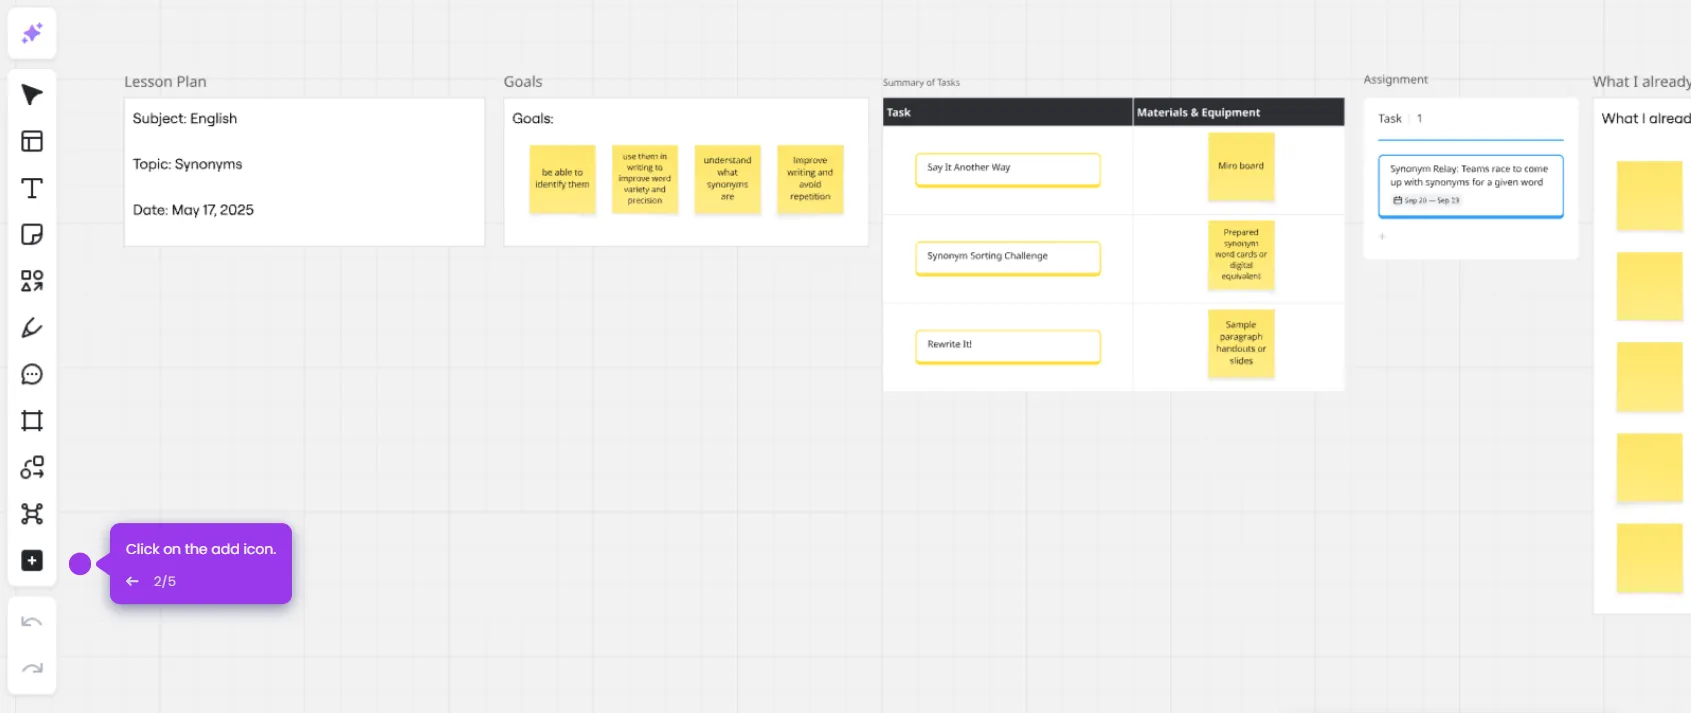
- Click the three-dot menu on a board to access additional options.
- Select 'Change thumbnail' to update the board's preview image.
- Add a cover image to visually identify boards faster at a glance.
- Use the filter option to narrow down boards based on your needs.
- Choose your preferred board view to display boards the way you want.
- Sort boards by date to quickly find the most recent or oldest boards.
- Select 'Delete' to remove any unused or outdated boards from your dashboard.