Quick summary
This tutorial walks you through integrating Softr with Shopify using a Zapier automation workflow, so that records from your Softr database can automatically trigger actions in your Shopify store. By the end, your Zap will be live and syncing data between both platforms without any manual effort.
Steps
- Navigate to the left sidebar of the Zapier workspace and click the '+' button.
- Select 'Zaps' from the list of options to create your automated workflow.
- Click the 'Trigger' button to start your automation.
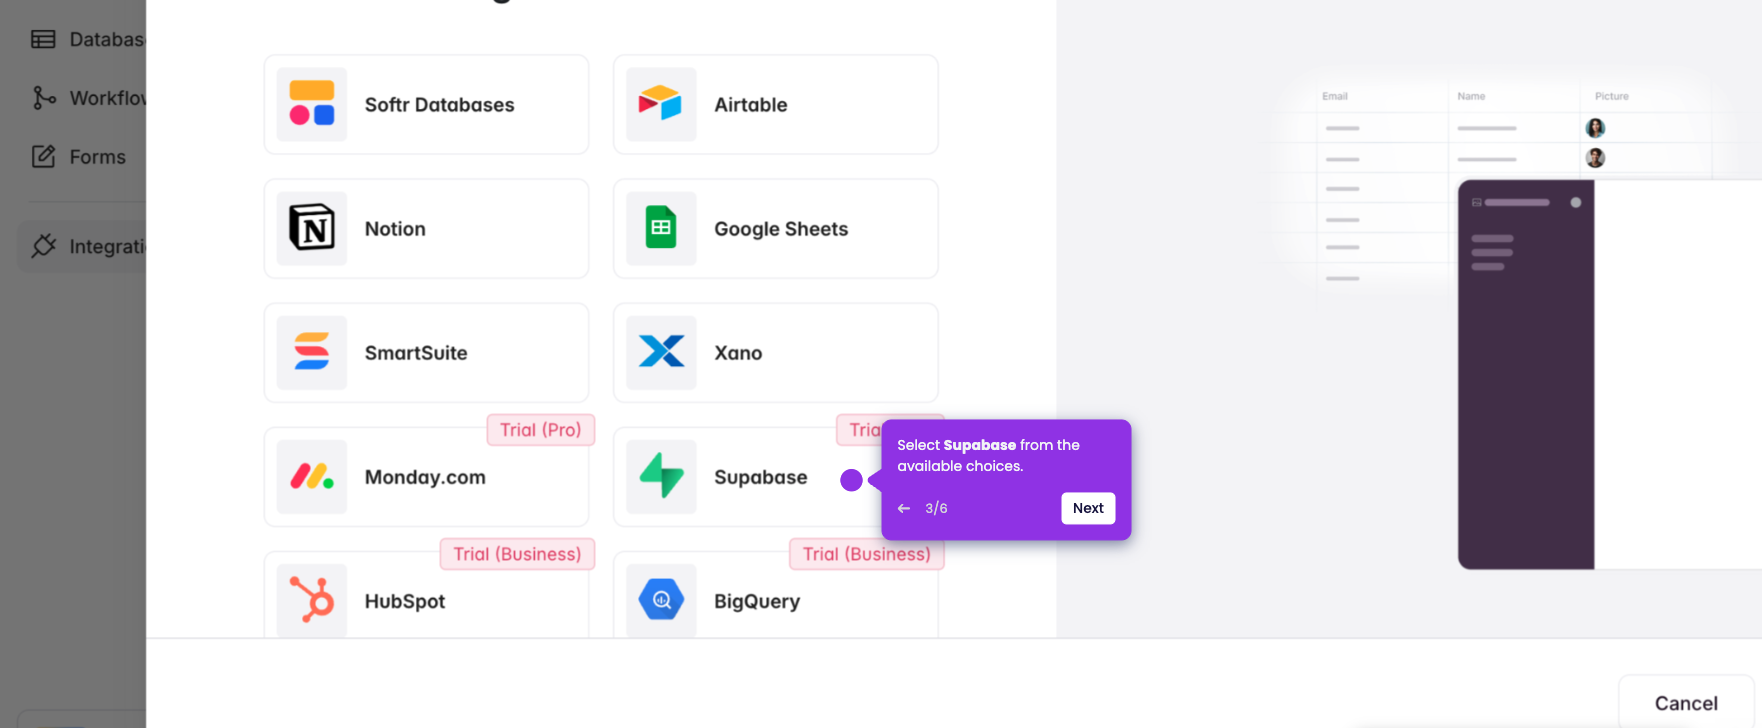
- Choose 'Softr' as your trigger app.
- Select your 'Trigger event', then log in to your Softr account.
- Click 'Continue' to proceed.
- Specify which database and table to monitor.
- Once done, click 'Continue'.
- Tap 'Test trigger' to test and ensure it is pulling records correctly.
- Select and review data pulled from your Softr database and click 'Continue with selected record'.
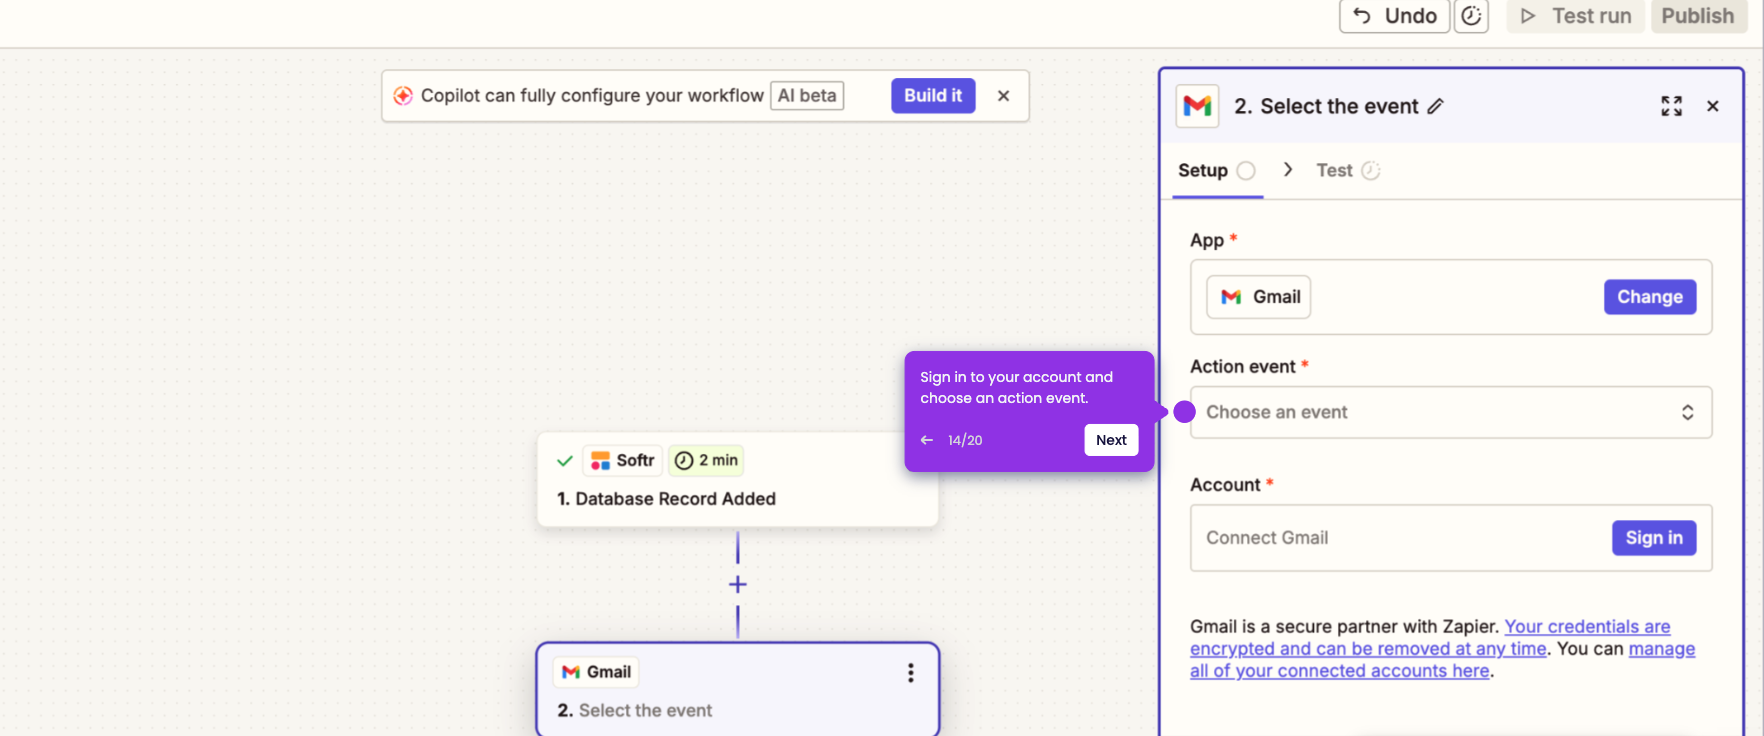
- Select 'Shopify' as your Action app.
- Set up your Shopify integration by choosing your 'Action event', then log in to your Shopify account.
- Proceed with the Shopify authentication process.
- Grant Zapier permission to work with your Shopify by clicking 'Yes, Continue to Shopify'.
- Once done, click 'Continue'.
- Fill in all necessary required data for the action step.
- Once completed, click 'Continue' to proceed.
- Review your complete automation, then click 'Publish' once final.
- Softr is now integrated with Shopify and your Zap is live.