Quick summary
Grouping objects in Miro lets you organize and move multiple board elements together as a single unit. Using the lock feature after grouping prevents accidental edits, keeping your Miro board layouts clean and consistent.
Steps
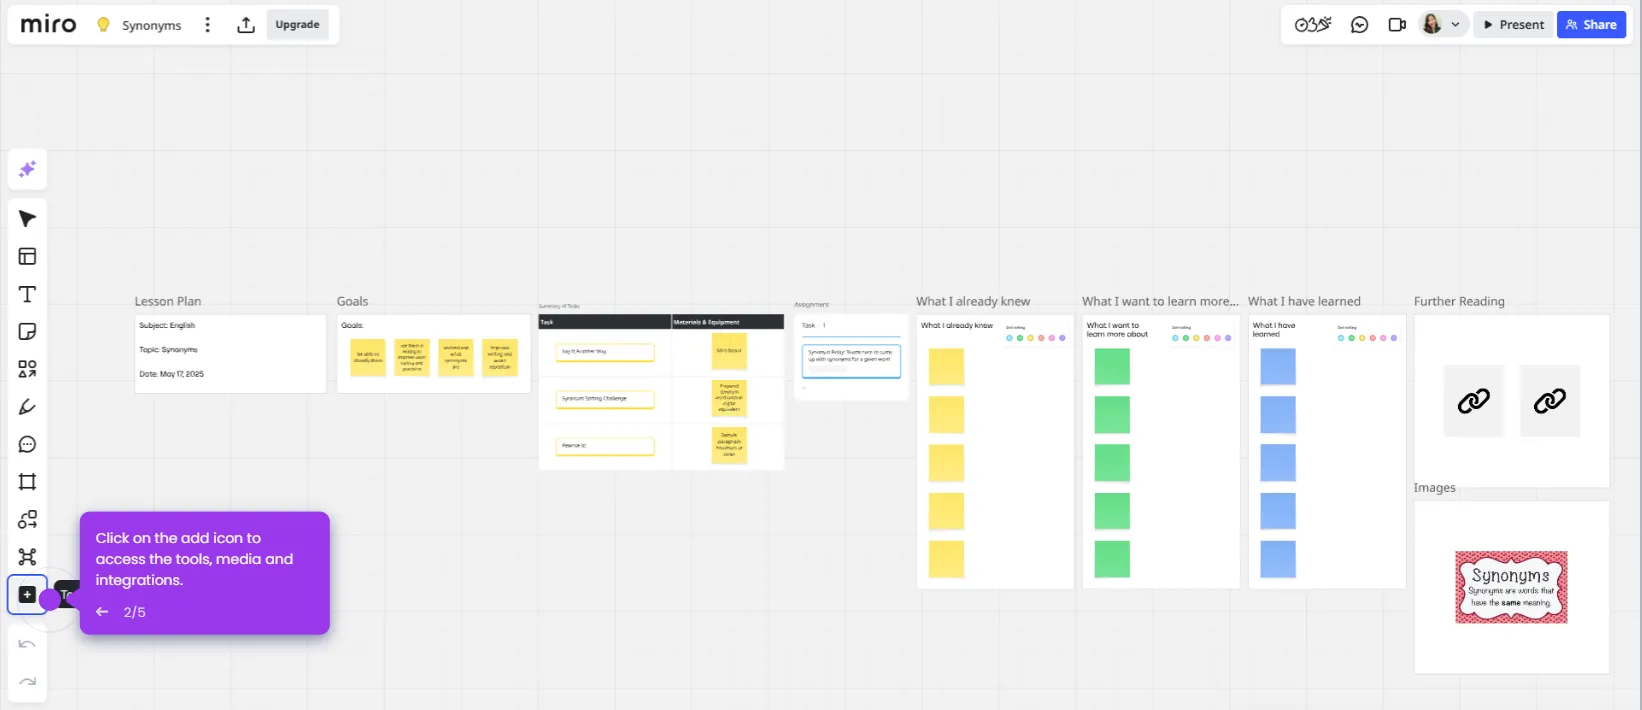
- Open your Miro board from the dashboard.
- Select multiple objects by clicking and dragging your cursor to create a selection area around them.
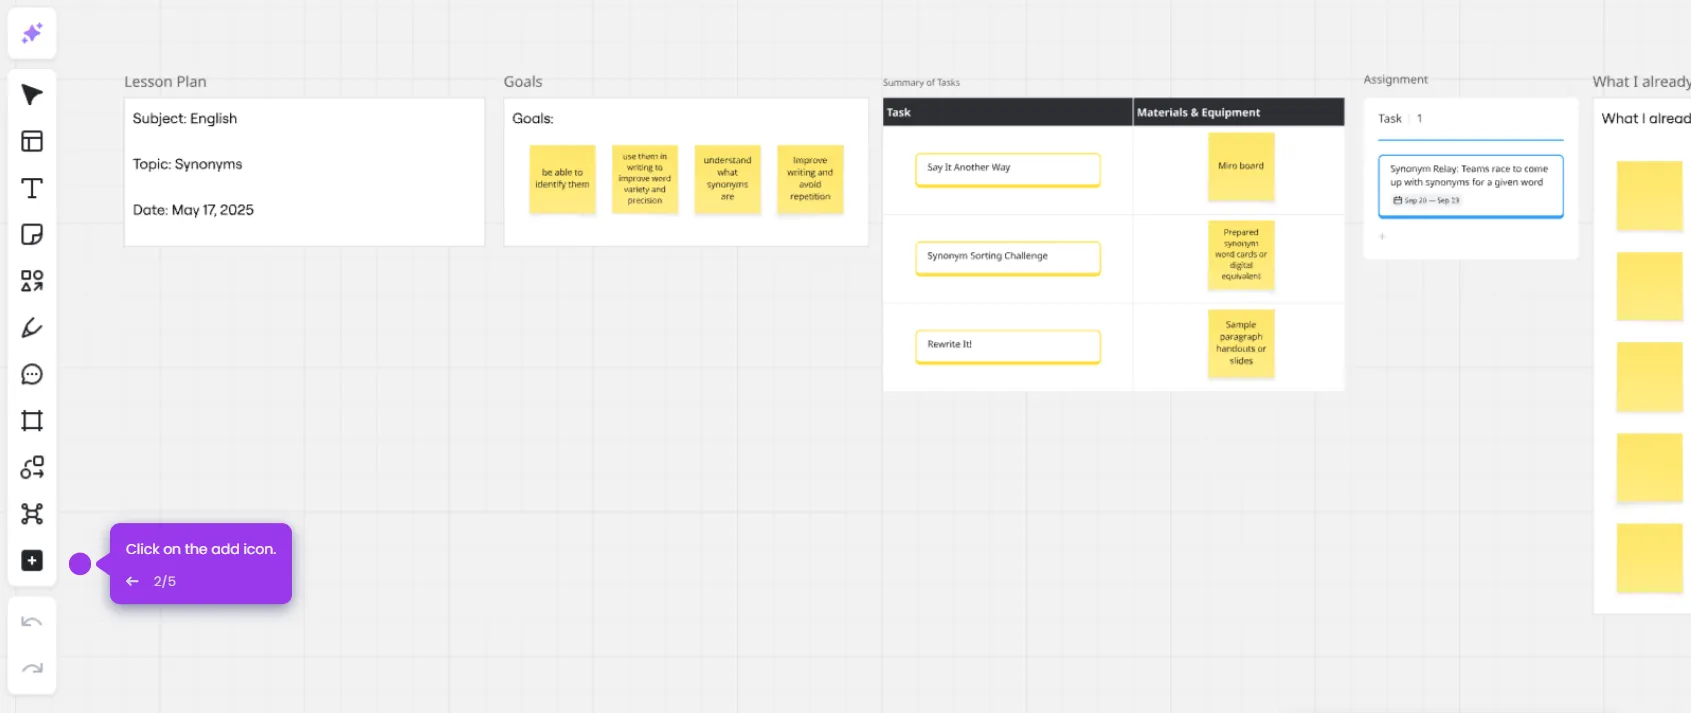
- Use the lock feature to prevent accidental changes to your perfectly arranged groups.
- You now know how to group objects in Miro.