It is very easy to generate an image in n8n using OpenAI. Here’s a short tutorial on how to do it in simple steps:
- Inside your n8n workflow, tap the 'Add' button to create a new step.
- Tap 'Action in an App' to proceed.
- After that, click the search bar and type 'OpenAI'.
- Subsequently, find and choose 'OpenAI' from the suggested results.
- Under the Image Actions, tap 'Generate an Image'.
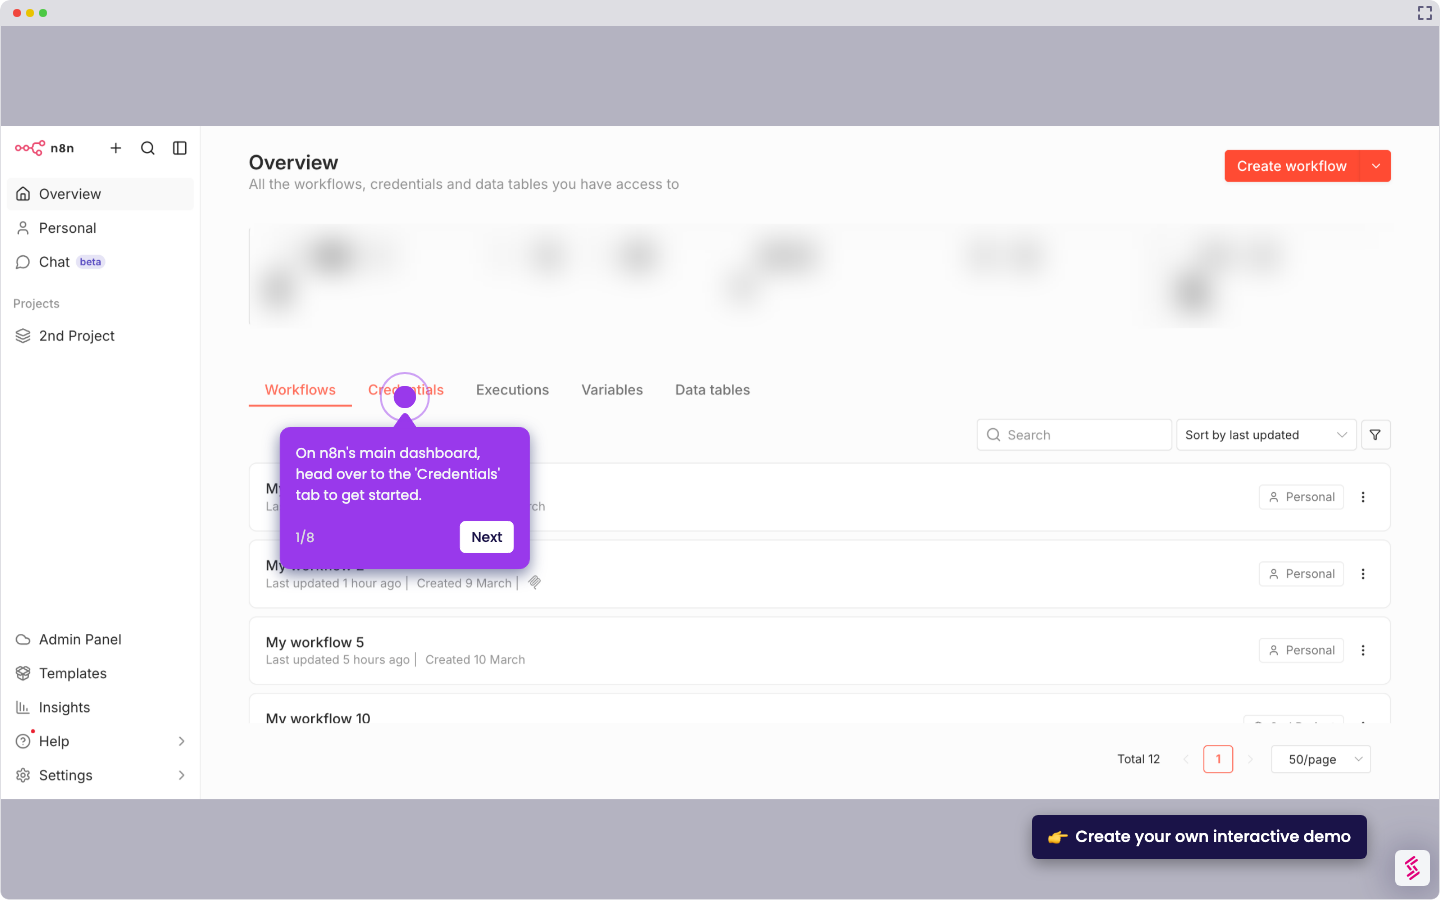
- Now, it's time to configure the selected node. To get started, tap the 'Credentials' menu and select the OpenAI you want to use.
- As for the Resource and Operation, make sure that they are set to 'Image' and 'Generate an Image' respectively.
- Tap the 'Model' menu, then choose one from the list.
- Following that, prepare your prompt and type it into the provided input field. Make sure that the description of the image of you want to generate is clear and well-detailed.
- If you wish to personalize the setup further, simply click the 'Add Option' button.
- Finally, click 'Execute Step' to test your input and generate your desired image output.