It is very easy to create time-tracking systems in Coda with Toggl. Here’s a quick tutorial on how to do it:
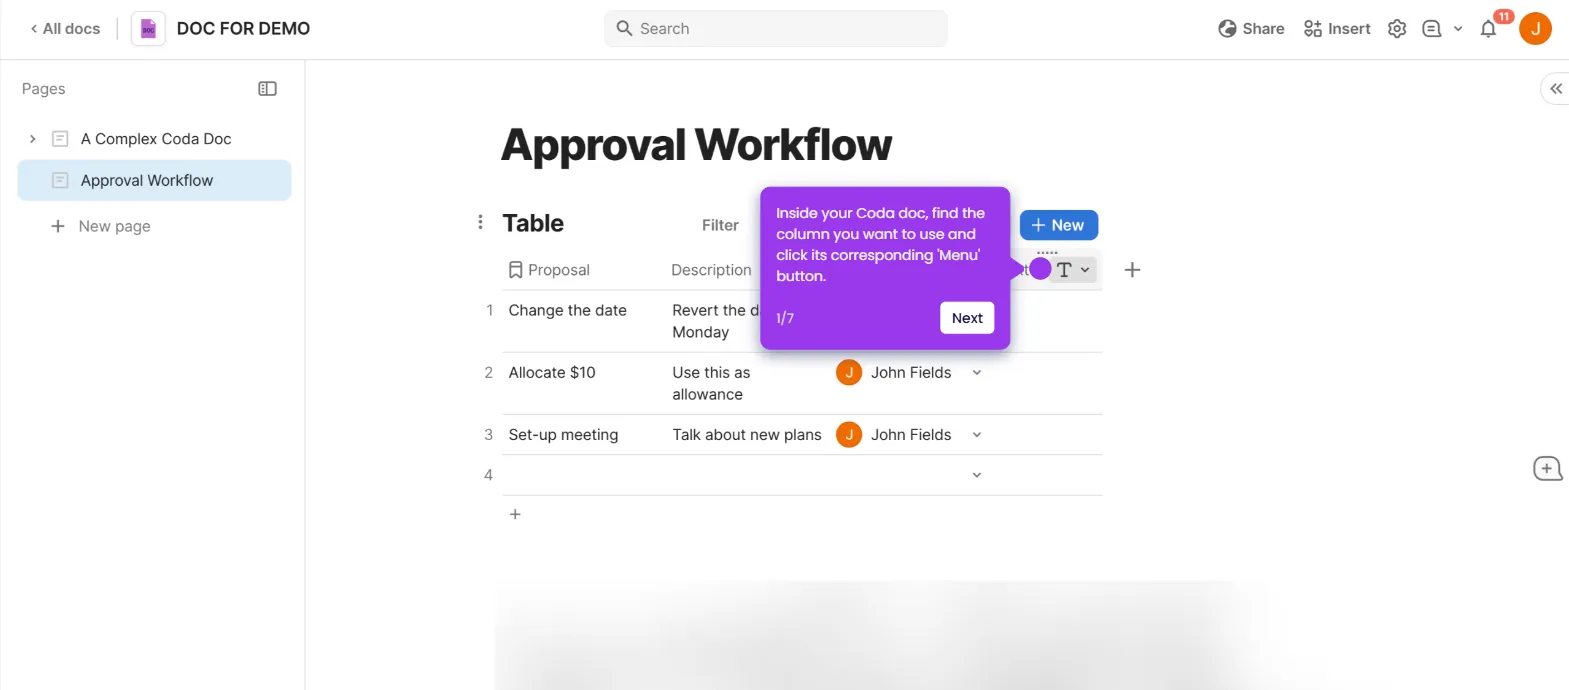
- Inside your Coda doc, go to the top-right corner and click 'Insert'.
- Click the provided search bar and type 'Toggl'.
- After that, select 'Time Entries' from the list of options under Pack Tables and then drag it to the main workspace for further customization.
- Tap 'Connect Read Account' to establish the connection between Coda and Toggl.
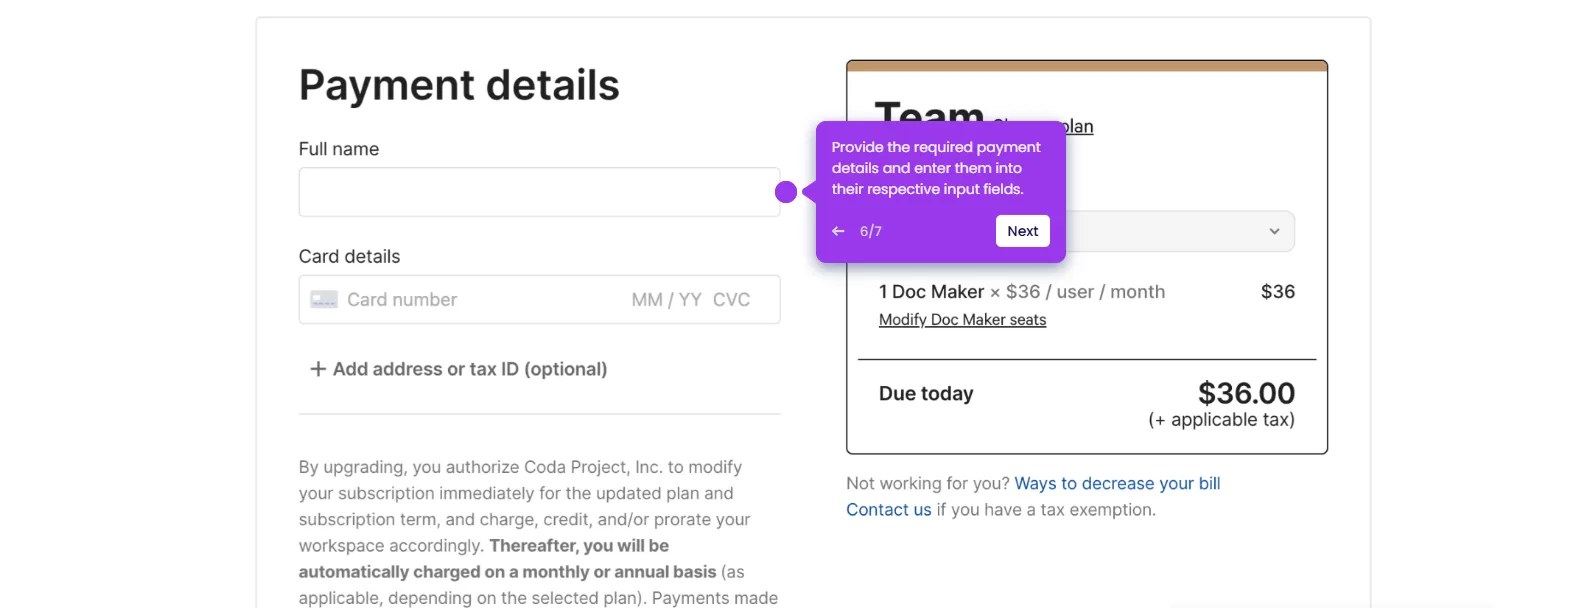
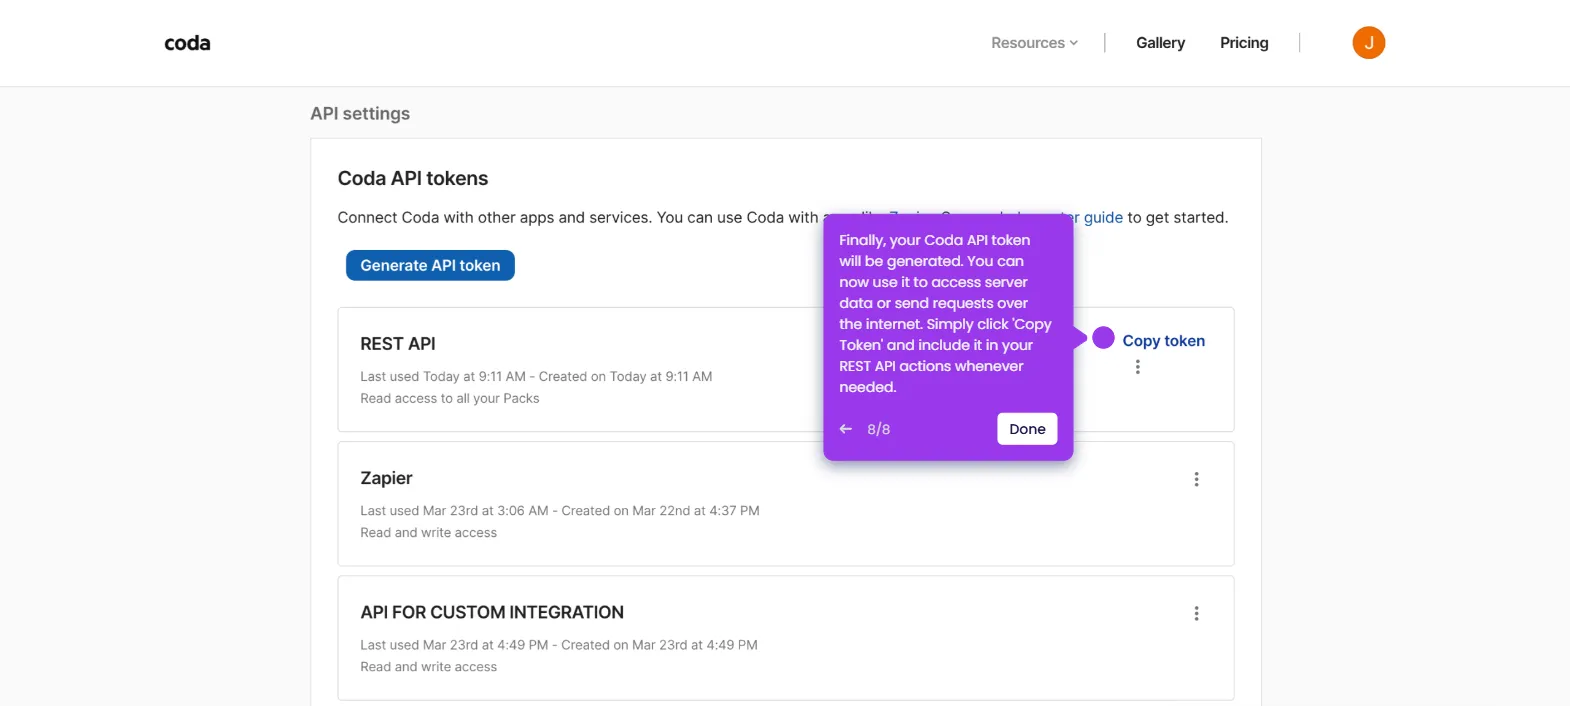
- Subsequently, provide the API credentials associated with your Toggl account. Enter the details into their respective input fields.
- Once done, click 'Continue'.
- Tap 'Complete Setup' to proceed further.
- Following that, click 'Sync Now' to fetch the required time entry data from the connected Toggl account.
- Click 'Table Options' afterwards.
- Customize the general style and appearance of your time entries table. Simply select your preferred format and then configure its corresponding settings based on your preference.
- After completing these steps, the time entries data from your Toggl account will be added to your Coda doc. You can now use it as your time-tracking system to monitor and record the activities captured by the Toggl timer.

.svg)
.svg)


