Quick summary
Creating a sub-menu in Joomla requires adding a new menu item and assigning it a parent item via the administrator panel. Once saved, you must verify your menu module settings to ensure sub-menu items display correctly on the front end.
Steps
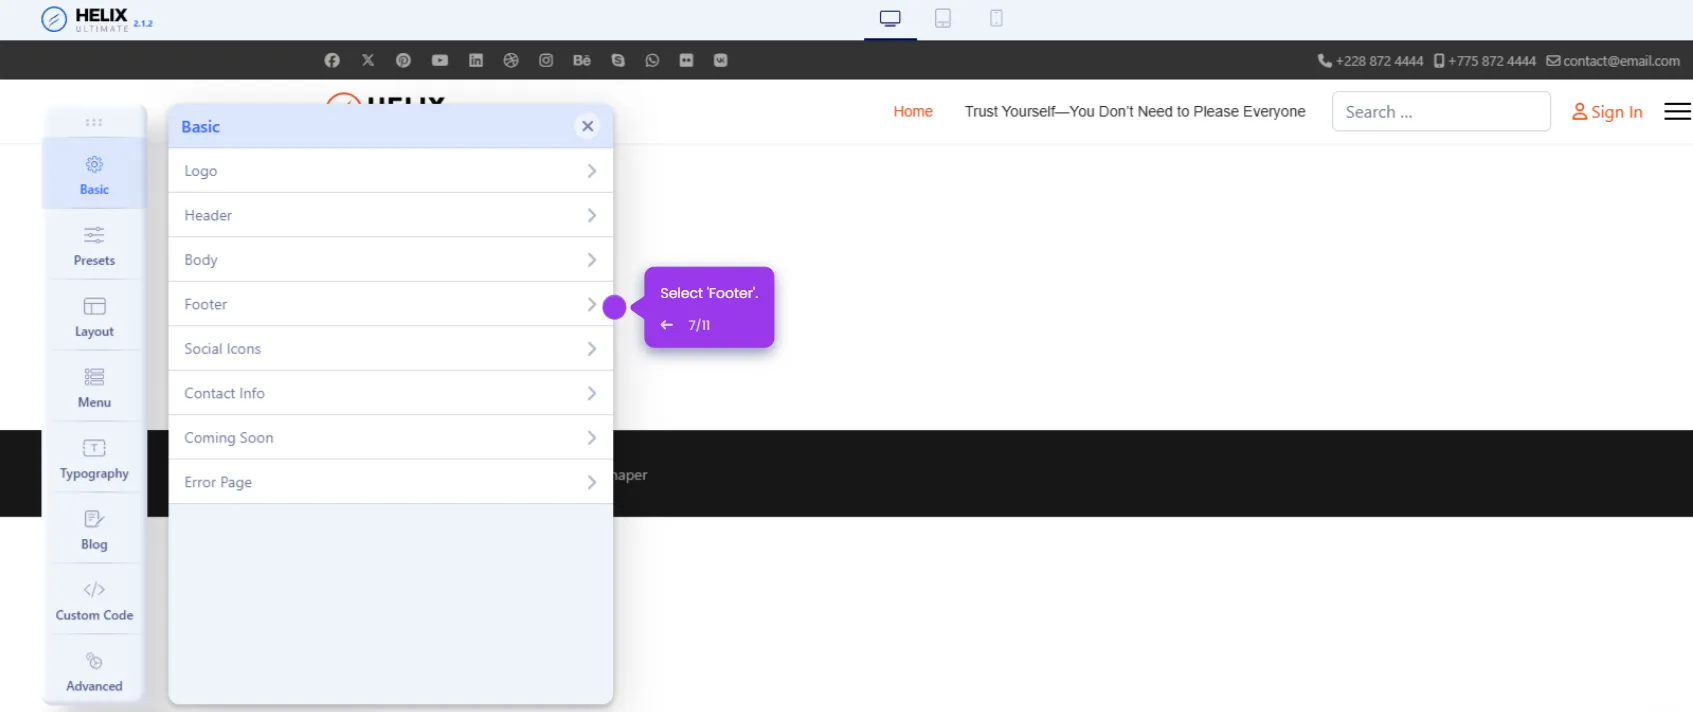
- Navigate to the Menus option in your Joomla administrator panel.
- Click on All Menu Items to view your current menu structure.
- Click the New button to create a menu item that will become part of your sub-menu.
- Enter a name for your new sub-menu item.
- Select which menu this item will belong to using the menu dropdown.
- Click the parent item dropdown to designate this item as a sub-menu.
- Select the parent menu item to determine where your dropdown will appear.
- Click the Select button to browse available menu item types.
- Click on Articles to choose an article-based menu item type.
- Select Single Article to link your sub-menu item to a specific article.
- Click Save & Close to store your menu item settings.
- Navigate to Content to verify your menu module is displaying properly.
- Select Site Modules to manage how your menus display on the site.
- Locate your menu module in the list and click to edit it.
- Verify whether you are working with the Main Menu or Top Menu.
- Scroll down and confirm that Show Sub-menu Items is set to Yes.
- Click Save & Close to apply your updated menu module settings.
- Refresh your site and confirm your sub-menu appears correctly.