Quick summary
Bubble.io lets you create custom workflows that automate actions — like sending emails — triggered by user interactions such as a button click, all without writing a single line of code. This step-by-step walkthrough covers how to add interactive elements, configure workflow triggers, and deploy automated actions inside the Bubble.io visual editor.
Steps
- Explore the Bubble.io interface to familiarize yourself with where your app development journey begins.
- Add a button to your application interface to create a new interactive element.
- Enhance your button with dynamic data to create personalized user experiences.
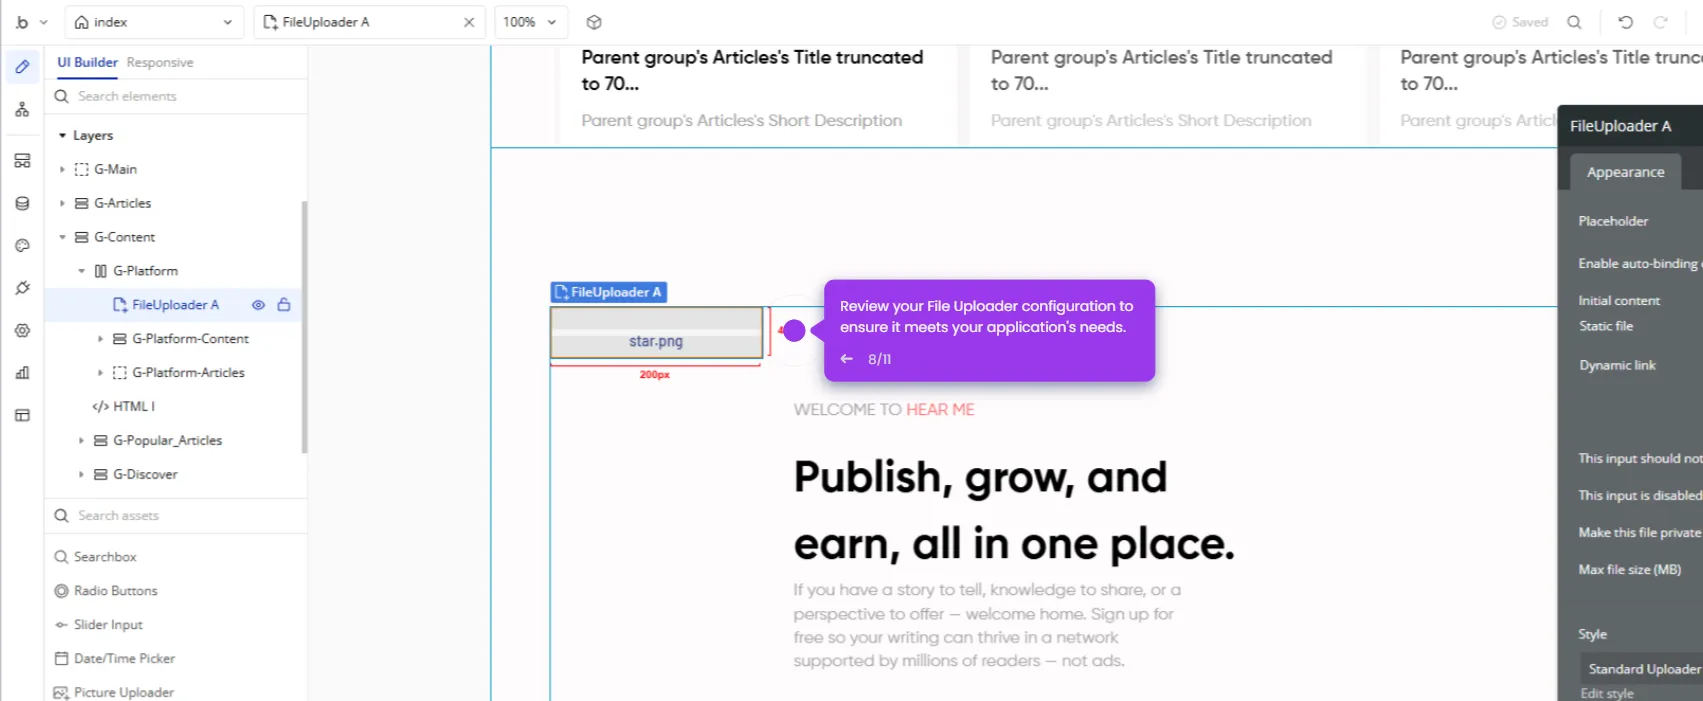
- Customize your element properties to match your application's design and functionality.
- Click 'Add workflow' on your form submission button to connect it to your app's workflows.
- Fine-tune your submission button's appearance to improve user conversion rates.
- Define the trigger event — set the workflow to fire when users click the button.
- Click the add button to proceed to the next step in the workflow editor.
- Open the Workflow editor and select an action to define what happens after the trigger.
- Choose 'Send email' and configure your email notification settings to deliver messages to users.
- Customize the email content with user data to create relevant, personalized communication.
- Confirm that your trigger event is properly connected to initiate the automated workflow.
- Review the completed workflow action details, then click 'Deploy' to publish and make it live.