This interactive demo was created free with Storylane in 2 minutes. Create your own demo
Start free
All Tutorials /Bubble.io

How to Set File Uploads in Bubble.io

Updated on:
May 13, 2026
By:
Madhav Bhandari
Use this interactive demo to learn how to configure file uploads in your Bubble.io app.

Quick summary

This tutorial shows how to set up file uploads in Bubble.io using the built-in File Uploader component, including configuring file size limits, visibility settings, layout, and conditional logic before deploying.


Steps

  1. Navigate to your desired Bubble.io app and click on it to open it.
  2. Go to the Design tab and locate the File Uploader component, which handles document uploads in your app.
  3. Drag the File Uploader element onto your canvas to customize how users interact with file uploads.
  4. Examine the upload interface where users will select and submit their files.
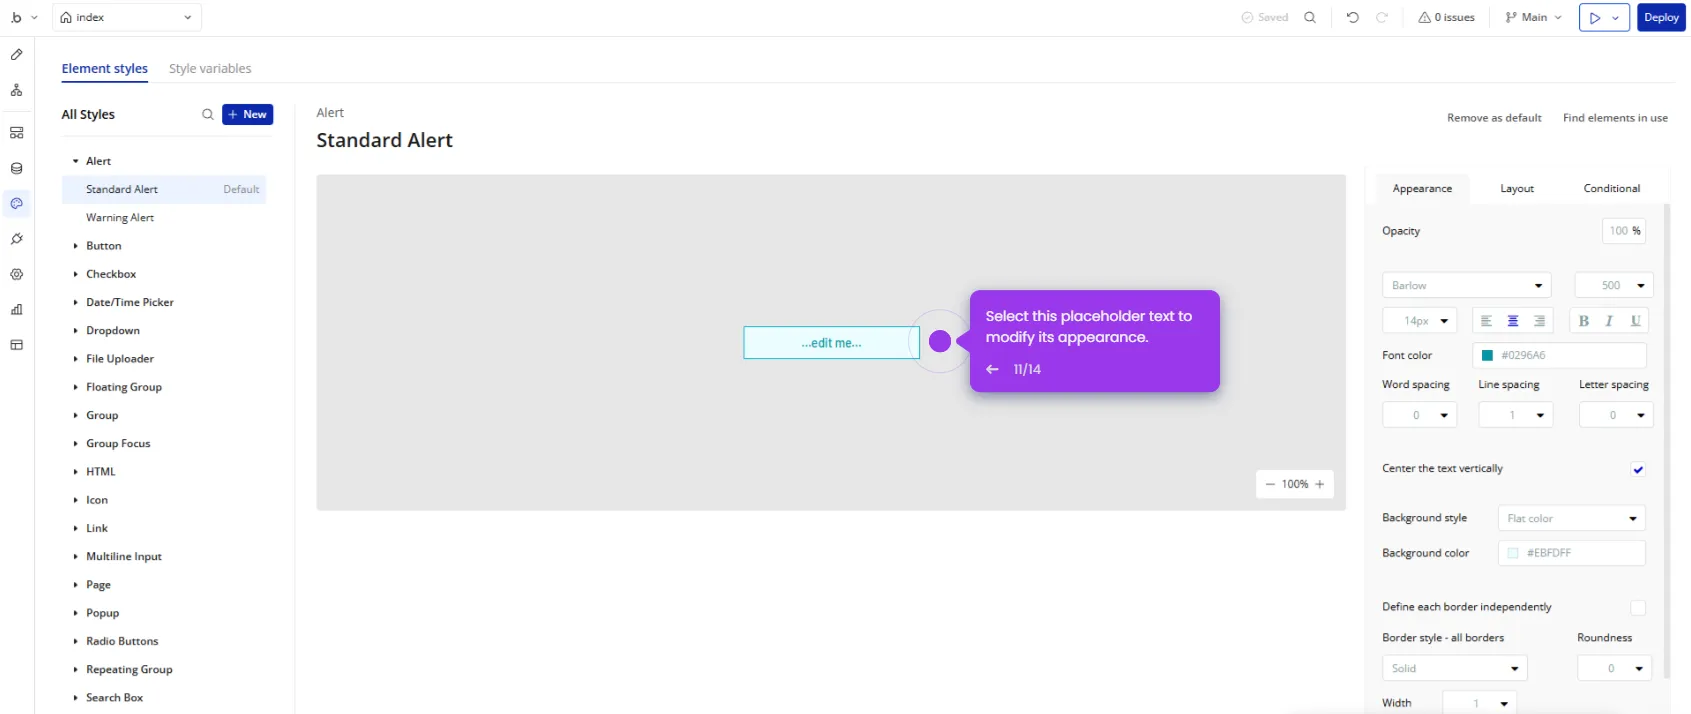
  5. Open the File Uploader settings panel and customize the upload experience with tailored options for your application.
  6. Set the max file size (MB) to optimize performance and prevent oversized uploads.
  7. Adjust visibility settings to control when and how the upload component appears to users.
  8. Review your File Uploader configuration (FileUploader A) to confirm it meets your application's requirements.
  9. Optimize the uploader's Layout settings for seamless integration with your app's design.
  10. Use the Conditional tab to implement logic that creates context-aware file upload experiences.
  11. Click Deploy to finalize your file uploader with conditions that adapt to user actions and app states.

📌 Why this matters

Bubble.io's built-in File Uploader component lets no-code developers add fully functional document upload workflows to their apps without writing a single line of code. Configuring file uploads correctly — including max file size limits, visibility rules, and conditional logic — ensures a performant, secure, and user-friendly experience. Getting these settings right from the start prevents oversized uploads, reduces storage costs, and gives builders precise control over when and how users interact with file submission in their Bubble apps.
Your product deserves an interactive demo
Start free
Similar Articles
Bubble.io

How to Use API Connector in Bubble.io

Madhav Bhandari
Director of Marketing @ Storylane
Bubble.io

How to Add Custom Domains in Bubble.io

Madhav Bhandari
Director of Marketing @ Storylane
Bubble.io

How to Add Custom Fonts in Bubble.io

Madhav Bhandari
Director of Marketing @ Storylane
No items found.
Platform
Interactive Demos
Sandbox Demos
Hubs
RepX
Integrations
Solutions
Product Marketers
Growth & Demand Gen
Sales Reps & AEs
Presales & SEs
Customer Success
Product Managers
Customers
Demo Showcase
Customer Stories
Finer Demos Club
Features
Demo Signals
Personalization
Deal Intelligence
Resources
Blog
The Plot
Tutorials
Help Docs
What’s New
Demo Dundies
Company
Careers
Pricing
Partners
Contact
Trust Center
Backed by
Chrome Extension Icon
Chrome extension
Download
Desktop app
Download
Built in San Francisco Bay Area - ©2026 Storylane
Privacy PolicyTerms & Conditions
X Corp (formerly Twitter)LinkedIn
This website uses cookies to ensure you get the best experience on our website. Learn More
Got it
This website uses cookies to ensure you get the best experience on our website. Learn More
Got it