It is very easy to create an n8n workflow. Here’s a short tutorial on how to do it in simple steps:
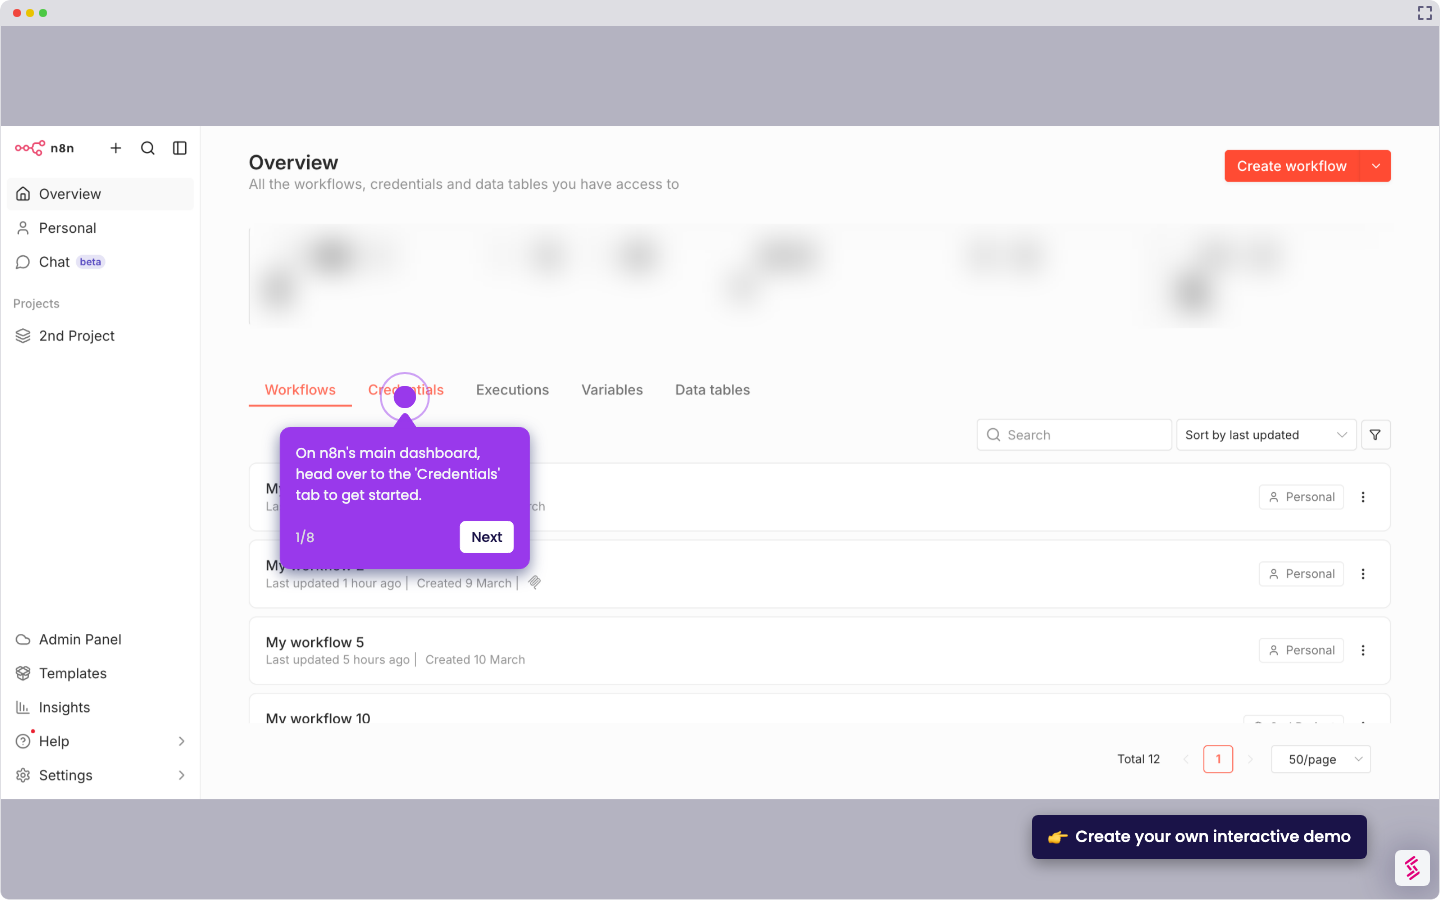
- On n8n's main dashboard, go to the top-right corner and click 'Create Workflow'.
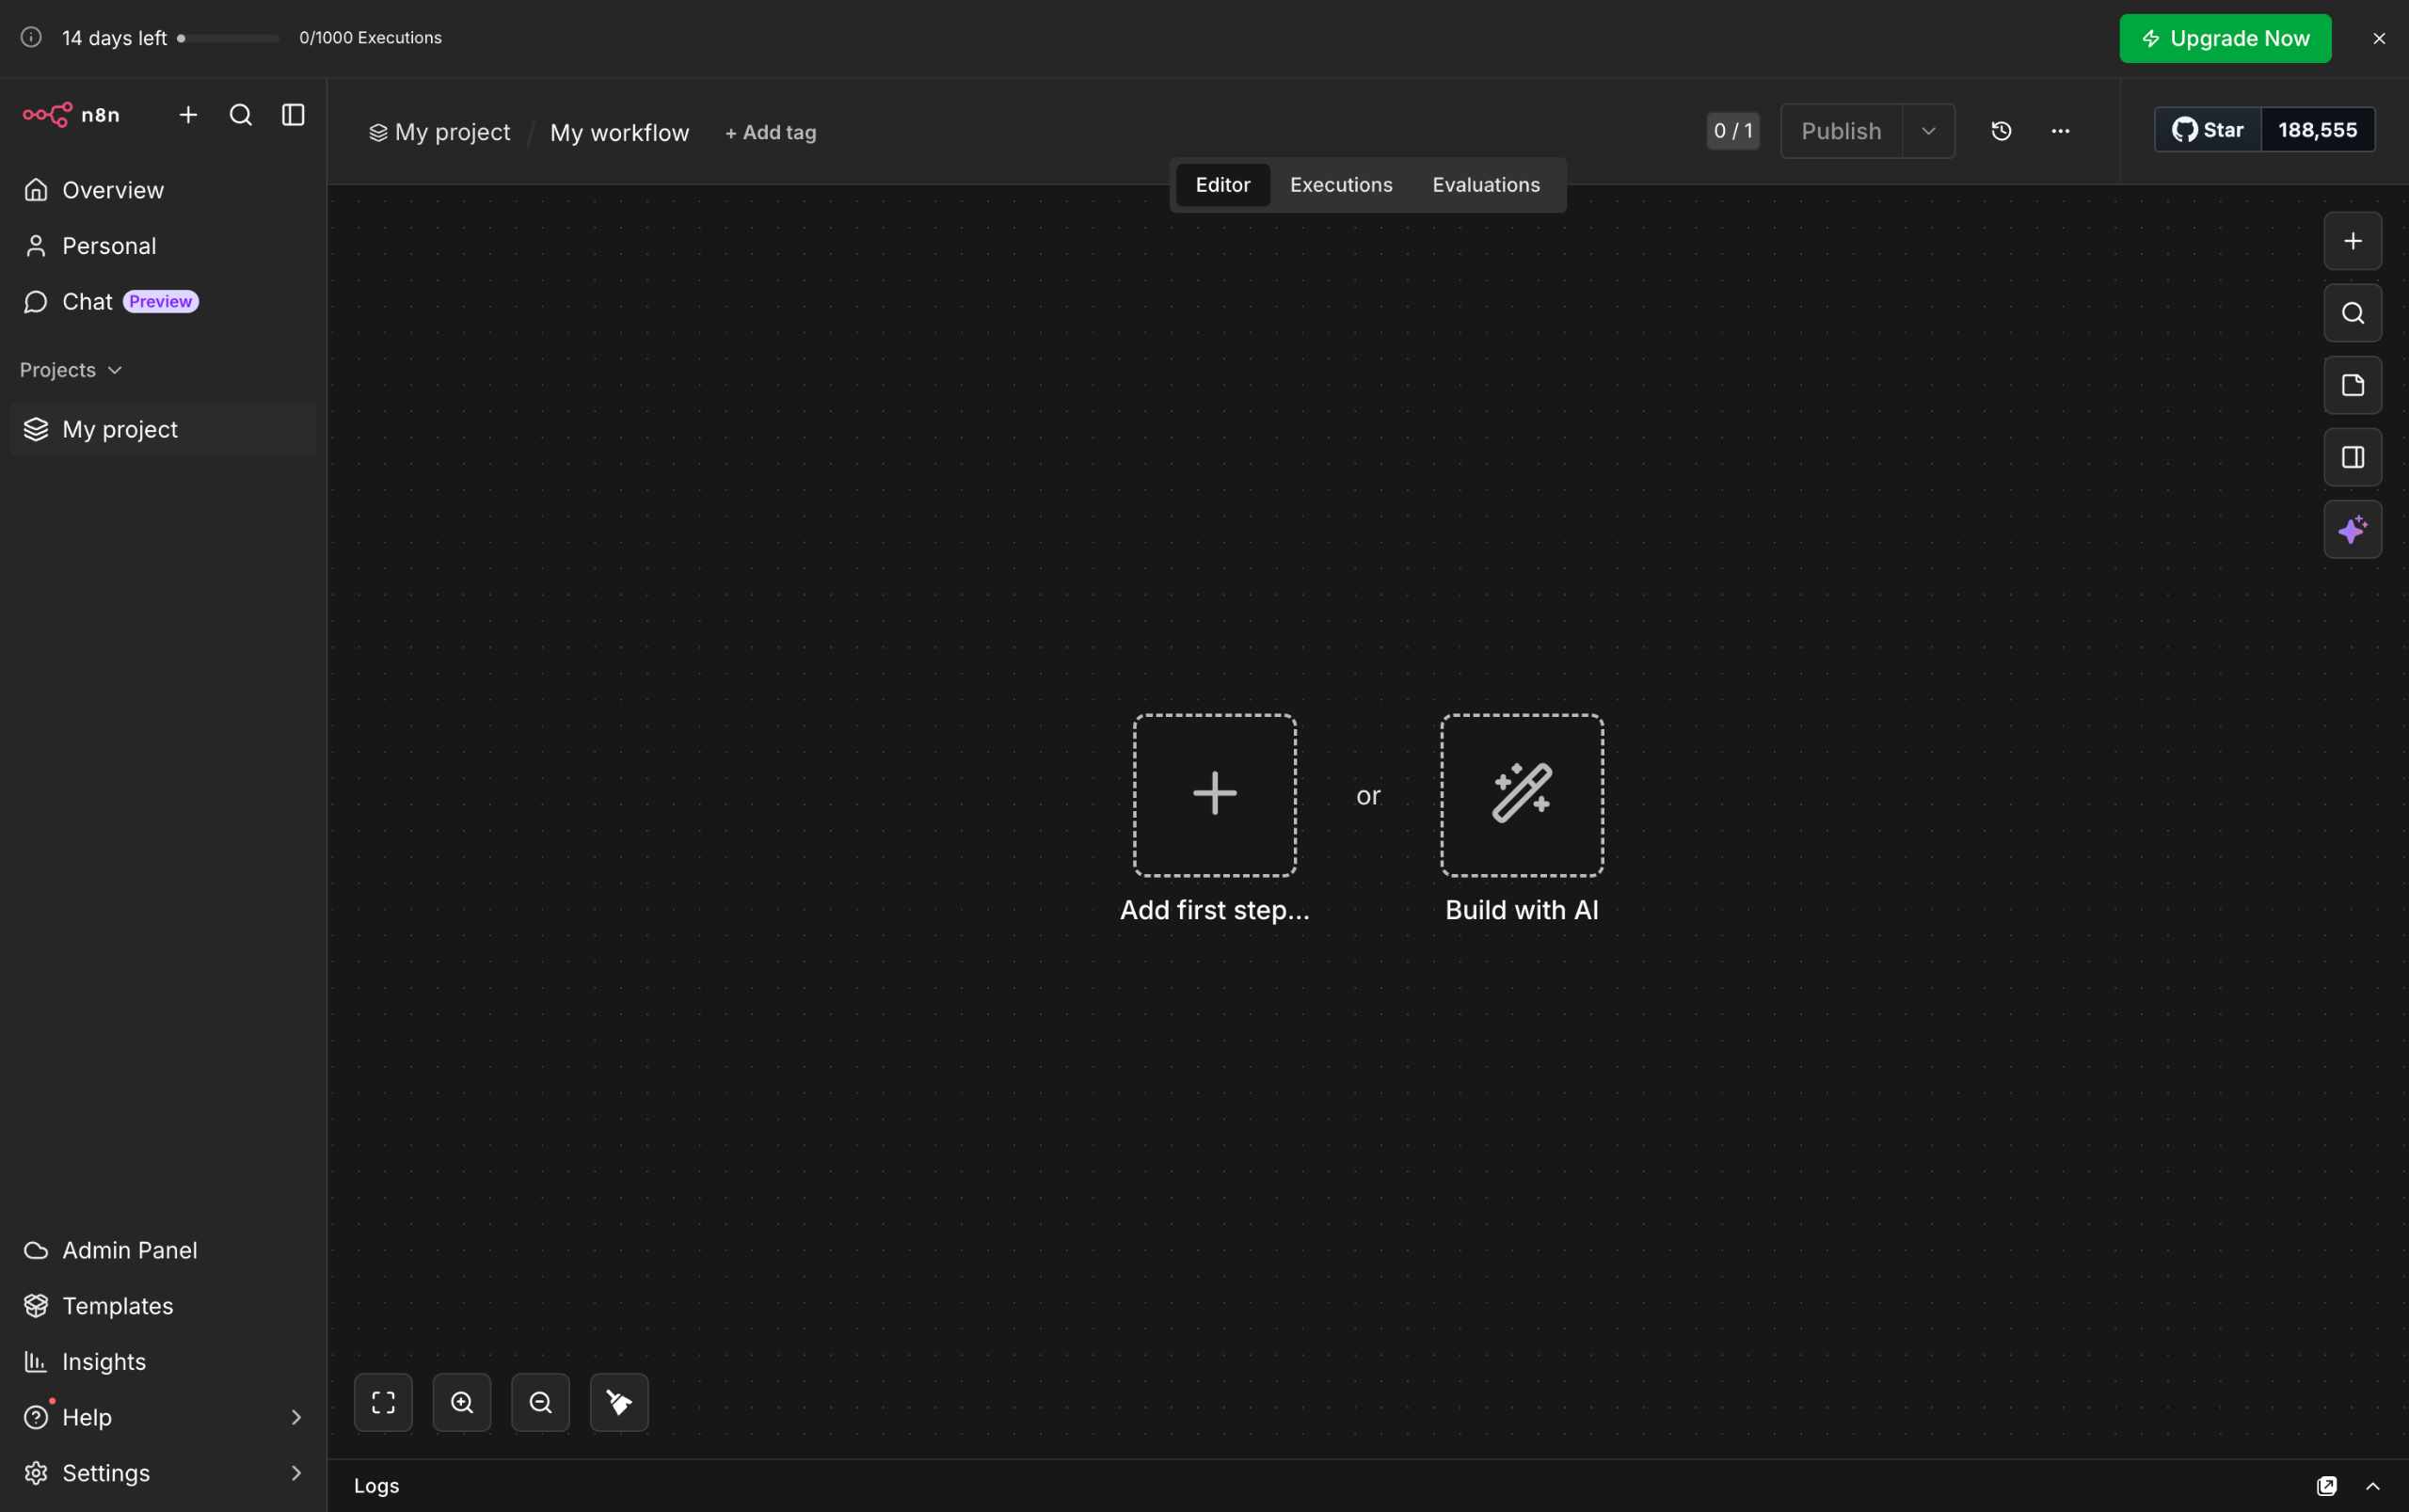
- After that, click the 'Add First Step' tab to get started.
- Choose the type of Trigger you want to implement.
- Subsequently, choose the specific Trigger node you want to use in your workflow.
- Choose the Trigger Event you want to implement.
- Now, it's time to configure the selected node. Specify the credential you want to use, provide all the required information, and adjust the necessary settings.
- Once done, click 'Fetch Test Event' to proceed.
- Tap the 'Close' button afterwards to set up the next step.
- Going back to your workflow, click the 'Add' button to create a new step.
- Choose the type of Action you want to add.
- Subsequently, select the specific Action Node you want to use.
- Browse the list of available Action Events afterwards, then choose one based on your preference.
- Now, it's time to configure the selected Action node. Select your preferred credential, provide all the necessary details, and adjust all the required settings according to your liking.
- Once done, click 'Execute Step' to run your input.
- Click the 'Close' button afterwards to return to your workflow.
- If you need to create more steps, simply click the 'Add' button and repeat the same process.
- Once completed, click 'Publish' in the top menu bar.
- Come up with a unique Version Name and Description. Enter the details into their respective input fields.
- Click 'Publish' afterwards to proceed.
- Finally, your n8n workflow will be created.