This tutorial shows how to set up a new HTML project in Replit and get it running in the built-in preview.
Notes
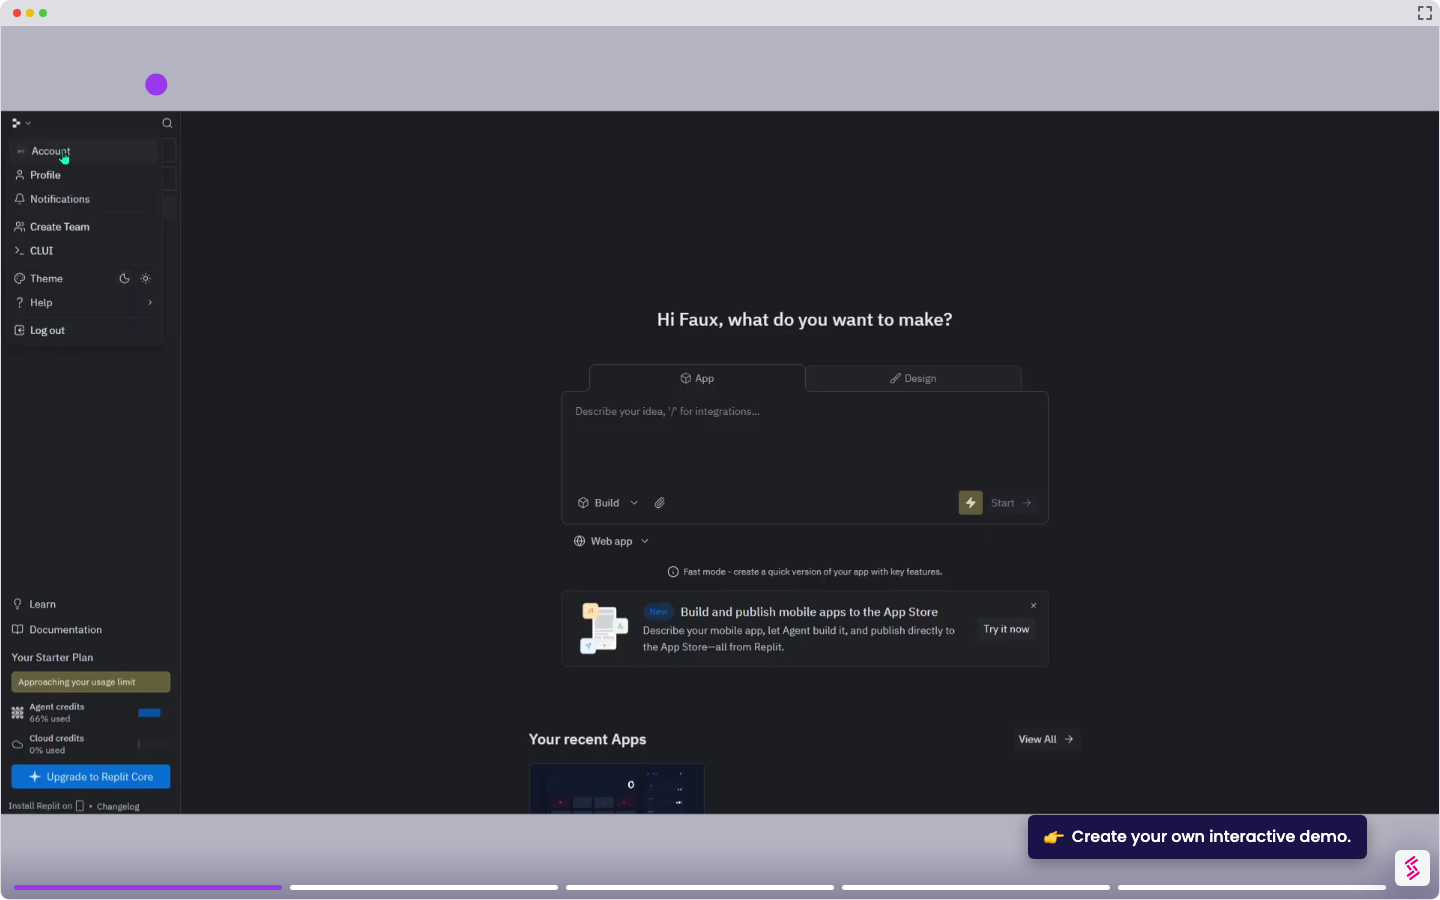
- You need a Replit account to get started. Sign up at replit.com if you don't have one yet.
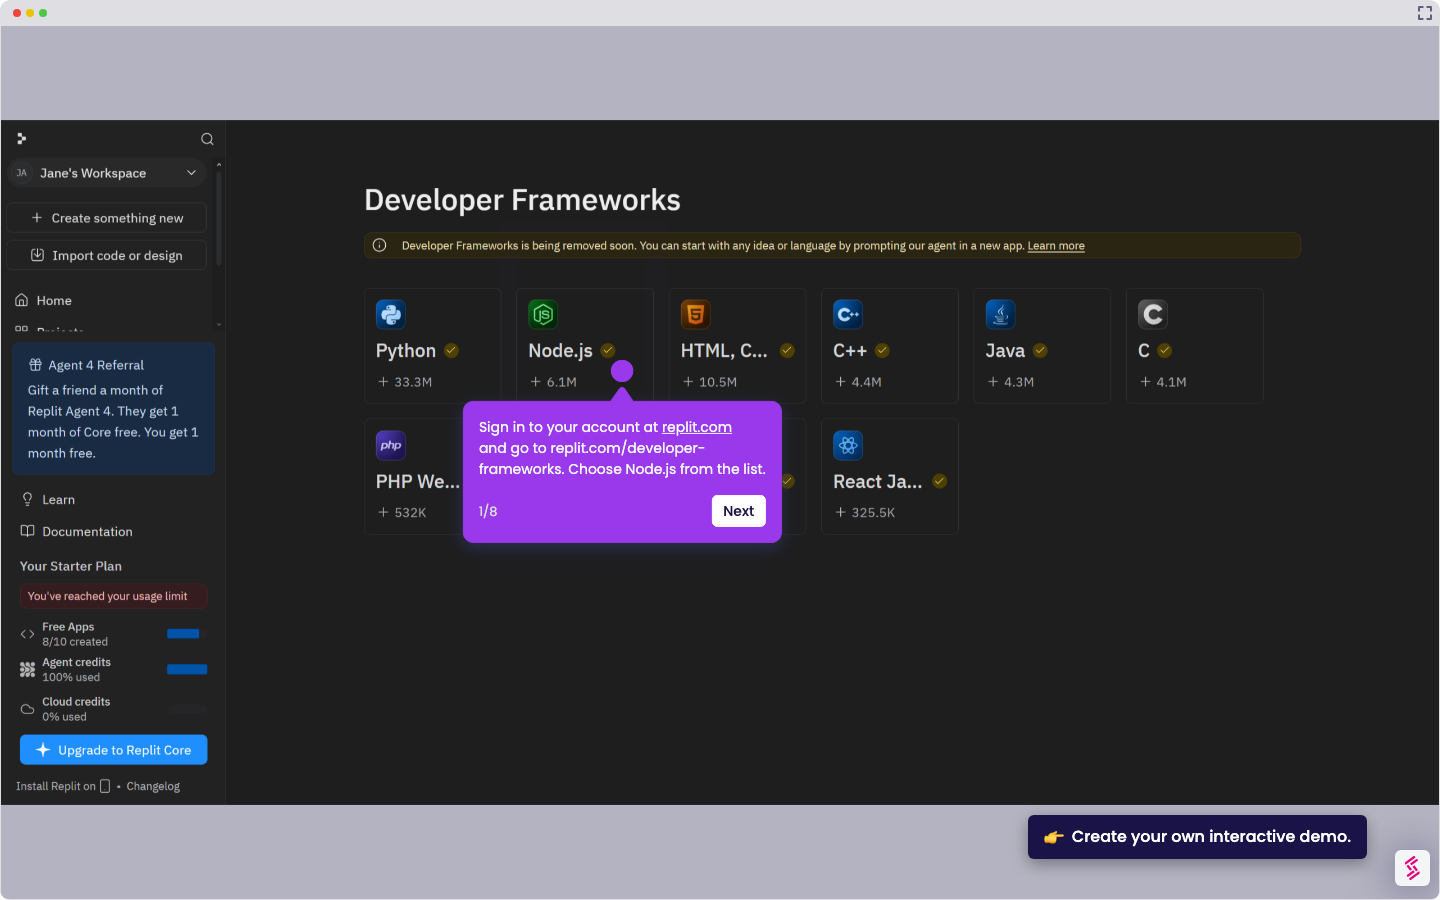
- Replit is phasing out Developer Frameworks. If replit.com/developer-frameworks is unavailable, go to your dashboard, click + Create Something New, and describe your project in the prompt - for example, "Create a Python project with Flask installed." The Agent will set up the environment automatically.
- Sign in to your account at replit.com and go to replit.com/developer-frameworks. Choose HTML, CSS, JS (Static) from the list.
- Click Remix. When the Privacy option prompts, choose the default (Public) and click Use Framework.
- Wait for Replit to set up the environment, then click the Open Files icon in the top-right corner and click File tree.
- Review the generated project structure - by default, Replit creates an index.html, style.css, and script.js file.
- Click index.html to open it in the editor and start building your page - for example, a landing page for a SaaS client proposal.
- Click the Run button at the top of the workspace. Replit launches the page in the Preview panel on the right so you can see your changes live.
- To fix bugs, you can ask the Agent to “check my app for bugs” to let the Agent review your code.