Quick summary
Framer is a no-code website builder that lets you design, customize, and publish a fully responsive website directly in the browser. This walkthrough covers everything from creating a new project to adding text, images, and layout elements, then publishing your site live.
Steps
- Click New Project to start a fresh Framer project from the dashboard.
- Add a Text element from the insert panel to begin building your page content.
- Name your project (e.g., "My First Website") to keep your design work organized.
- Apply your design changes to see them reflected on the canvas in real time.
- Open the hex code color selector to customize your site's color palette.
- Open the Layout panel to access structural design controls for your page.
- Insert an Image element to add visual content to your design.
- Click Choose Image to upload your own imagery and personalize the site.
- Use the Crop tool to fine-tune your image framing and positioning.
- Confirm the crop to finalize your image presentation.
- Add a clickable call-to-action element to introduce interactivity to your page.
- Adjust the layout settings to optimize the visual flow of your page.
- Use Add Stack to group and automatically align elements together.
- Set consistent spacing using the TRBL (top-right-bottom-left) padding controls.
- Position your elements precisely using the alignment controls in the design panel.
- Use Link To to connect buttons or nav items to other pages on your site.
- Open the Breakpoints menu to configure layout behavior for different screen sizes.
- Switch to Tablet view to preview and adjust your responsive design.
- Add another Text element to create additional content sections on your page.
- Set the Body text style to establish consistent typography across your site.
- Select the Inter typeface for a clean, modern typographic look.
- Use the precision editing tools to finalize your content and layout details.
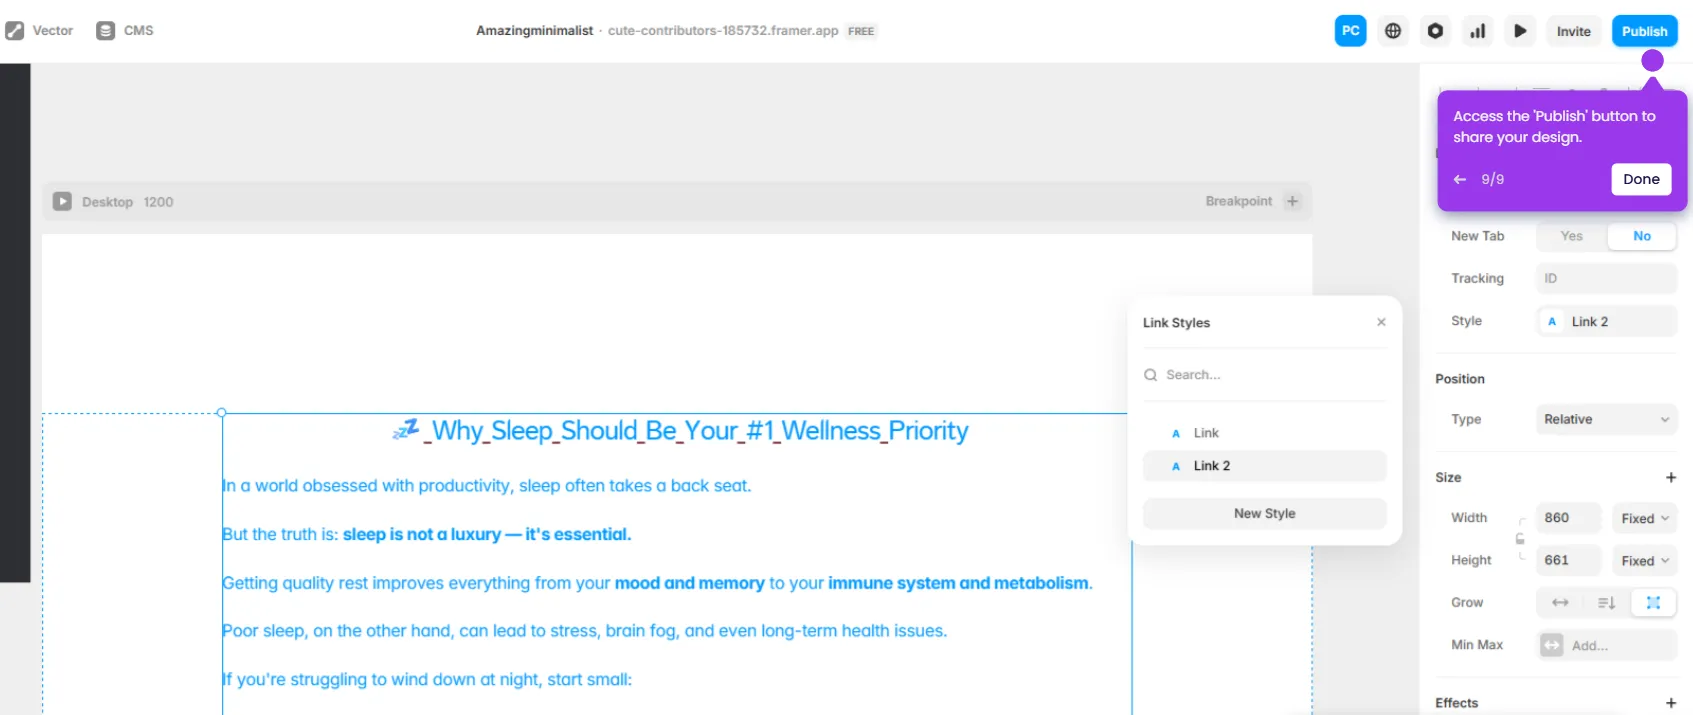
- Click Publish in the top-right corner to make your Framer website live.