.gif)
.svg)


Quick summary
Changing a logo in Framer involves selecting the existing logo element, navigating to the Fill option under Style settings, and uploading a new image via the Choose Image button. This process lets you quickly rebrand any Framer project without touching code.
Steps
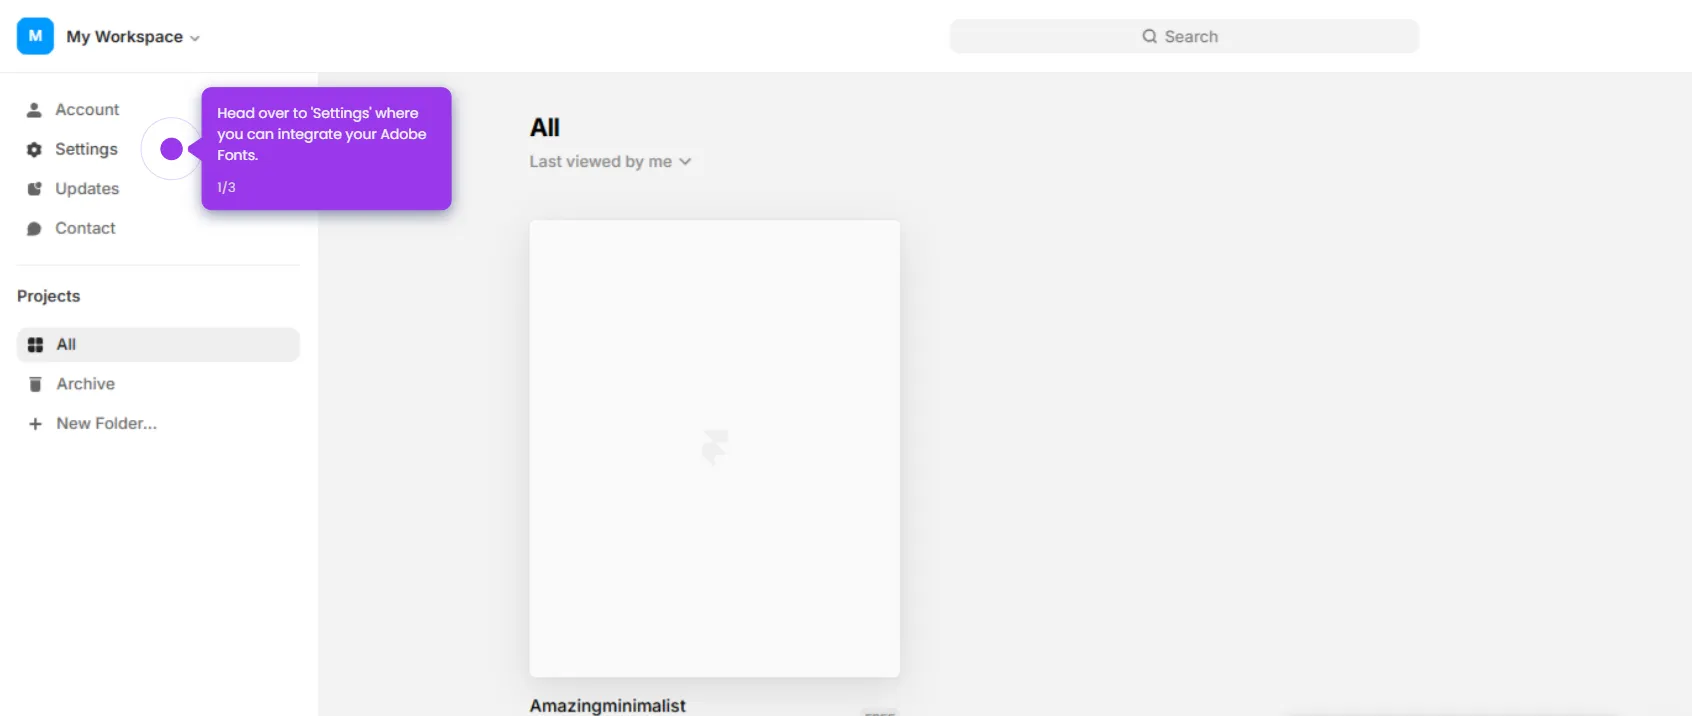
- Open your Framer project from the projects dashboard.
- Navigate to different pages in your project to locate the page containing the logo.
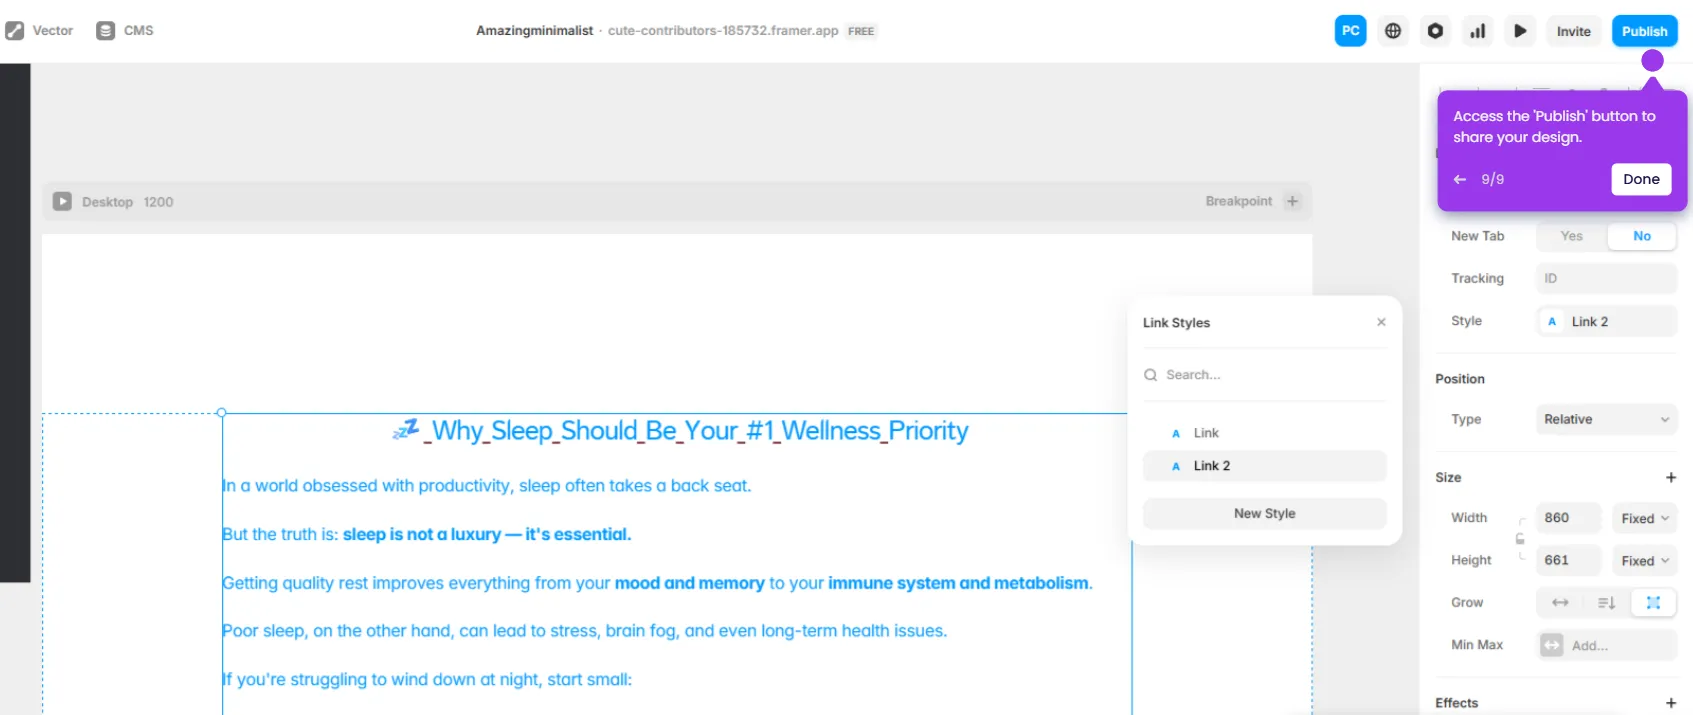
- Select your current logo element on the canvas.
- Navigate to the Fill option under the Style section in the right-hand panel.
- Click Choose Image to upload a custom logo image to your project.
- Your logo has been successfully changed in Framer.