Quick summary
Assigning an invoice item to a project in Xero lets you track billable work against specific projects directly from your accounts receivable workflow. This step-by-step process takes under a minute and ensures accurate project cost tracking without leaving the invoice editor.
Steps
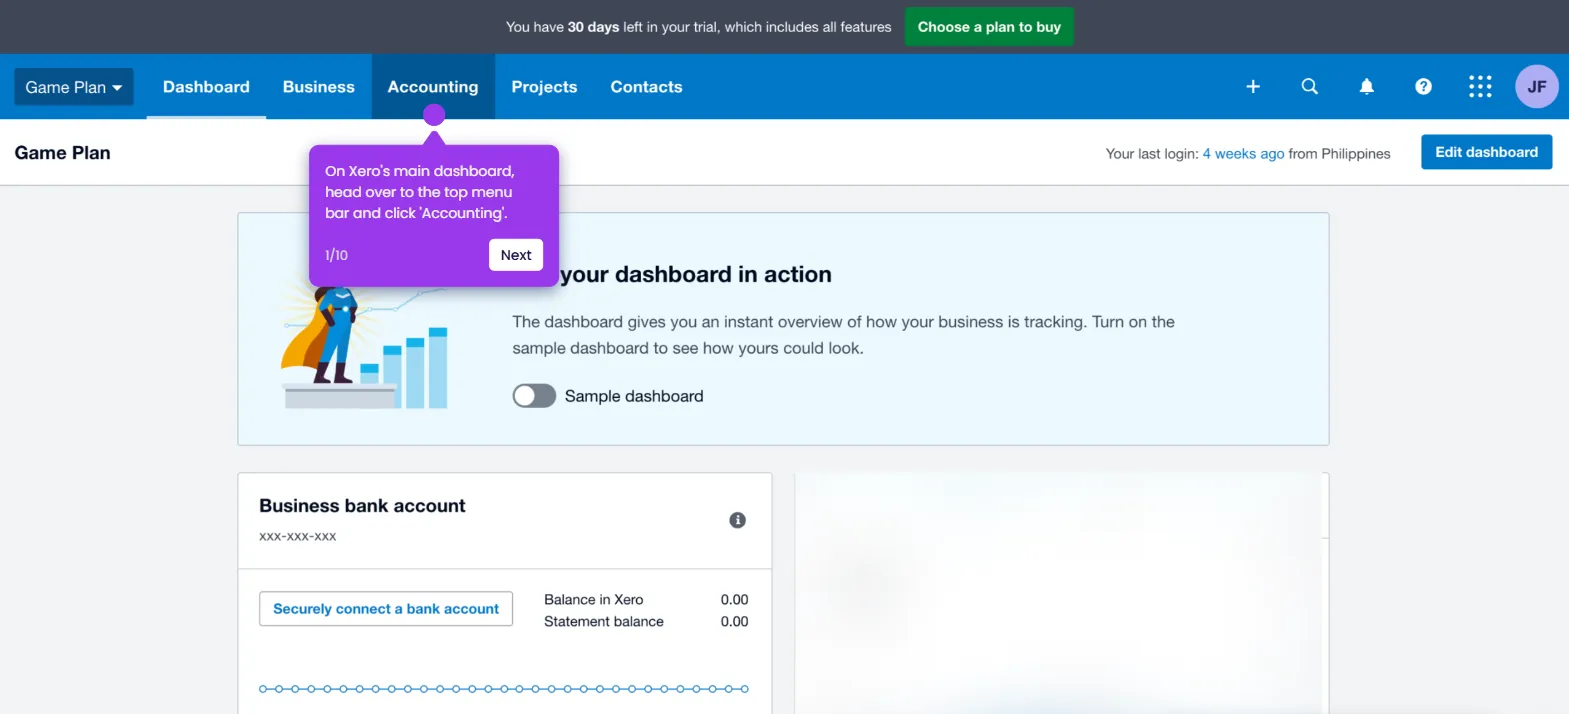
- On Xero's main dashboard, go to the top menu bar and click 'Business'.
- Choose 'Invoices' from the dropdown list of options.
- Find and open the specific invoice you want to edit.
- Tap the field under 'Project' on the invoice line item to proceed.
- Select the project you want to assign to that invoice item.
- Click 'Save & Close' or 'Approve & Email' to confirm the changes.
- The invoice item is now successfully assigned to your chosen project in Xero.