Quick summary
Adding custom fonts in Bubble.io involves uploading font files through the File Manager and applying them via the Styles editor. This no-code approach lets you replace default fonts like Gilroy with custom typefaces such as Poppins without writing any CSS from scratch.
Steps
- Click Settings to access the visual editor and start customizing your application's appearance.
- Navigate to the SEO and Metatags section.
- Scroll down to Advanced Settings and find the Script/meta tags in header field.
- Modify text formatting to enhance visual hierarchy and readability.
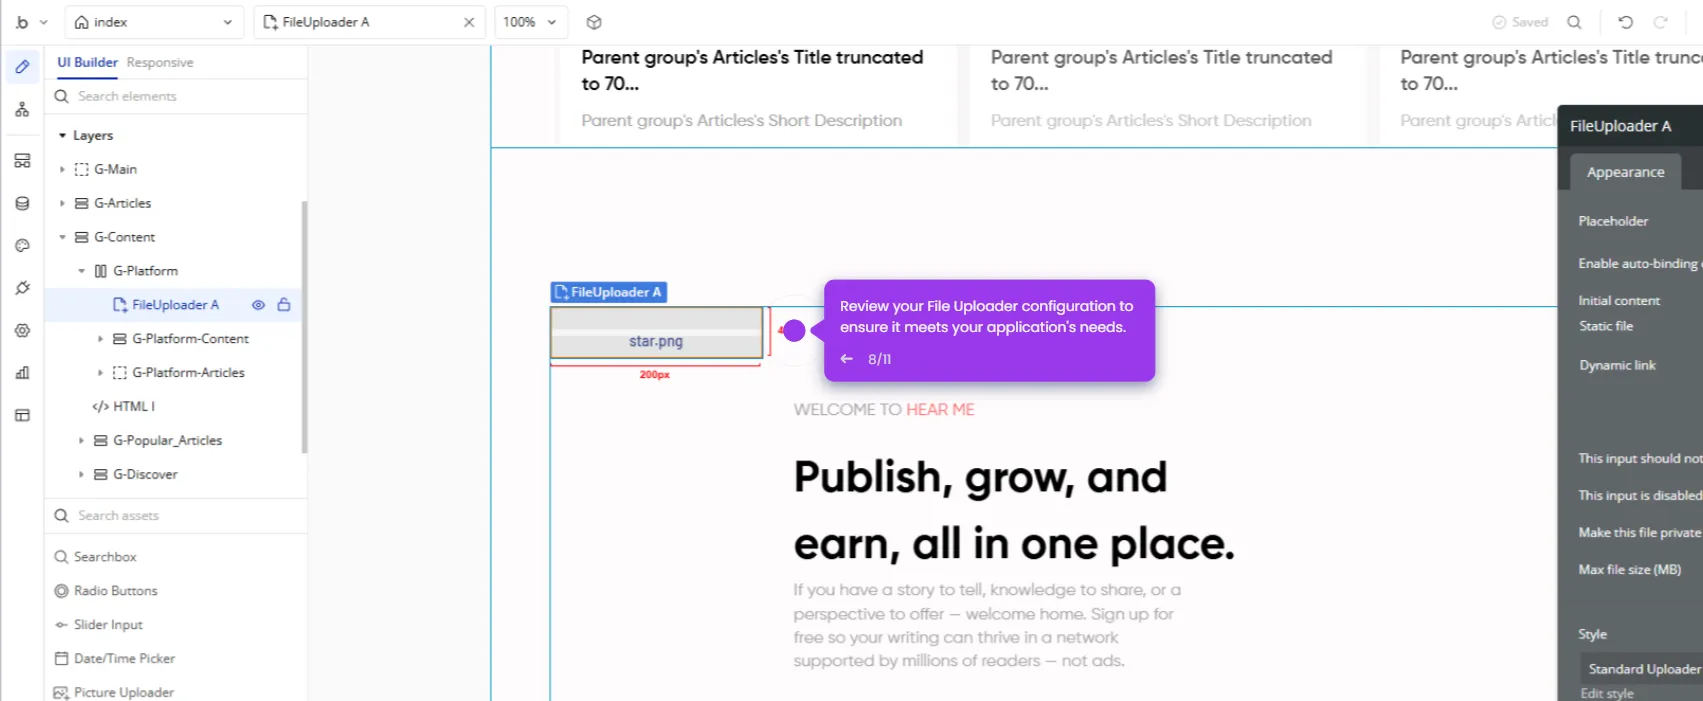
- Open additional design tools by clicking the Data tab.
- Access the File Manager to upload and manage custom assets.
- Select the Upload button to add custom fonts to your application.
- Watch as your custom font file uploads to your application.
- View your uploaded Poppins font file in the asset library.
- Return to the editor by clicking the Styles tab to apply your newly added custom font.
- Select the placeholder text element to modify its appearance.
- Change from the default Gilroy-Regular font to your custom font.
- Open the font selector to view all available typography options.
- Navigate your font library and apply the Poppins font to give your design a fresh, modern look.