It is very easy to add a track inventory item in Xero. Here’s a quick guide on how to do it in simple steps:
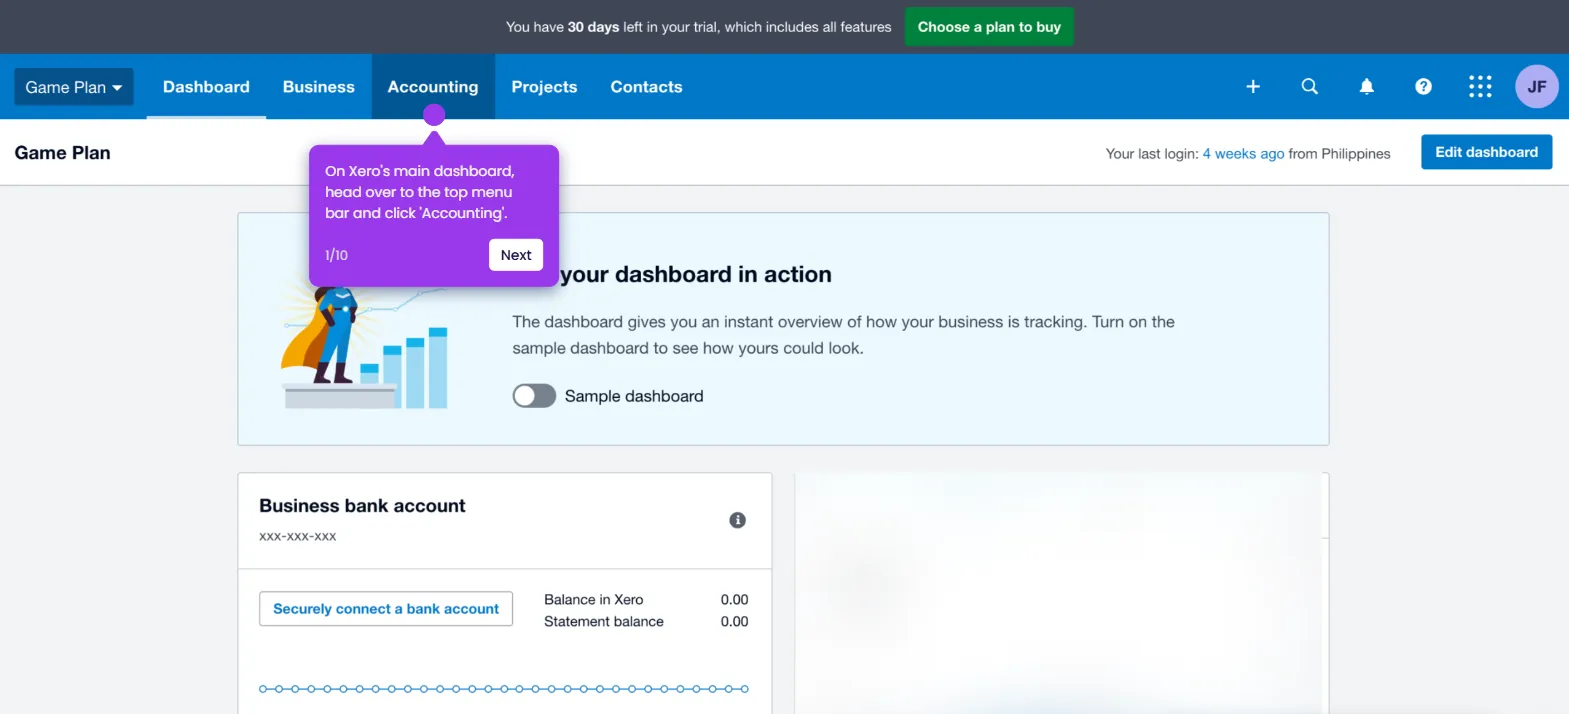
- On Xero's main dashboard, head over to the top menu bar and click 'Business'.
- Select 'Product and Services' from the list of options.
- After that, click 'New Item' at the top-right corner.
- Come up with a unique item code and name. Enter them into their respective input fields.
- Subsequently, tick the checkbox beside the 'Track Inventory Item' option.
- Tap the 'Inventory Asset Account' menu and select one from the given choices.
- Following that, provide other purchase and sell information related to the item you wish to create.
- Once done, review your input and click 'Save' to proceed.
- After completing these steps, a new tracked inventory item will be added to your Xero account.

.svg)
.svg)


