.gif)
.svg)


Quick summary
The Framer Stripe integration lets you add a fully functional payment button to your Framer site by linking a design element directly to a Stripe payment URL. This step-by-step walkthrough covers everything from opening your project to wiring up a branded, interactive pay button that sends visitors to checkout.
Steps
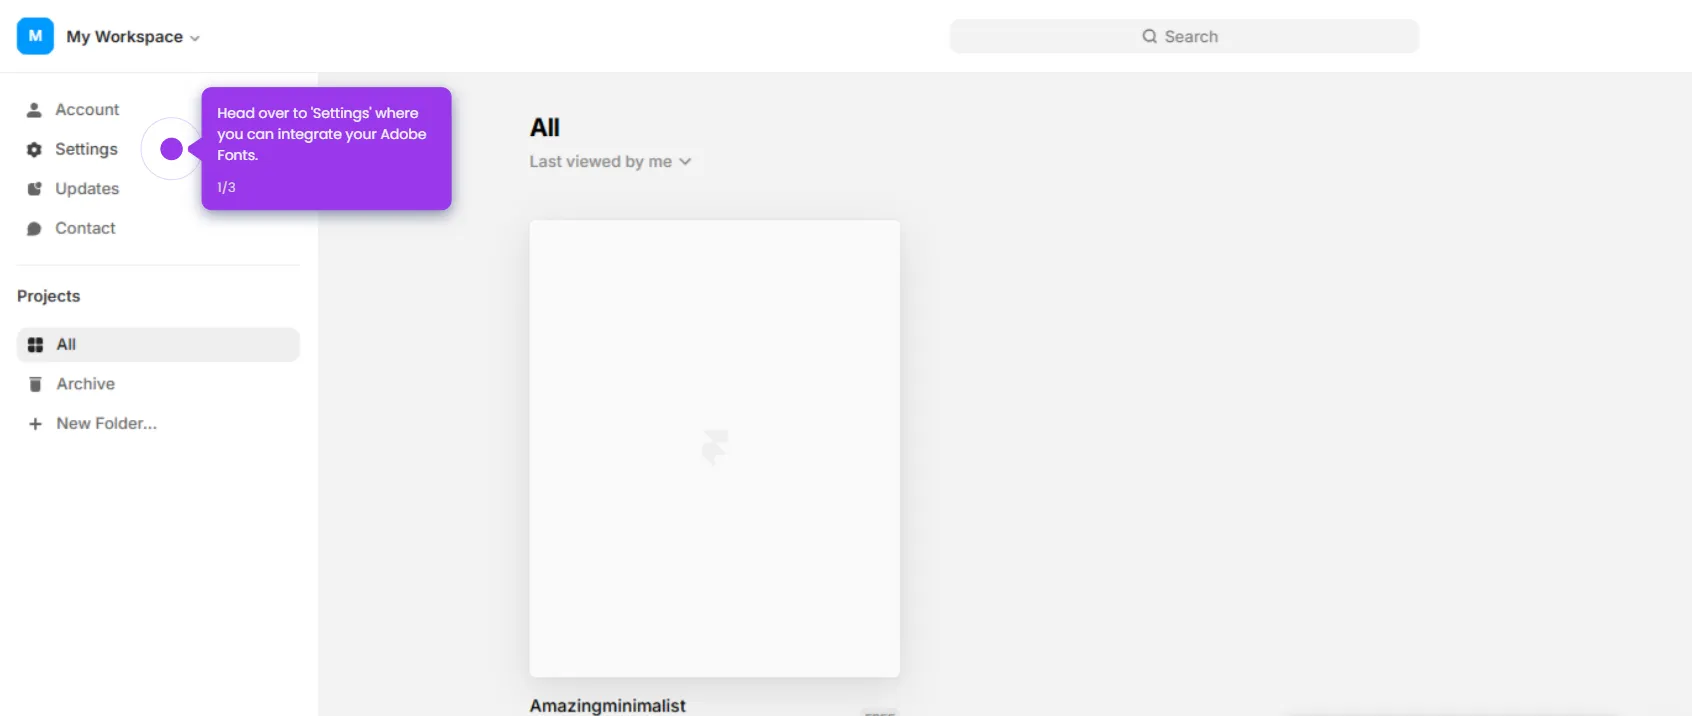
- Open your Framer project from the projects dashboard.
- Create a button and add compelling text content to communicate your payment message.
- Add interactive elements to engage your visitors on the page.
- Customize design elements to match your brand identity.
- Enable instant payments by activating Framer's secure payment button.
- Apply your design changes to preview them in real-time.
- Click the add icon to establish page connections with intuitive links.
- Enter custom properties to tailor your design elements further.
- Set up powerful navigation by connecting pages with links.
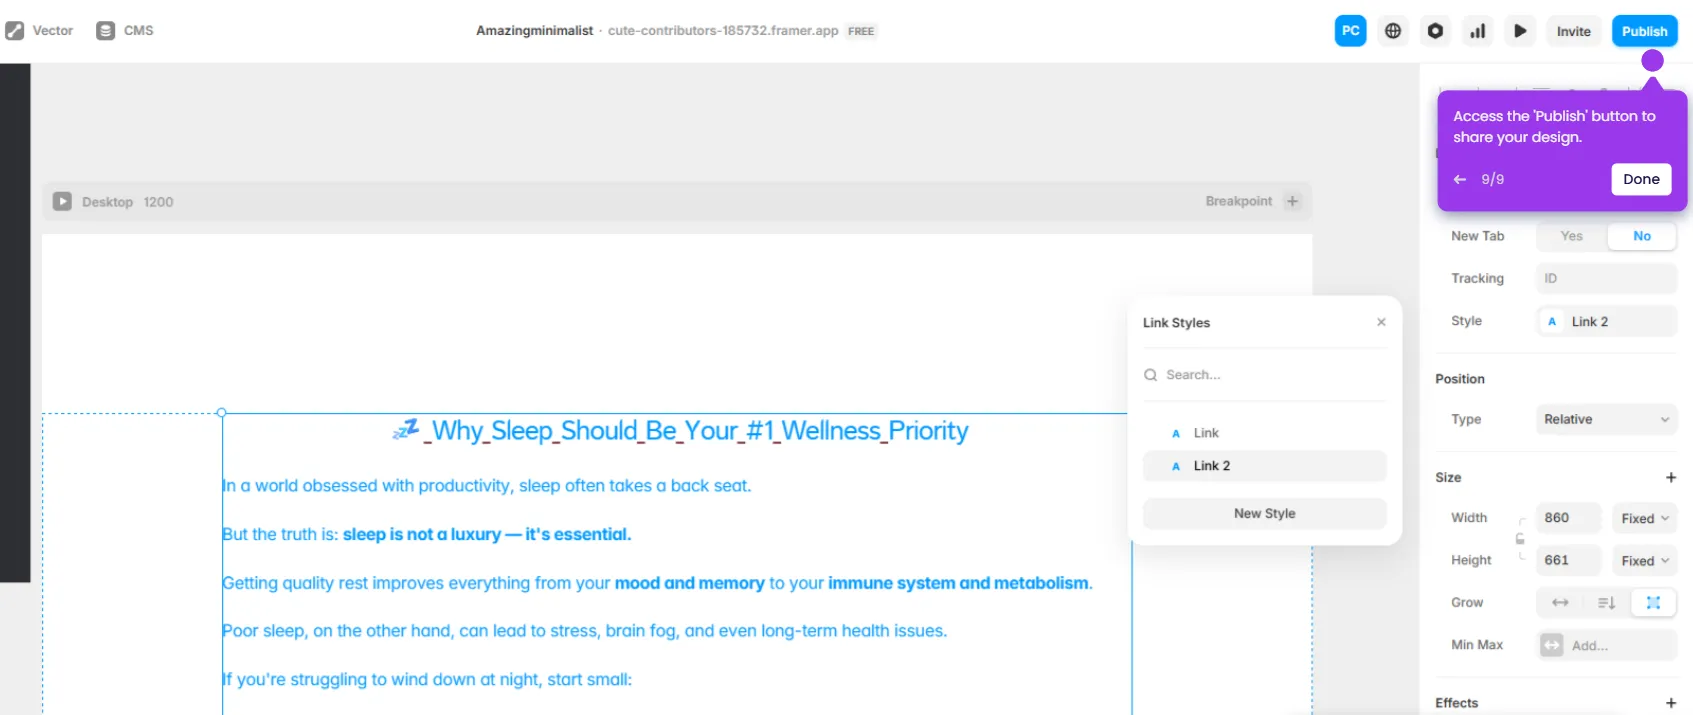
- Set the button's link to your Stripe payment URL and configure it to open in a new tab.
- Your Framer Stripe integration is complete and ready to accept payments.