Quick summary
The Brevo Google Forms integration lets you automatically add or update contacts in Brevo every time a new response is submitted, using a Zapier automation with no coding required. This step-by-step walkthrough covers the full Zap setup — from selecting your trigger app to publishing the live workflow.
Steps
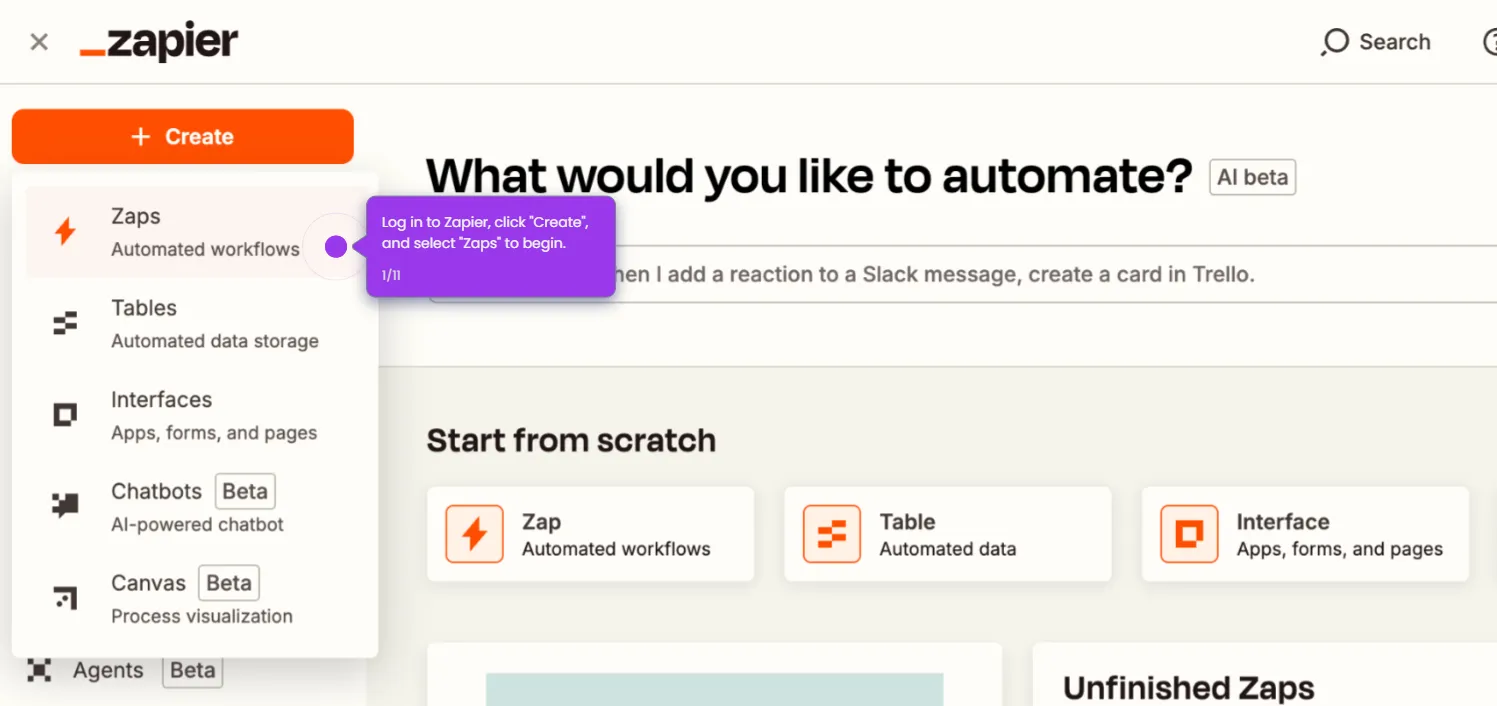
- Log in to Zapier and click Create followed by Zaps to begin setting up your Google Forms–Brevo integration.
- Click Trigger to select the app that will initiate your automation workflow.
- Search for and select Google Forms as your trigger app.
- Select New Form Response as your trigger event to monitor form submissions.
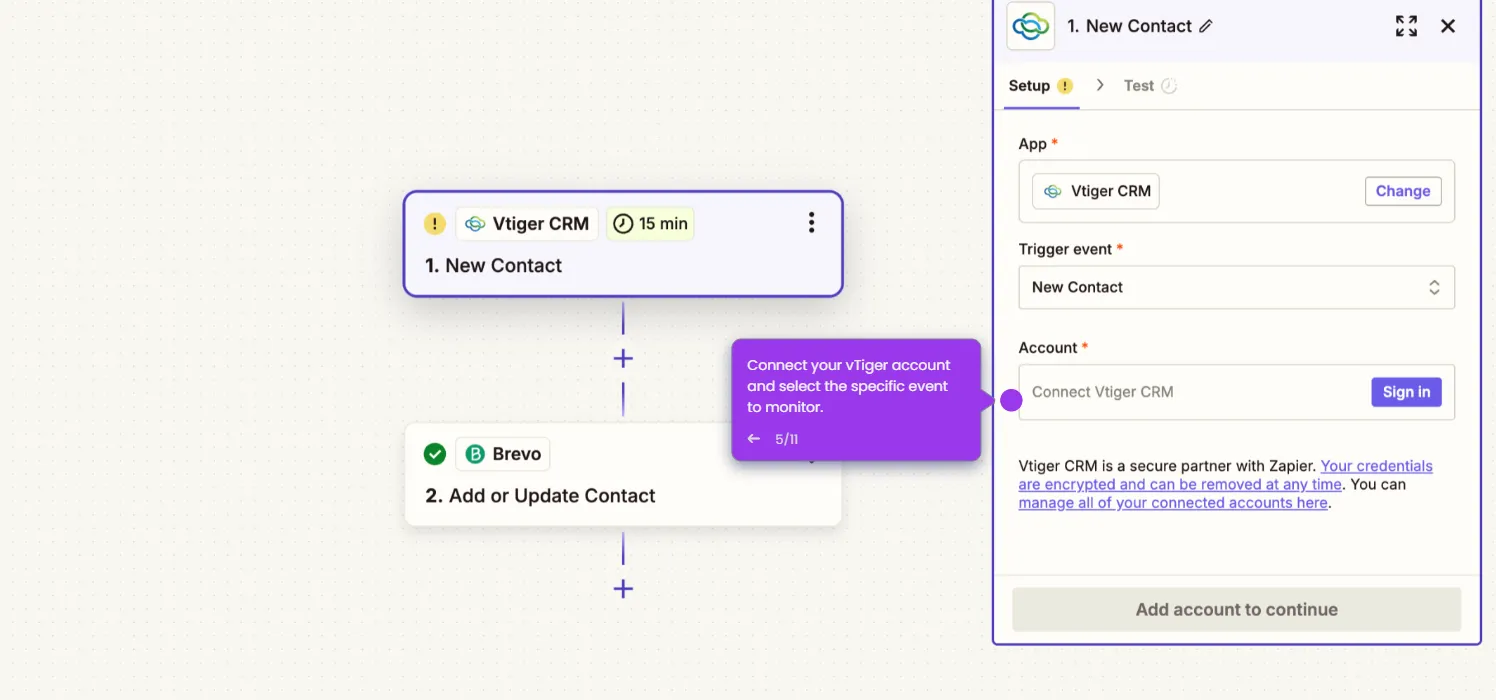
- Connect your Google account to give Zapier access to your forms.
- Select which specific form you want to monitor from the dropdown.
- Test the trigger to make sure Zapier can detect new form submissions properly.
- Search for and select Brevo as your Action App to process the form data.
- Choose Add or Update Contact as the action event to sync form respondents to your Brevo contact list.
- Connect your Brevo account or select an existing connection if you have integrated with Zapier before.
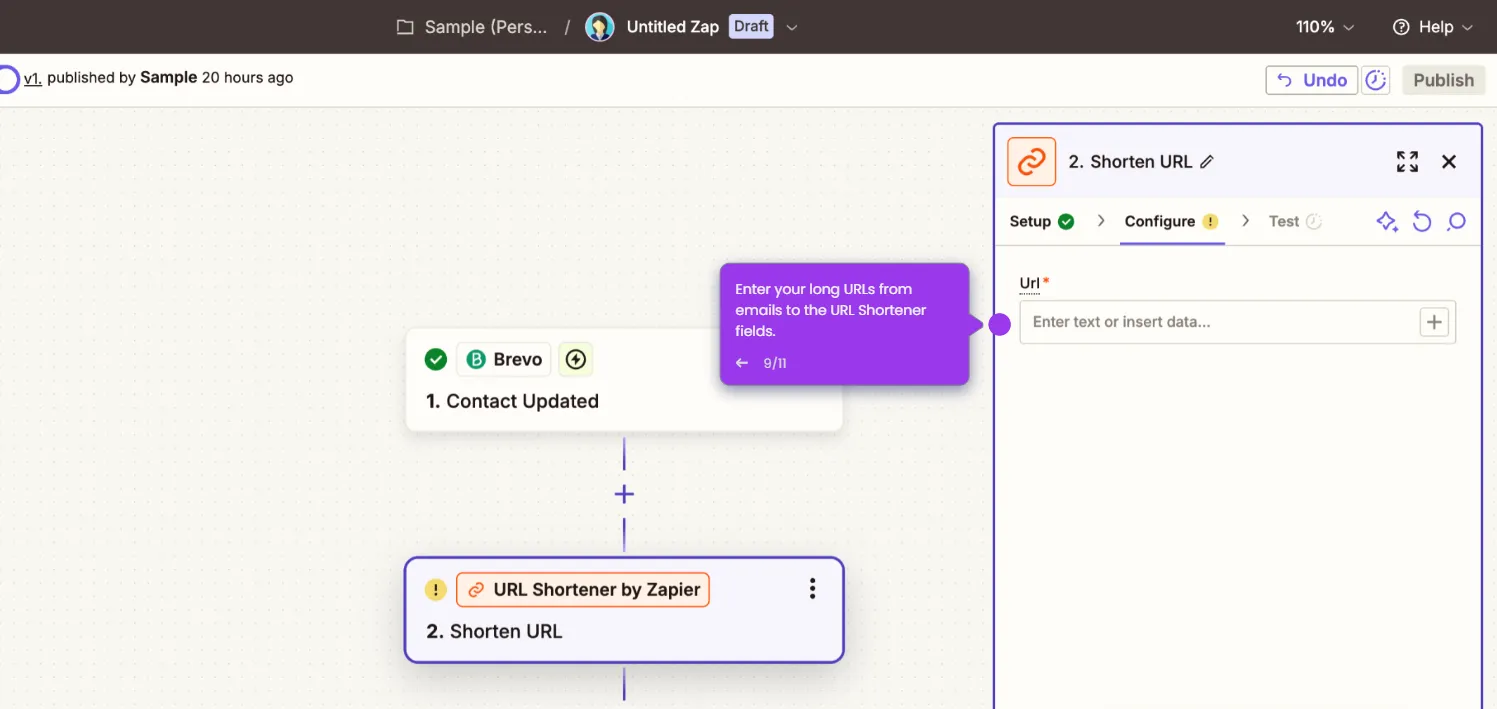
- Map Google Forms fields — such as name, email address, and responses — to the corresponding Brevo contact fields.
- Run a test to verify that form submission data transfers correctly to your Brevo account.
- Click Publish to activate your Zap and start automatically adding Google Forms respondents to your Brevo contacts.