This interactive demo was created free with Storylane in 2 minutes. Create your own demo
Start free
All Tutorials /Replit

How to Use Supabase in Replit with Node.js

Updated on:
May 4, 2026
By:
Madhav Bhandari
Use this interactive demo to learn how to use Supabase in Replit with Node.js.

This tutorial shows how to set up a Node.js project in Replit and connect it to a Supabase database using the Supabase JavaScript client. 

Notes:

  • You need a Replit account and a Supabase account with an existing project to follow this tutorial. If you haven't connected Supabase to Replit yet, see How to Integrate Replit with Supabase first.
  • Replit is phasing out Developer Frameworks. If replit.com/developer-frameworks is unavailable, go to your dashboard, click + Create Something New, and describe your project in the Agent prompt - for example, "Create a Node.js project that connects to Supabase." The Agent will set up the environment automatically.
  • Your Supabase URL and anon key are stored in the Secrets pane. The Agent can reference them directly without you hard-coding credentials in your files.
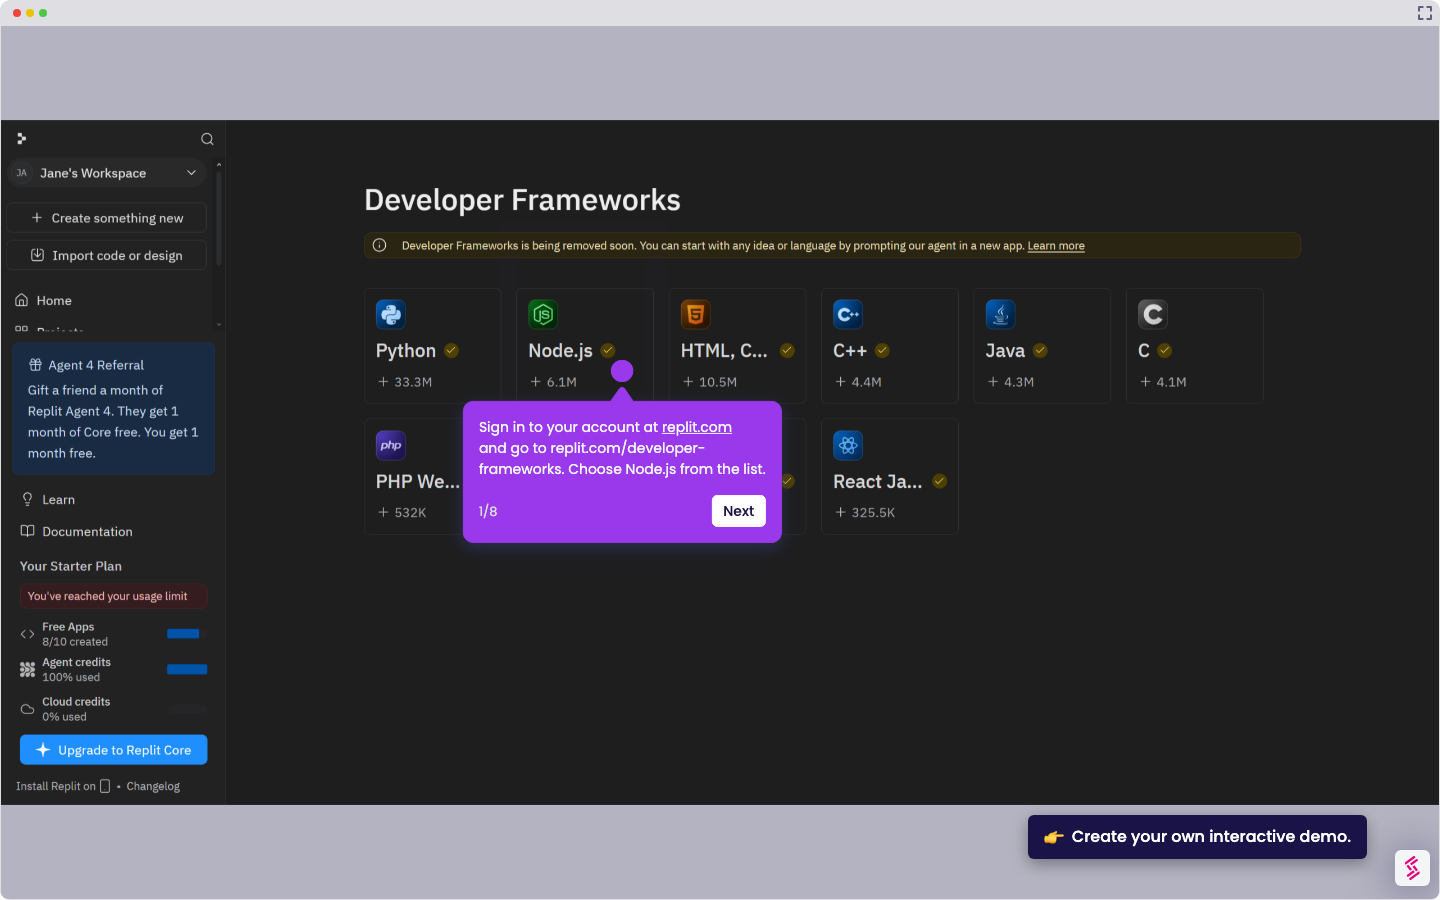
  1. Sign in to your account at replit.com and go to replit.com/developer-frameworks. Choose Node.js from the list.
  2. Click Remix, choose the default privacy setting (Public), and click Use Framework.
  3. Wait for Replit to set up the environment, then click the Open Files icon in the top-right corner and click File tree. 
  4. Review the generated project structure:
    • index.js
    • package.json
  5. In the Agent tab, ask it to install the Supabase client - for example: "Add the Supabase JavaScript client to this project and connect it using my stored credentials." The Agent installs the package and updates your package.json automatically.
  6. Click index.js to open it in the editor. Write a query to fetch data from your Supabase database - for example, retrieving a list of active clients from a clients table for NEPS Corp.
  7. Click the Run button at the top of the workspace. Replit starts the Node.js server and displays the query results in the Console panel.
  8. To expand functionality, ask the Agent - for example:  “Create an Express route that returns this data as JSON.”

📌 Why this matters

This setup gives you a complete full-stack development environment where you can prototype database-driven applications without any local configuration. The real advantage is that Replit's Agent can automatically handle package management and credential setup, letting you focus on building features rather than wrestling with environment variables or deployment configurations. Your Node.js backend runs live immediately, making it perfect for rapid prototyping, sharing demos with stakeholders, or building MVPs that need real database functionality from day one.

Your product deserves an interactive demo
Start free
Similar Articles
Replit

How to Delete a Replit Account

Madhav Bhandari
Director of Marketing @ Storylane
Replit

How to Delete a Replit Account

Madhav Bhandari
Director of Marketing @ Storylane
Replit

How to Use Supabase in Replit with Node.js

Madhav Bhandari
Director of Marketing @ Storylane
No items found.
Platform
Interactive Demos
Sandbox Demos
Buyer Hub
RepX
Integrations
Solutions
Product Marketers
Growth & Demand Gen
Sales Reps & AEs
Presales & SEs
Customer Success
Product Managers
Customers
Demo Showcase
Customer Stories
Finer Demos Club
Features
Demo Signals
Personalization
Deal Intelligence
Resources
Blog
The Plot
Tutorials
Help Docs
What’s New
Demo Dundies
Company
Careers
Pricing
Partners
Contact
Trust Center
Backed by
Chrome Extension Icon
Chrome extension
Download
Desktop app
Download
Built in San Francisco Bay Area - ©2026 Storylane
Privacy PolicyTerms & Conditions
X Corp (formerly Twitter)LinkedIn
This website uses cookies to ensure you get the best experience on our website. Learn More
Got it
This website uses cookies to ensure you get the best experience on our website. Learn More
Got it