.gif)
.svg)


Quick summary
Power BI Online lets you import data, build interactive reports, and share them with teammates — all from your browser without installing Power BI Desktop. This walkthrough covers every step from signing in and adding custom visuals to setting permissions and pinning visualizations to a dashboard.
Steps
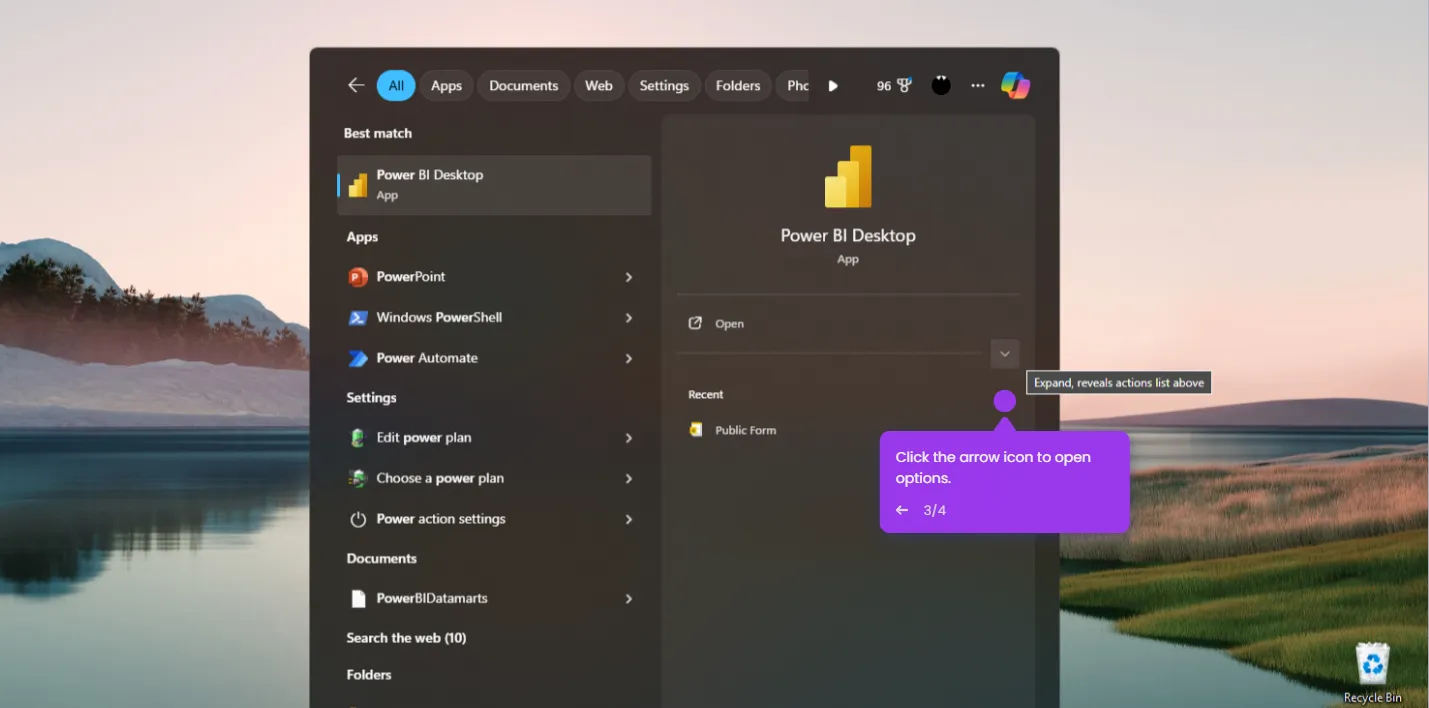
- Sign in with your work or school account and import data by pasting from your clipboard or entering it manually.
- Open your report and publish it to the Power BI service.
- Click 'Edit' to enter edit mode and configure your report layout and settings.
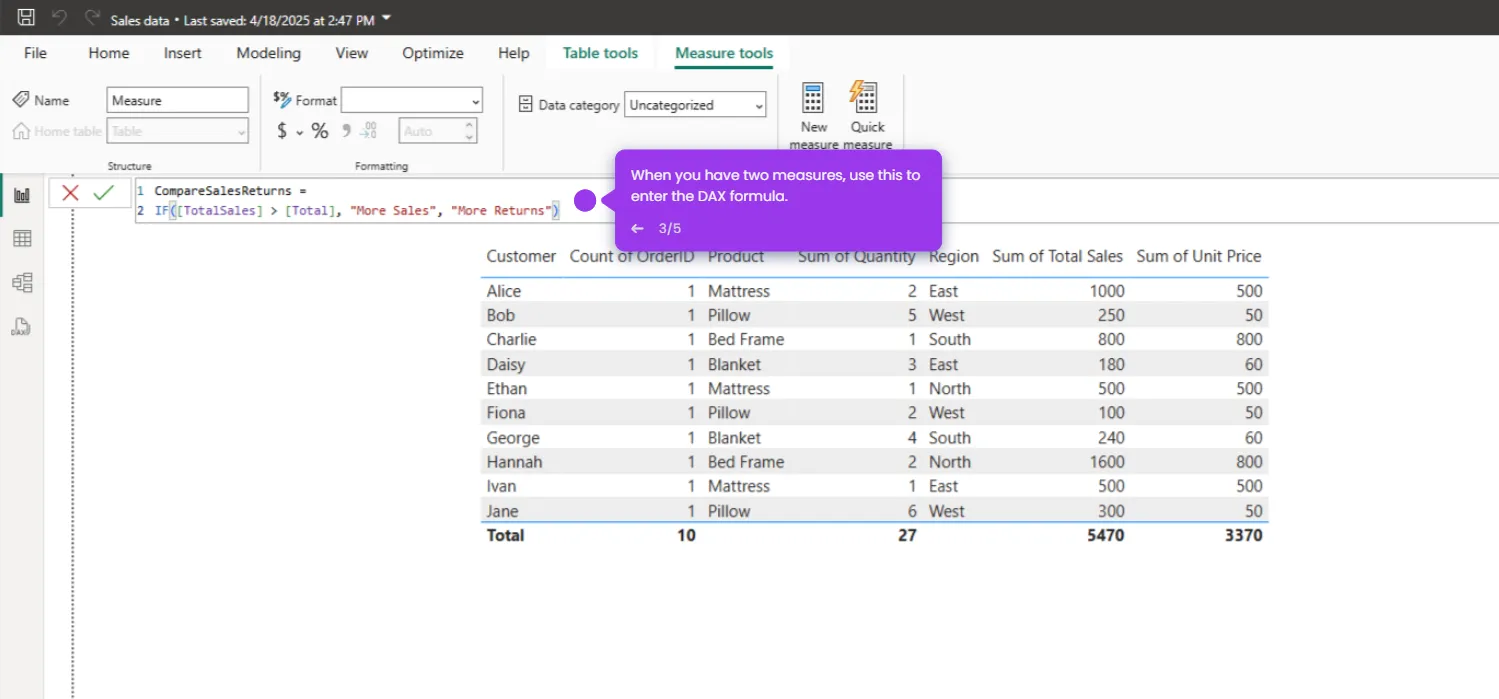
- Add custom visuals to enhance your report with additional chart types and display options.
- Access the 'File' menu to save, export, or publish your completed work.
- Click 'Share' and enter recipient email addresses to distribute the report.
- Set permissions to control who can view or interact with your report.
- Select a dashboard to feature the visualization and click 'Pin live' for ongoing reference.