Quick summary
This walkthrough shows educators how to use Miro as a teaching tool by building an interactive lesson board with Kanban layouts, sticky notes, frames, voting sections, and presentation mode. Teachers can turn a blank Miro canvas into a fully structured, collaborative classroom experience that students can edit and respond to in real time.
Steps
- Start with a blank board or a template and name your Miro board.
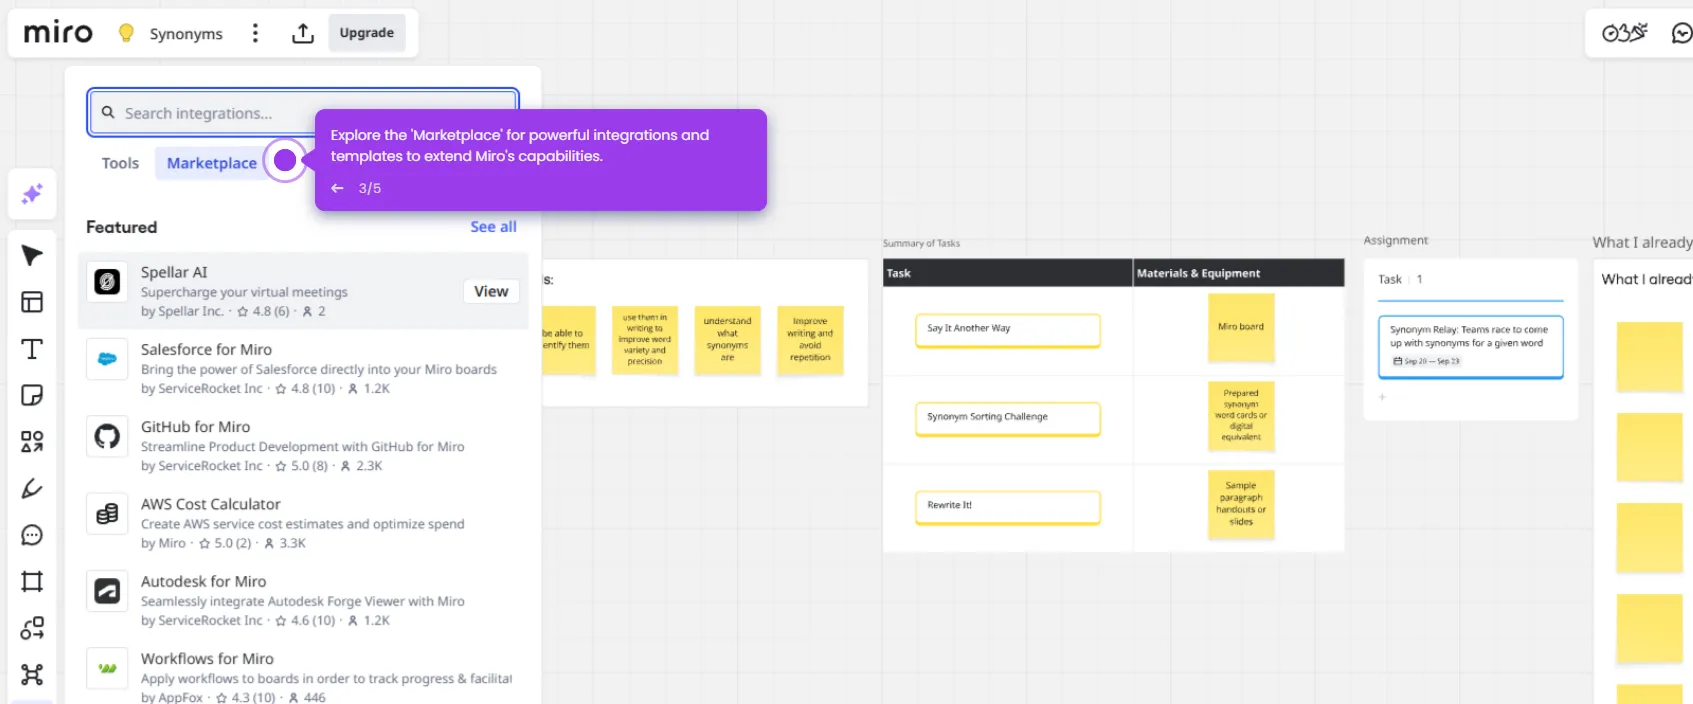
- Make your students co-creators by leveraging Miro beyond a standard whiteboard.
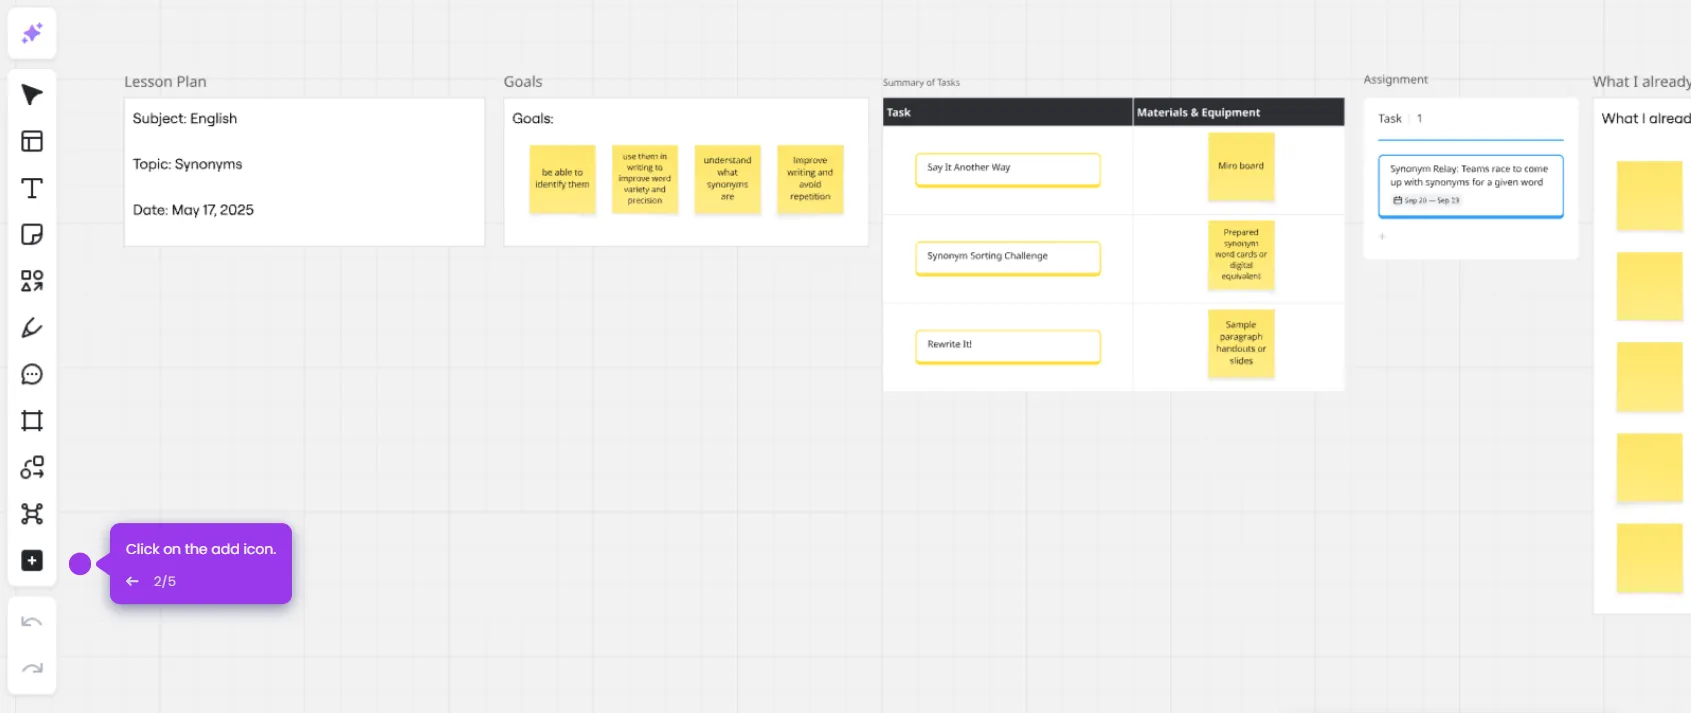
- Add a Kanban board to create your lesson overview.
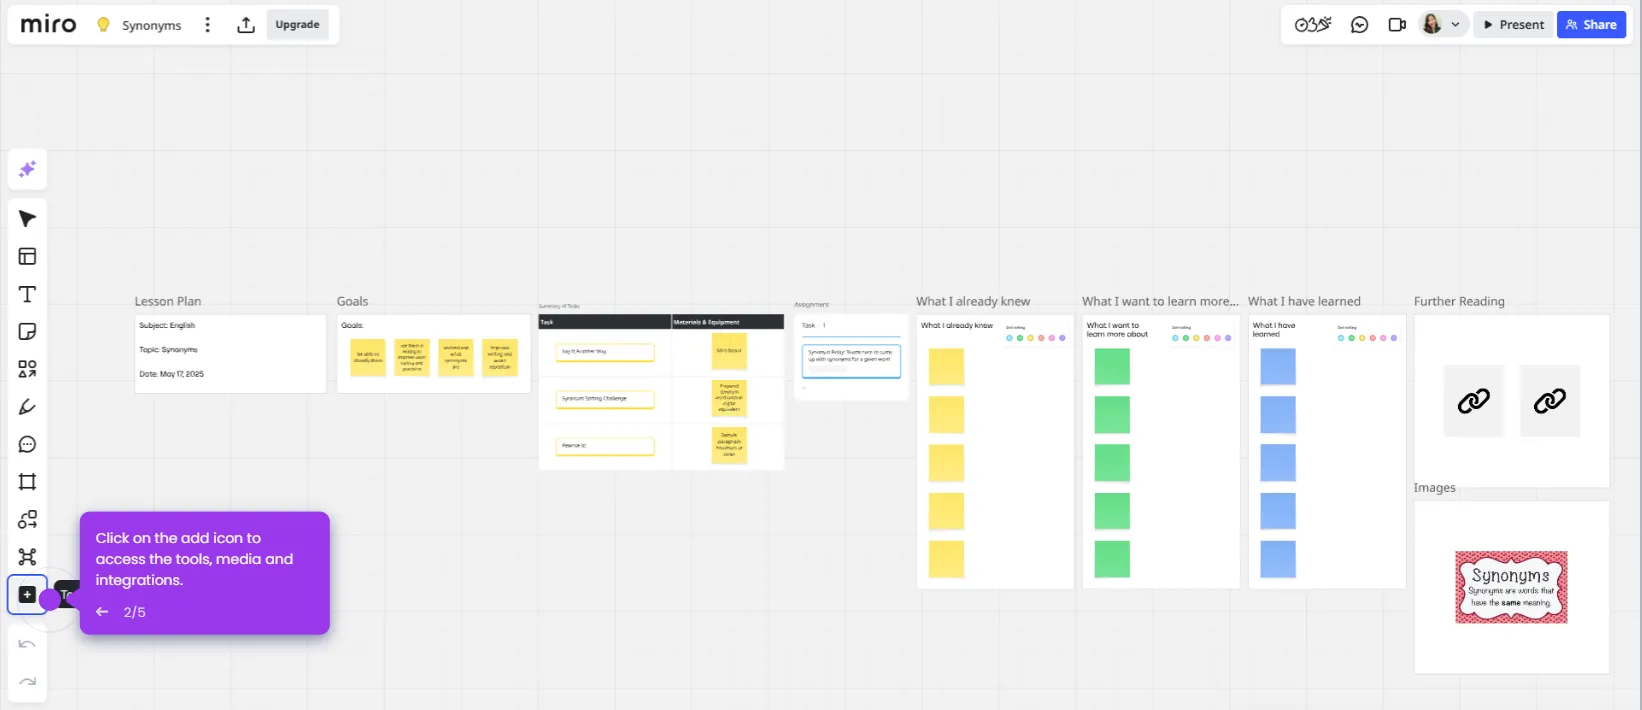
- Use frames and sticky notes to collect responses and reflections from your students.
- Customize sticky notes by adding texts, colors, and changing fonts using the toolbar.
- Add titles to each of your frames to structure your lesson visually.
- Add a voting section to poll opinions or gather quiz answers.
- Add shapes and text to make your board interactive.
- Add comments to give feedback or instructions to students.
- Add another frame to let students illustrate ideas or annotate content.
- Right-click and export your lesson by clicking 'Export as PDF'.
- Click 'Present' to use presentation mode and guide students live, allowing them to participate by editing or commenting.