This tutorial shows how to connect a Supabase database to a Replit project using the Agent, so you can build and query a live backend without leaving your workspace.
Notes:
- You need a Supabase account and an existing Supabase project to follow this tutorial. Sign up at supabase.com if you don't have one yet.
- Your Supabase URL and API key are stored automatically in the Secrets pane once the Agent sets up the connection. You can update or replace them there at any time.
- Replit also has a built-in database powered by Neon. If you don't need Supabase-specific features like real-time updates or integrated authentication, the built-in option may be simpler to get started with.
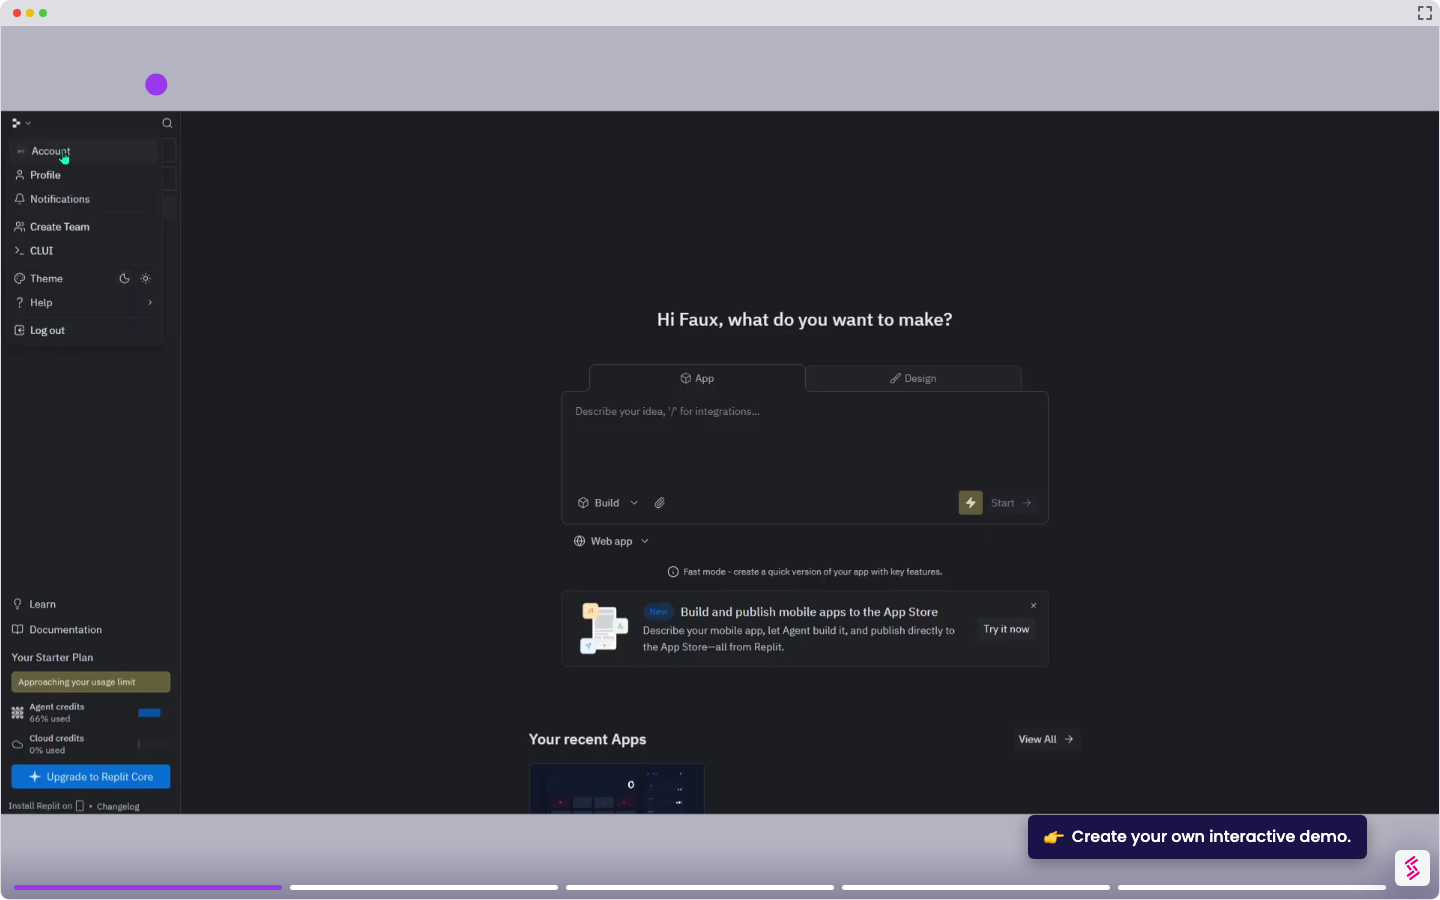
- Sign in at replit.com and open the project you want to connect Supabase to, or click + Create Something New to start a fresh one.
- In the Agent prompt field, describe what you want to build and mention Supabase directly - for example: Build a client tracker for NEPS Corp that stores checkout orders with conversion history in a Supabase database. Click the Arrow button to run.
- The Agent generates your project files and sets up the Supabase connection. Wait for the build to complete.
- Go to your Supabase dashboard and find the URL and anon Key under Project Settings > API Keys.
- When prompted, enter your Supabase project URL and anonI key. The Agent automatically stores them as Secrets.
- Click Run to launch your app. Test it in the Preview tab - for example, add a new client entry and confirm it appears in your Supabase dashboard under Table Editor.