It is very easy to integrate Airtable with Shopify via Zapier. Here’s a short tutorial on how to do it in simple steps:
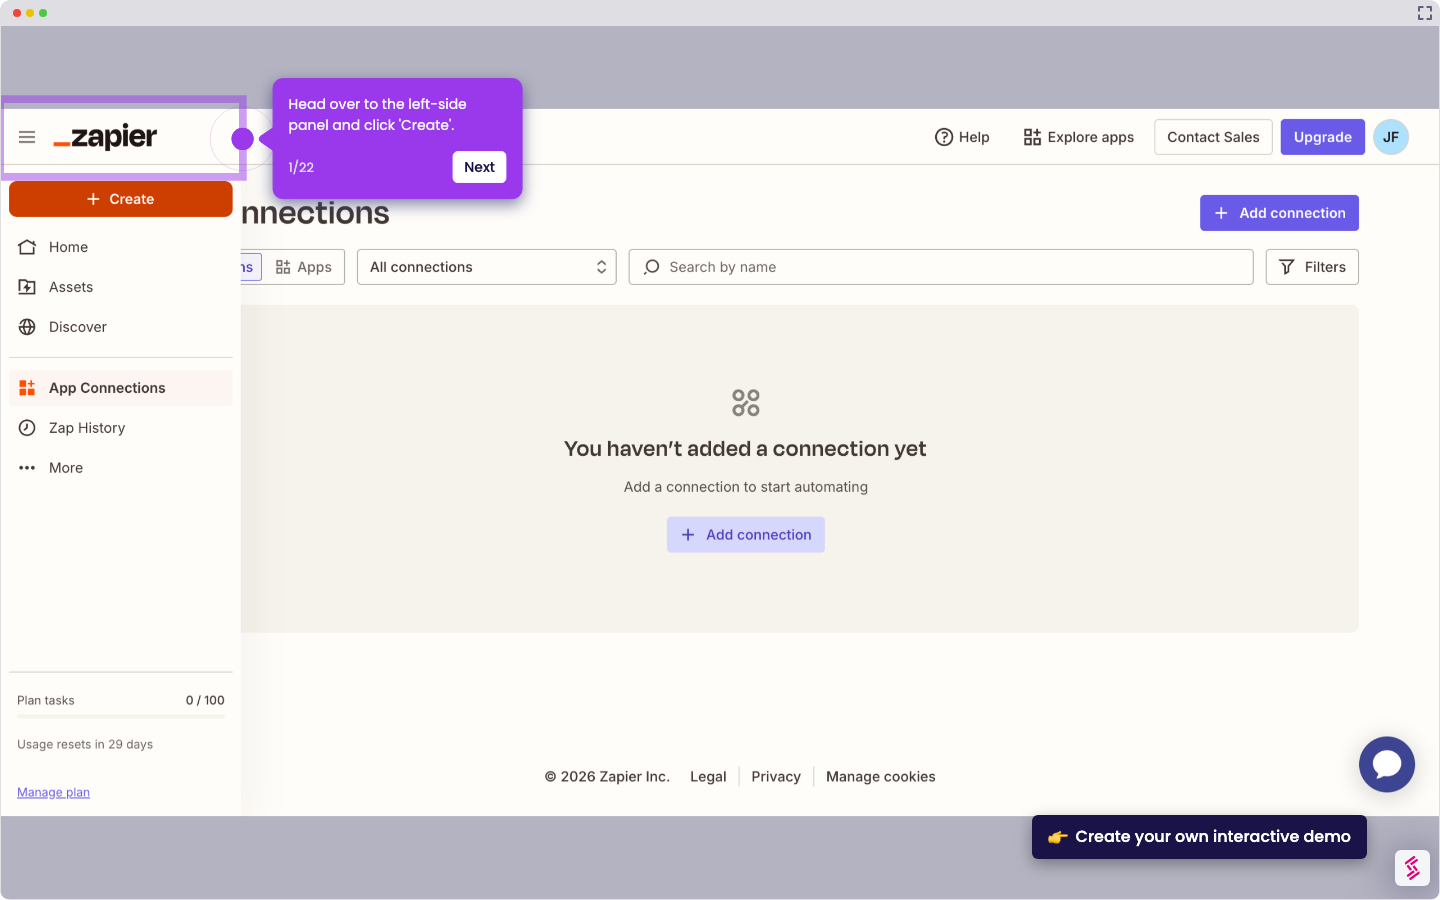
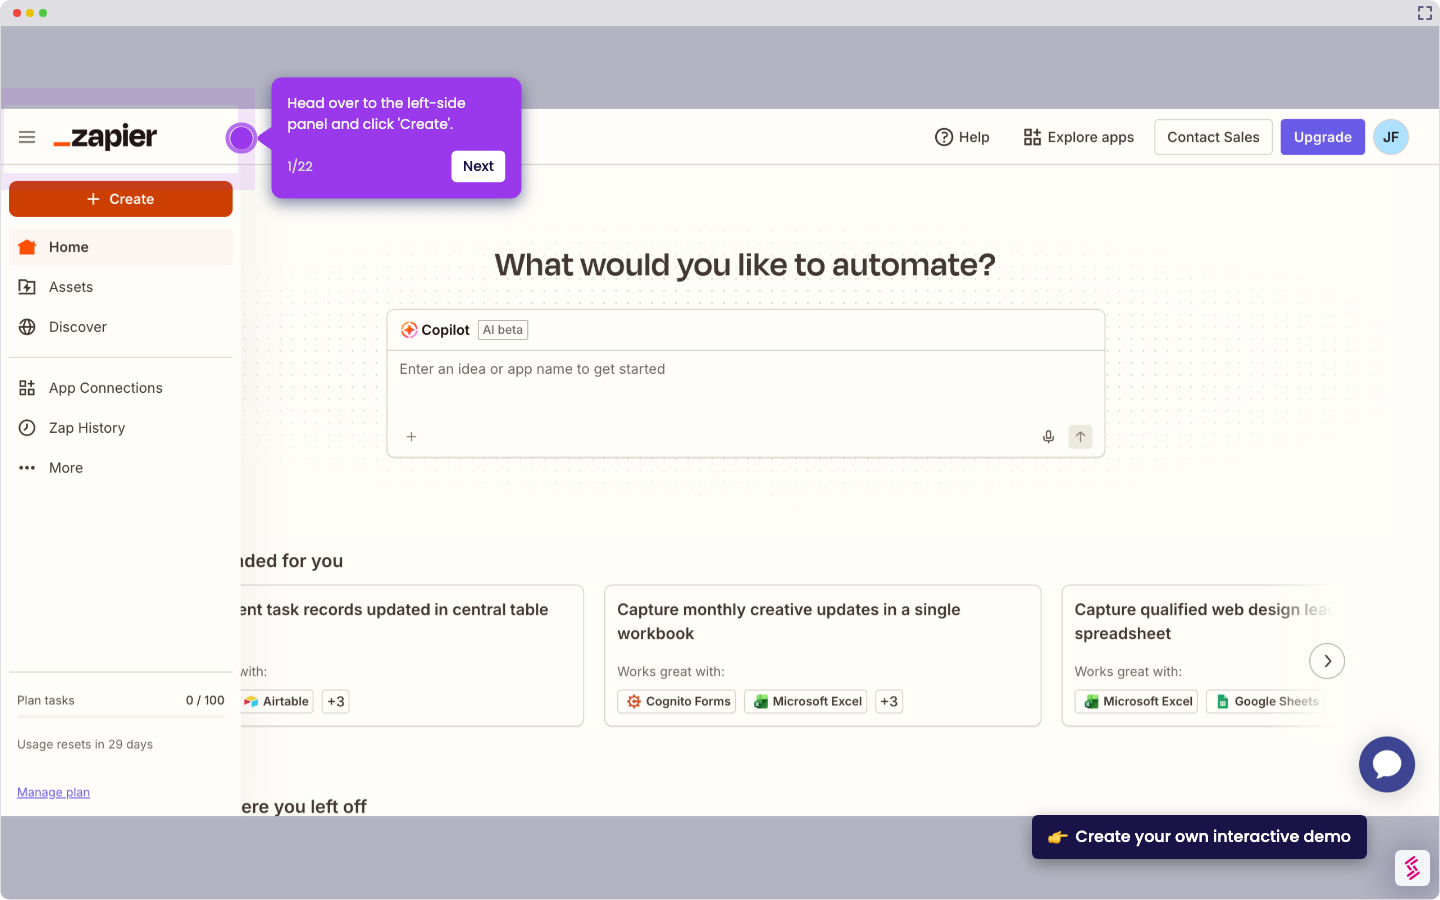
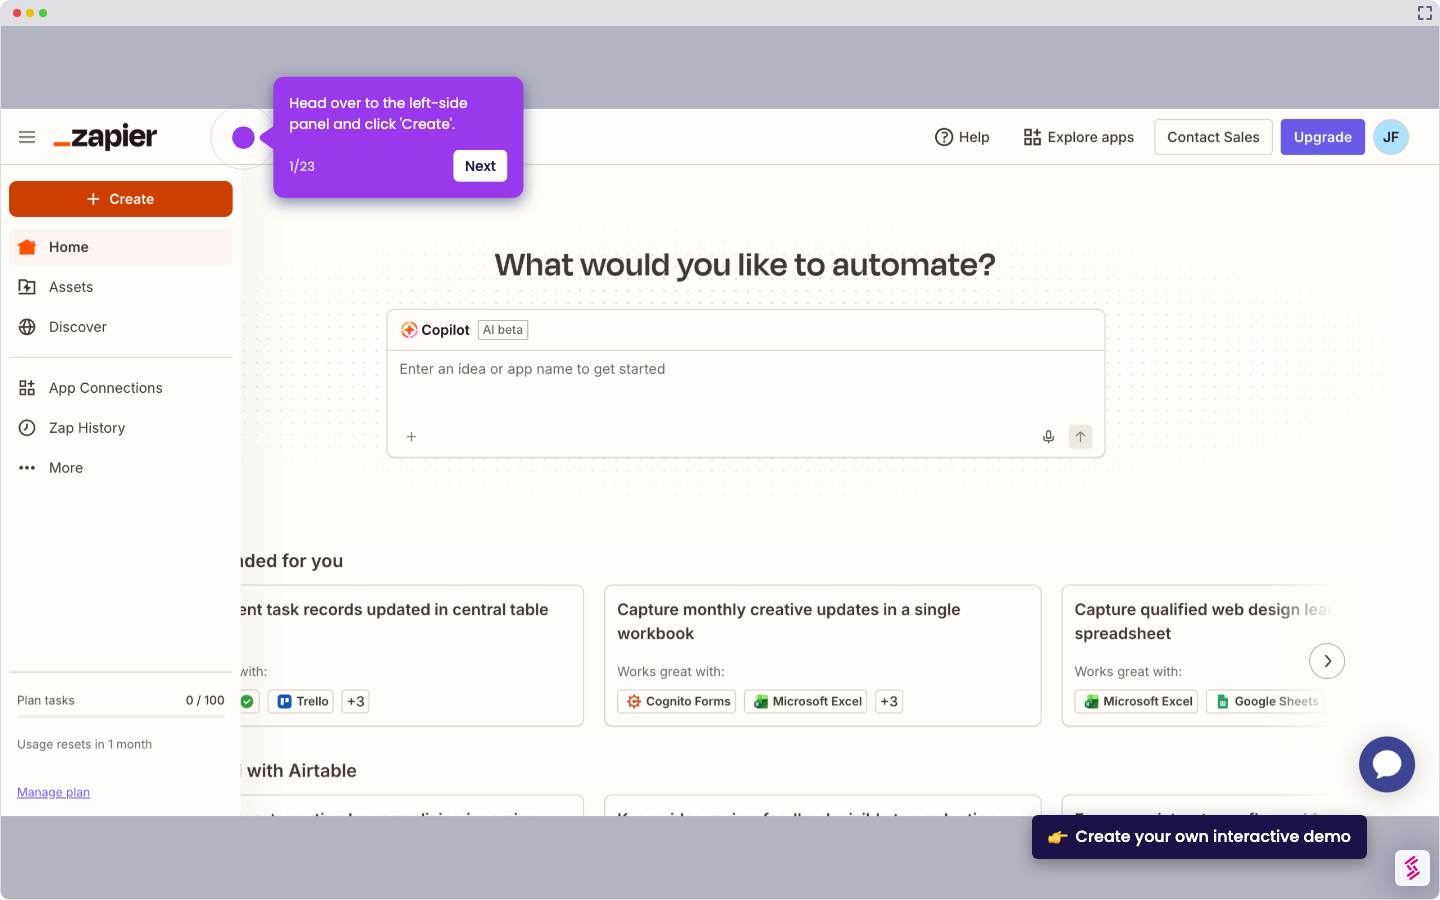
- On Zapier's main dashboard, head over to the left-side panel and click 'Create'.
- Choose 'Zaps' to proceed.
- After that, click the 'Trigger' tab to start the integration process.
- Search for 'Airtable' and select it from the suggested results.
- Specify your preferred 'Trigger Event'. Simply tap the menu and choose one from the list.
- Click 'Sign In' afterwards, then log in to your active Airtable account.
- Subsequently, set the required permissions based on your preference. Select 'Add All Resources' or 'Add a Base'.
- Once done, click 'Grant Access' to proceed.
- Click 'Continue' to make the necessary configurations.
- One by one, fill out the input fields with the required details.
- Once done, review your input and click 'Continue'.
- Subsequently, click 'Test Trigger' to check your configurations.
- Tap 'Continue' afterwards.
- Search for 'Shopify' and select it as the Action app.
- Following that, click the 'Action Event' menu and choose one from the given options.
- Click 'Sign In' afterwards to connect your Shopify account.
- Enter your Shopify username into the provided input field and then click 'Yes, Continue to Shopify'. Log in to your Shopify account to continue.
- Subsequently, click 'Install' to establish the connection.
- Click 'Continue' to configure the connection you wish to implement.
- Following that, provide all the necessary details and enter them into their respective input fields.
- Once completed, click 'Continue'.
- Finally, click 'Publish' to activate the integration between your Airtable and Shopify accounts.