.gif)
.svg)


Quick summary
Creating a Figma plugin involves accessing the Development menu, configuring a new plugin with a name and type, and saving it locally so you can begin building its structure and functionality. This step-by-step process lets designers and developers extend Figma's capabilities with custom tools tailored to their workflow.
Steps
- Head over to the top-left corner and click the Main Menu icon.
- Hover over the Plugins option and click Development.
- Click New Plugin to begin the plugin creation process.
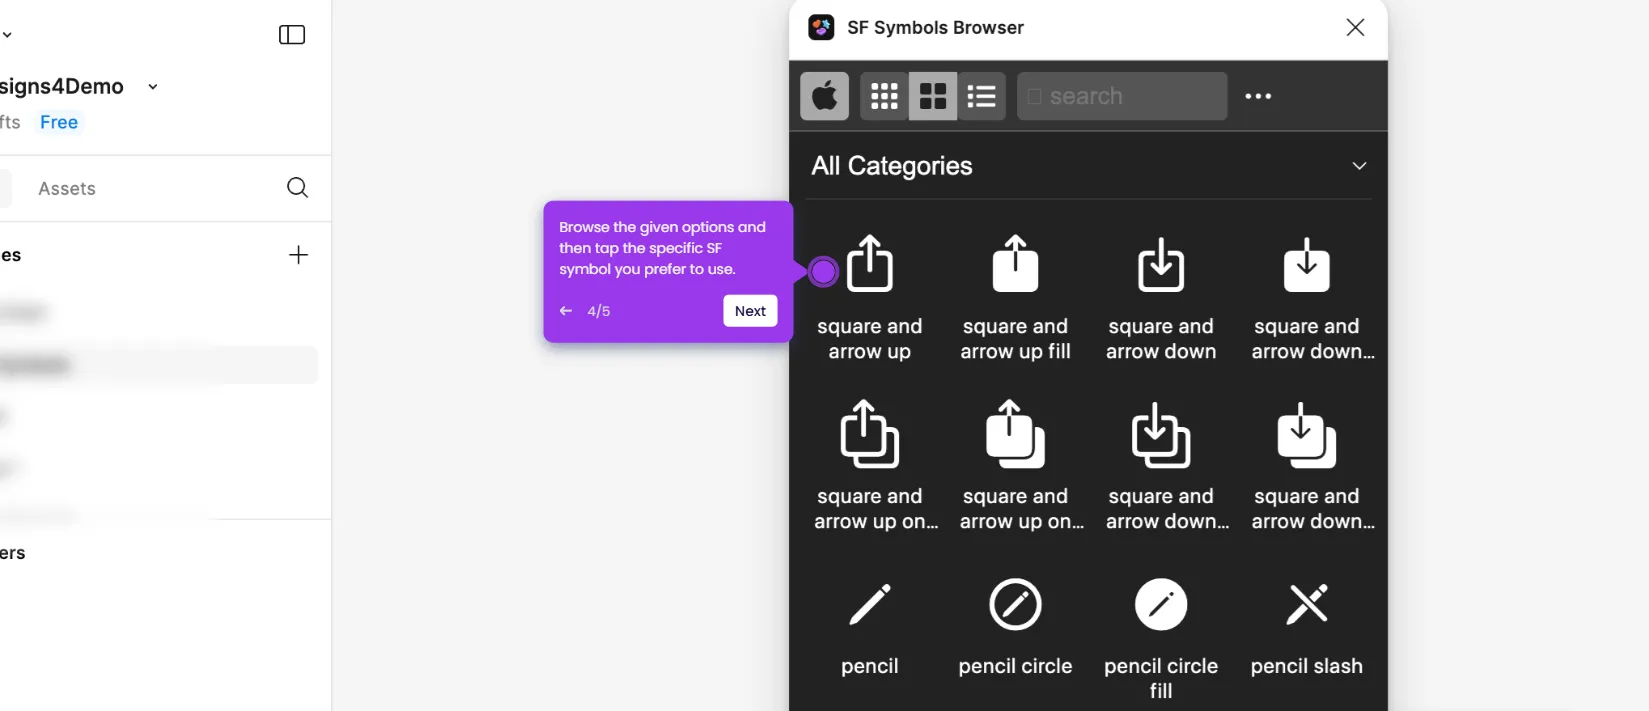
- Assign a unique plugin name, select the desired coverage, and tap Next to proceed.
- Choose your preferred plugin type and then click Save As.
- Confirm the filename and target destination, then tap Save to proceed.
- Your Figma plugin is now created and saved to your device — you can start building its structure and function before running it in the platform.