.gif)
.svg)


Quick summary
Row-Level Security (RLS) in Power BI lets you restrict data access at the row level by assigning users to roles with DAX filter expressions. Setting up RLS in Power BI Desktop ensures each user sees only the data they are permitted to access when reports are published to the Power BI service.
Steps
- Navigate to the Modeling tab in the Power BI Desktop ribbon, where all security-related options are located.
- Select Manage Roles to open the management interface for creating and editing security roles.
- In the Manage Roles dialog box, click the + New button to create a new security role.
- Give your role a descriptive name that clearly indicates its purpose.
- Select the table that contains the data you want to filter — this is where your row-level security rules will be applied.
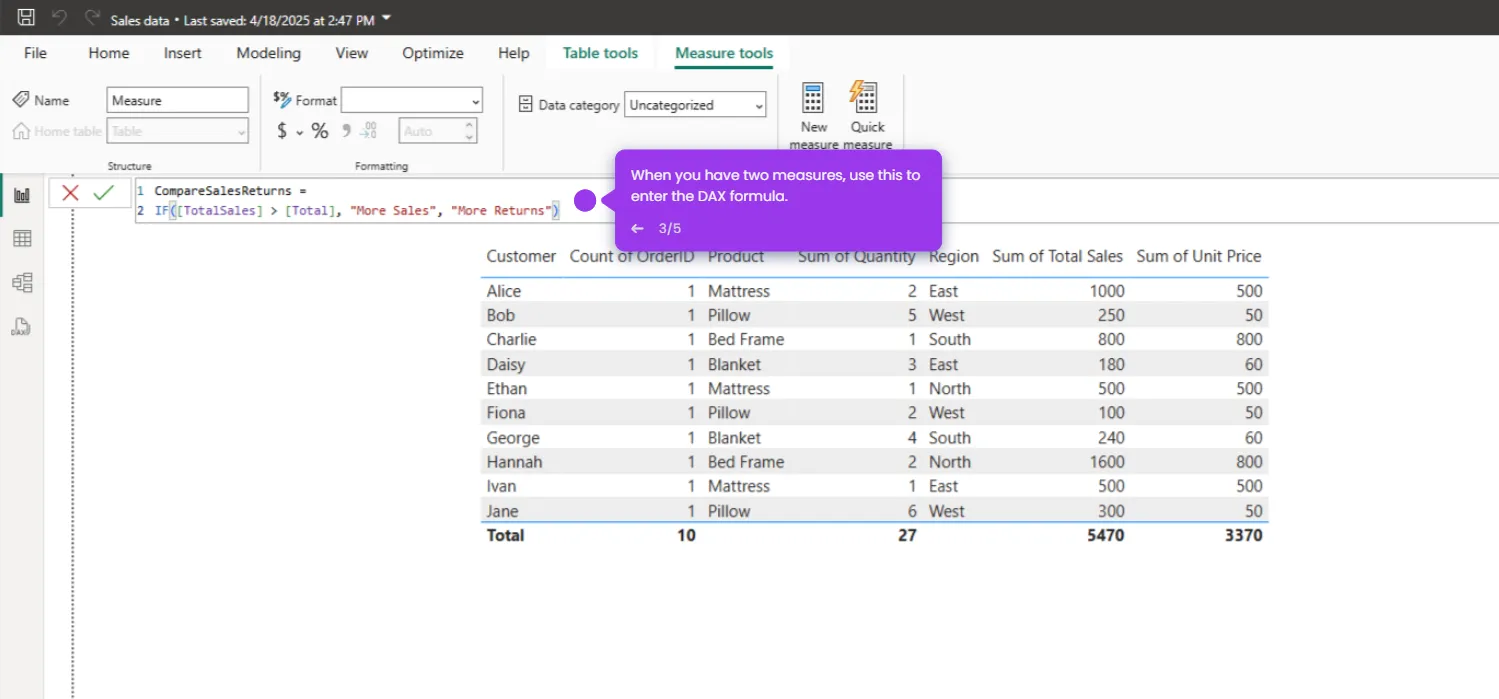
- Click Switch to DAX editor to create advanced filtering conditions using DAX expressions, giving you precise control over which rows users can access.
- Enter your DAX filter expression in the editor.
- Click Save to apply your RLS role configuration to the model and finalize your security definition.
- Test your setup using View As to confirm that different roles see only their permitted data.