Agentic demo automation is here.
Meet Lily
This interactive demo was created free with Storylane in 2 minutes. Create your own demo
Start free

How to Add Buckets in Microsoft Planner

‍

‍

It is very easy to add buckets in Microsoft Planner. Here’s a short guide on how to do it in simple steps:

‍

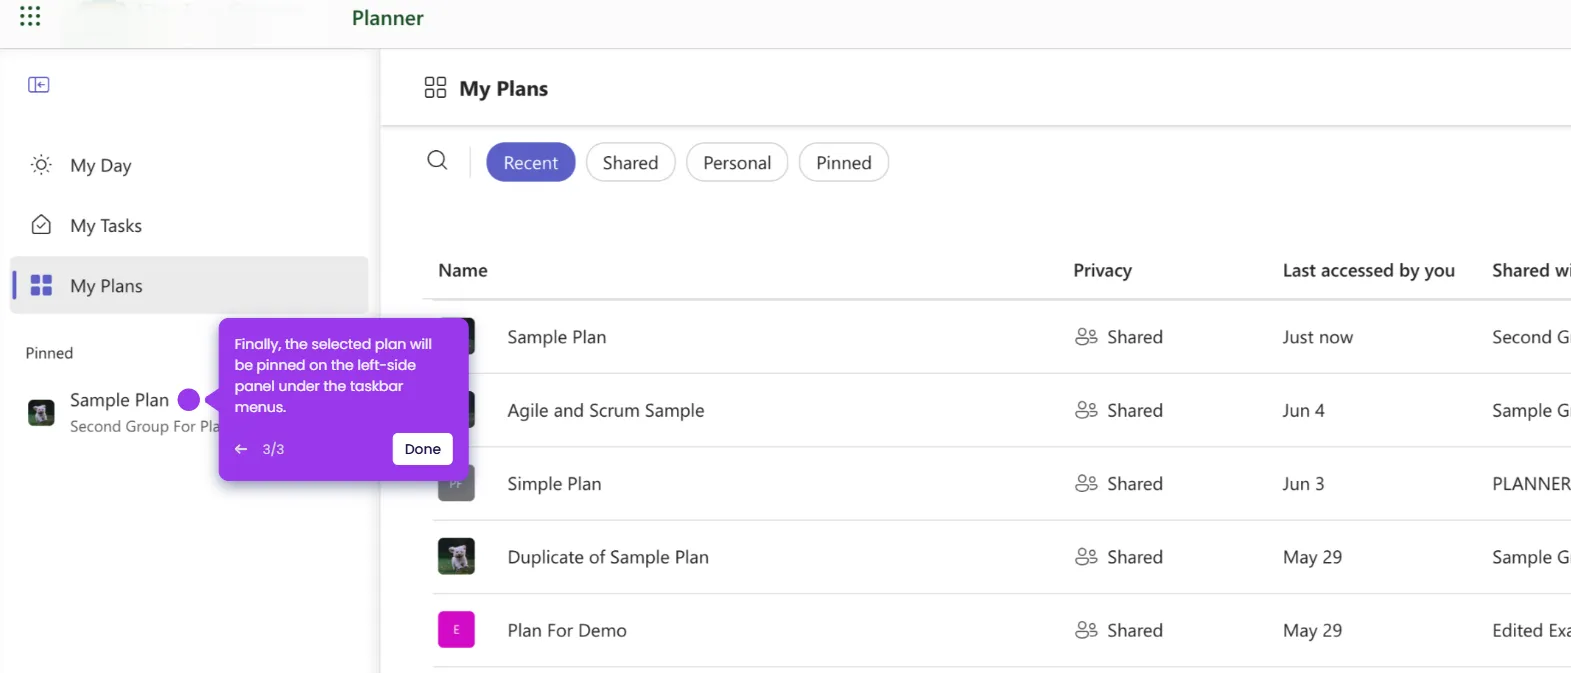
  1. Go to the left-side panel and click 'My Plans'.
  2. After that, choose the plan you want to edit.
  3. Scroll down to the right-hand corner, then tap 'Add a New Bucket'.
  4. Subsequently, come up with a unique bucket name and enter it into the provided input field.
  5. Click anywhere around the workspace to save the changes.
  6. After completing these steps, a new bucket will be created and added to your plan.
Similar Articles
No items found.
Build Killer Demos in 2 Minutes
Chrome Extension Icon
Try our Chrome extension
DOWNLOAD

Desktop app for macOS
DOWNLOAD
Backed by
Y combinator
AICPA SOC
GDPR
Products
Guided DemosSandbox DemosDemo Hub
Featured
Account RevealPersonalizationIntegrations
Solutions
EnterpriseGrowth & Demand
MarketingProduct MarketingSalesPresales
Resources
BlogTutorialsHelp DocsWhat’s NewDemo DundiesPlaybooks
Company
CareersPricingPartnersContactTrust CenterDemo Abuse
Customers
Demo ShowcaseCase Studies
Built in San Francisco Bay Area - ©2025 Storylane
Backed by
Y combinator
AICPA SOC
GDPR
Privacy PolicyTerms & Conditions
X Corp (formerly Twitter)LinkedIn
This website uses cookies to ensure you get the best experience on our website. Learn More
Got it