.gif)
.svg)


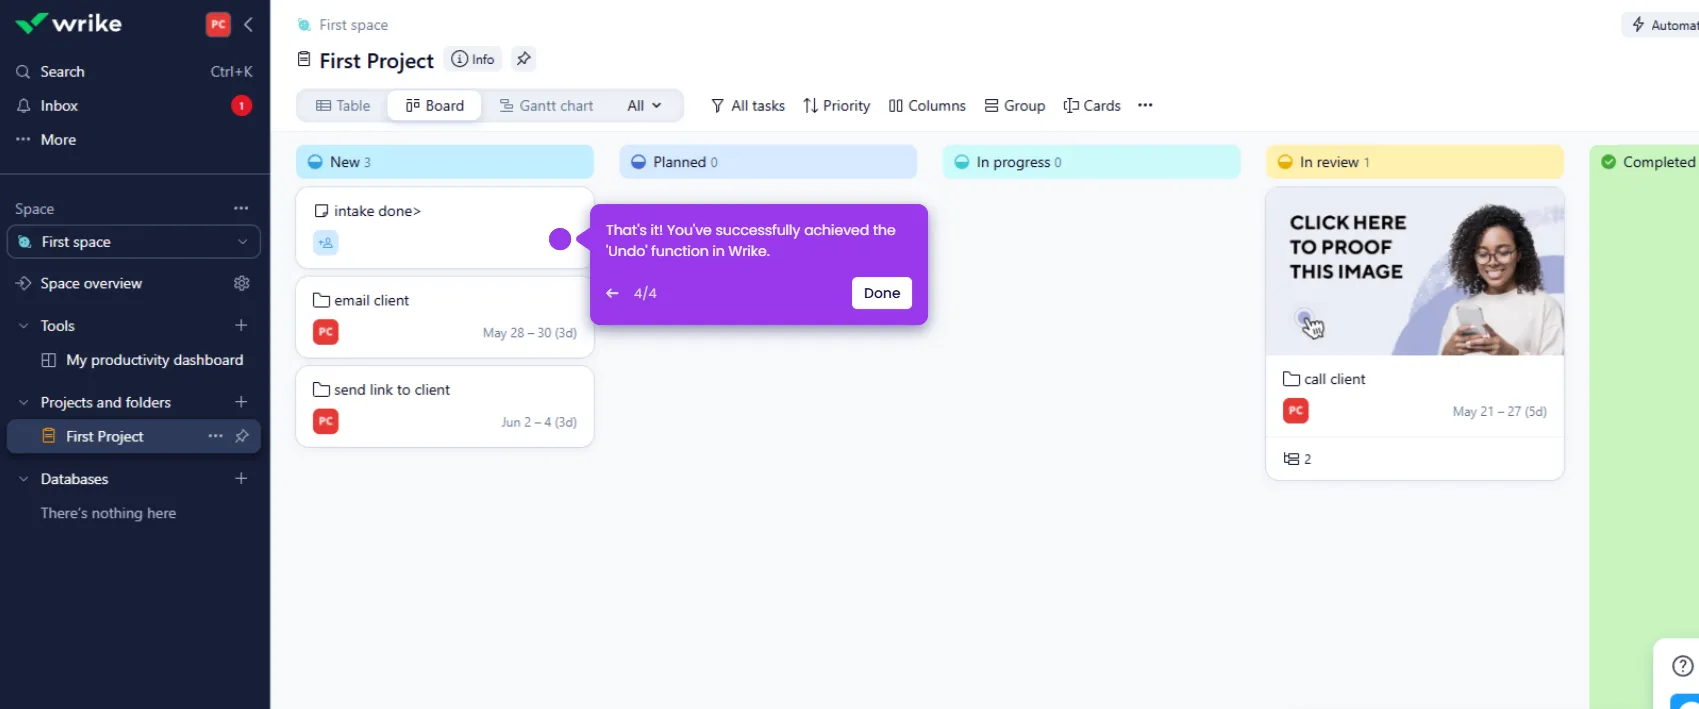
Here’s a step-by-step guide on how to use Wrike for project management, whether you're handling marketing campaigns, software development, or general operations.
- Begin by exploring your first workspace, where all your projects and team collaboration happen.
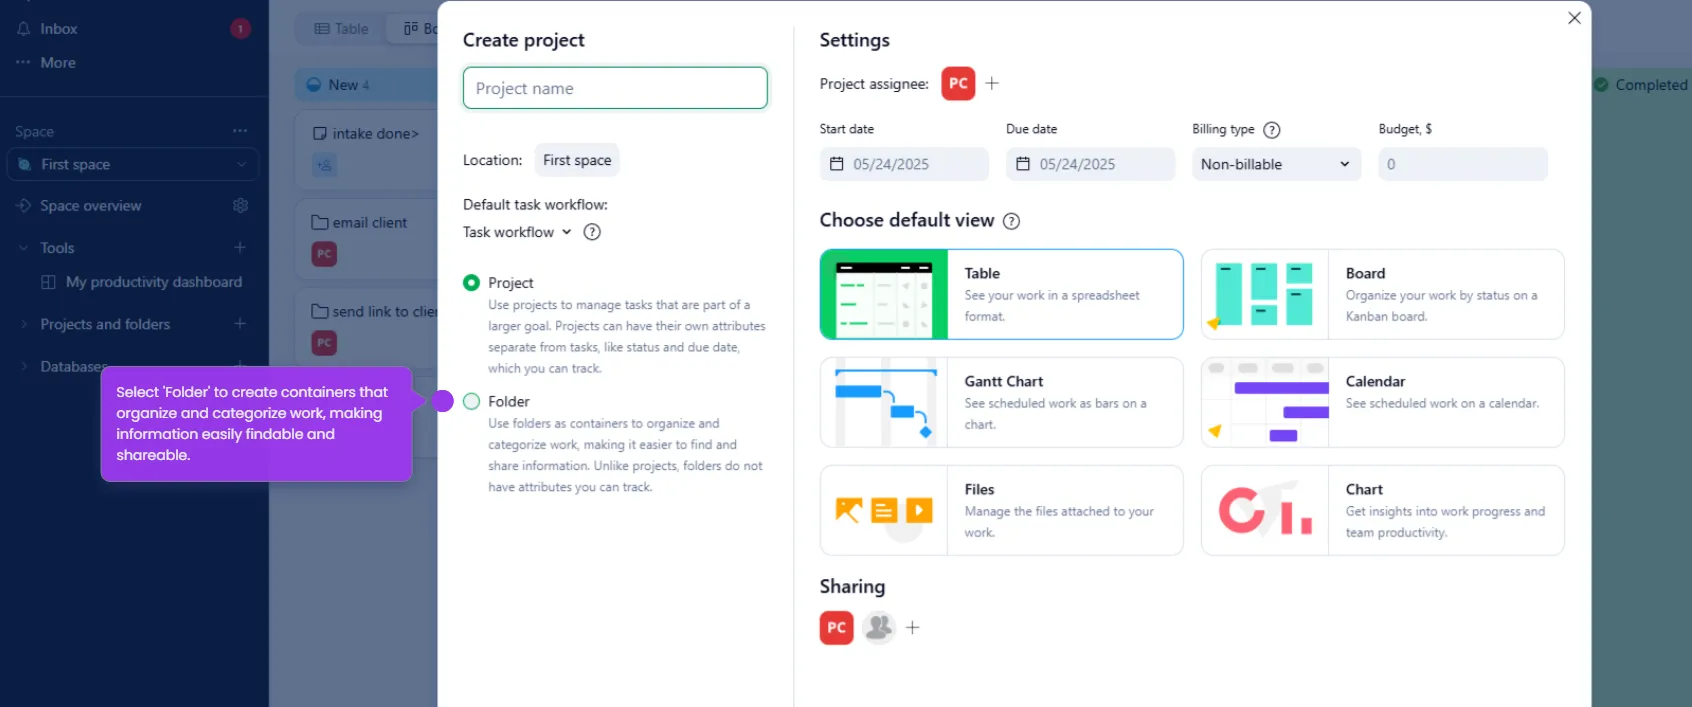
- Inside each space, create 'Projects' and 'Folders' for different initiatives or categories.
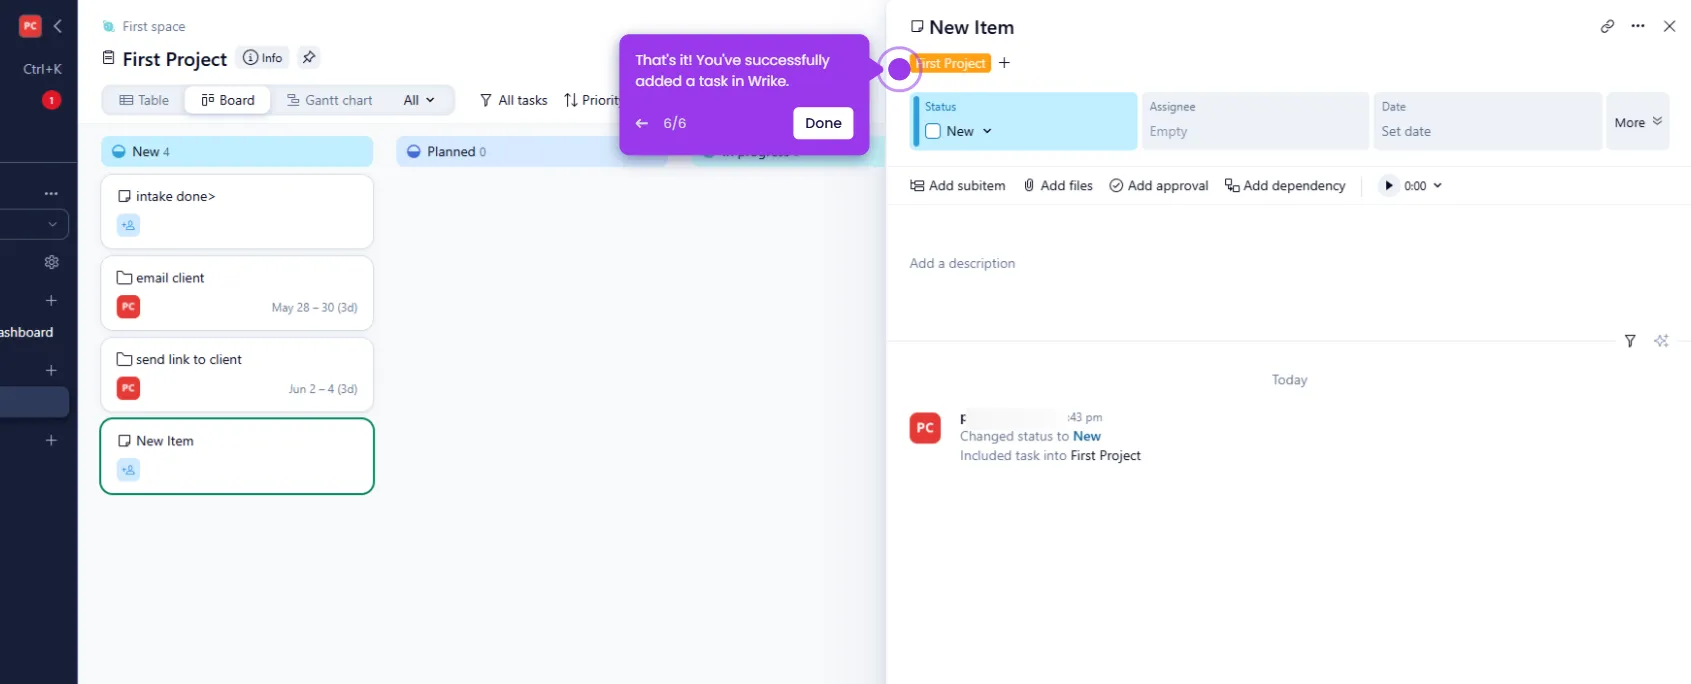
- Set up your first task to start breaking down project deliverables.
- Break down complex work with subtasks for better progress tracking.
- Create a subtask to manage specific components of the email client.
- Delegate responsibilities to team members for clear ownership.
- Confirm task details to notify assignees and update your project plan.
- Sort your task view by date to visualize upcoming deadlines.
- Expand your project with additional tasks for comprehensive coverage.
- Customize task details to match your team's specific workflow needs.
- Add another task to build out your complete project roadmap.
- View all tasks to get a comprehensive overview of your project status.
- Switch to 'Gantt chart' view to visualize project timelines and dependencies.
- Adjust timeline dependencies to optimize your project schedule.
- Incorporate comments to facilitate discussion and feedback on deliverables.
- Click 'Send' to share your update to keep stakeholders informed of project progress.
- Mention specific users to ensure they're notified about this update.
- Click 'Add files' to attach relevant documents to provide context and resources.
- Click 'Share' to share project progress with clients for transparent communication.
- Generate a shareable link for quick project access across teams and click 'Copy link'.