Quick summary
This tutorial walks you through integrating Webflow with Airtable using a Zapier automation, from creating a new Zap to authorizing both apps and publishing the live connection. By the end, any trigger event in your Webflow site will automatically push data into your Airtable workspace without manual effort.
Steps
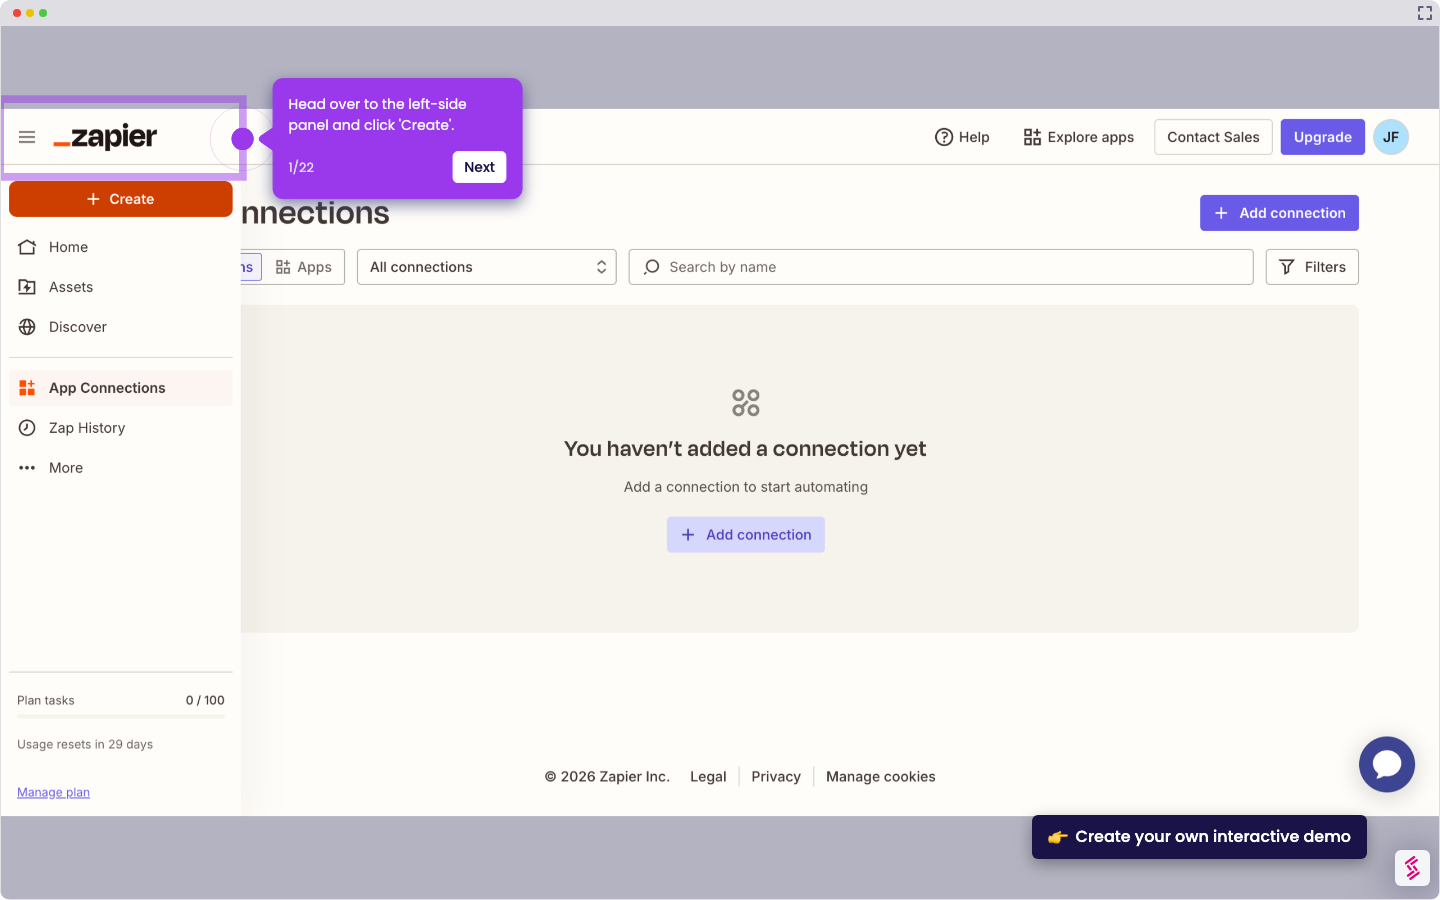
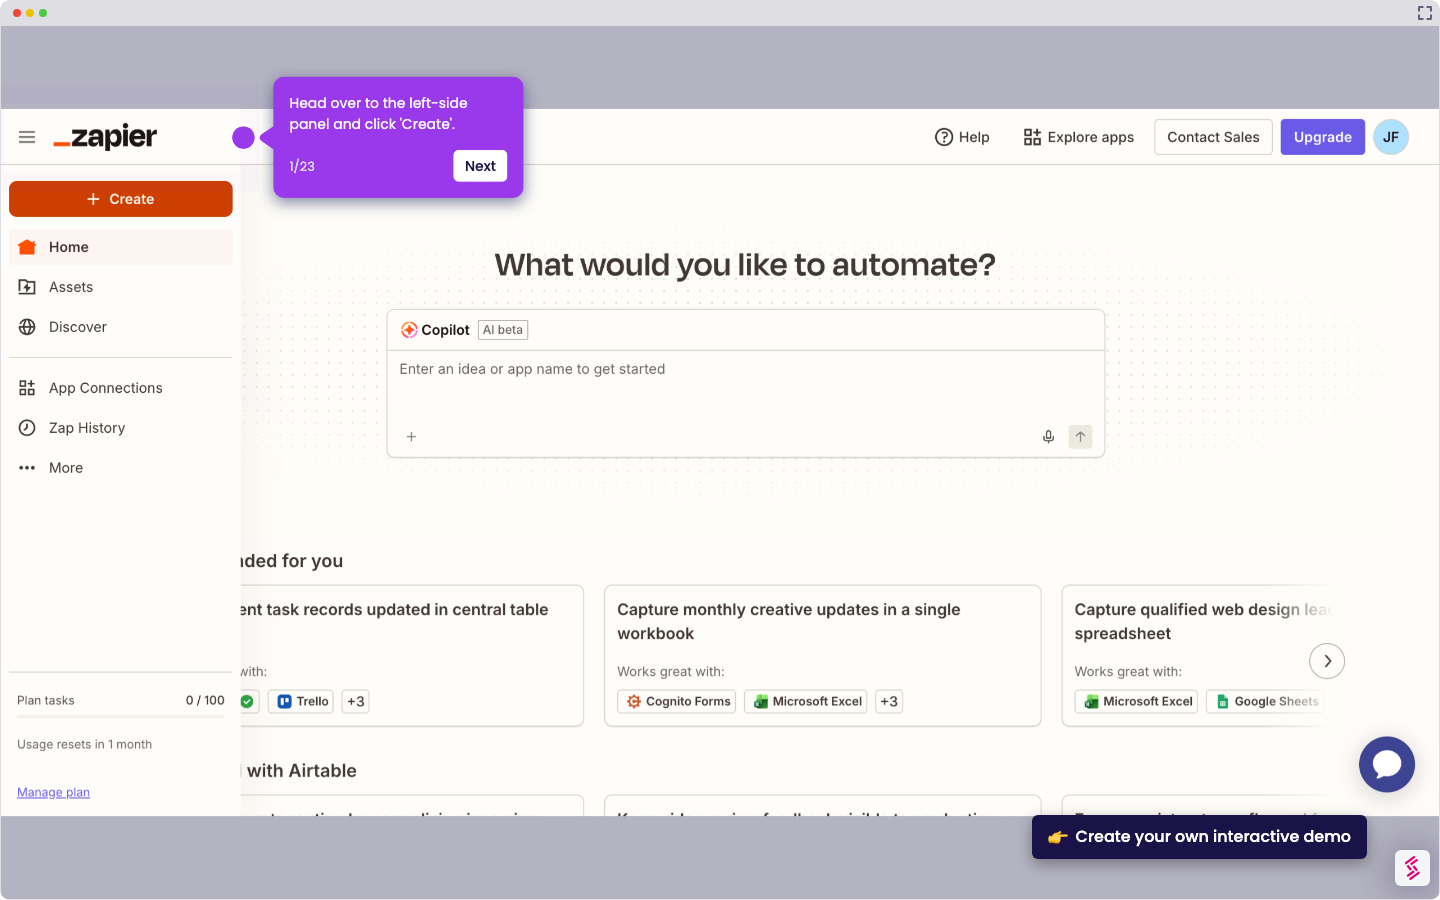
- Navigate to the left-side panel in Zapier and click 'Create'.
- Select 'Zaps' from the list of available options.
- Tap 'Trigger' to start the integration process.
- Search for 'Webflow' and select it as the Trigger App.
- Choose your preferred 'Trigger Event' from the drop-down.
- Tap 'Sign In' and provide your Webflow credentials.
- Select your Webflow site and click 'Authorize App' to proceed.
- Fill in all required fields to configure the Trigger settings.
- Click 'Test' to verify the Webflow trigger is working correctly.
- Search for 'Airtable' and select it as the Action App.
- Open the drop-down and choose your preferred 'Action Event'.
- Tap 'Sign In' and log into your Airtable account.
- Choose your preferred Airtable workspace and tap 'Grant Access'.
- Fill out the input fields with the required action configuration information.
- Click 'Test' to authorize and publish the integration.
- Your Webflow site is now integrated with Airtable and will sync data automatically.