Quick summary
This tutorial walks you through integrating Asana with Airtable using Zapier by creating a Zap that connects a trigger in Airtable to an action in Asana. Once set up, any qualifying event in Airtable will automatically trigger the corresponding task or action in Asana without manual effort.
Steps
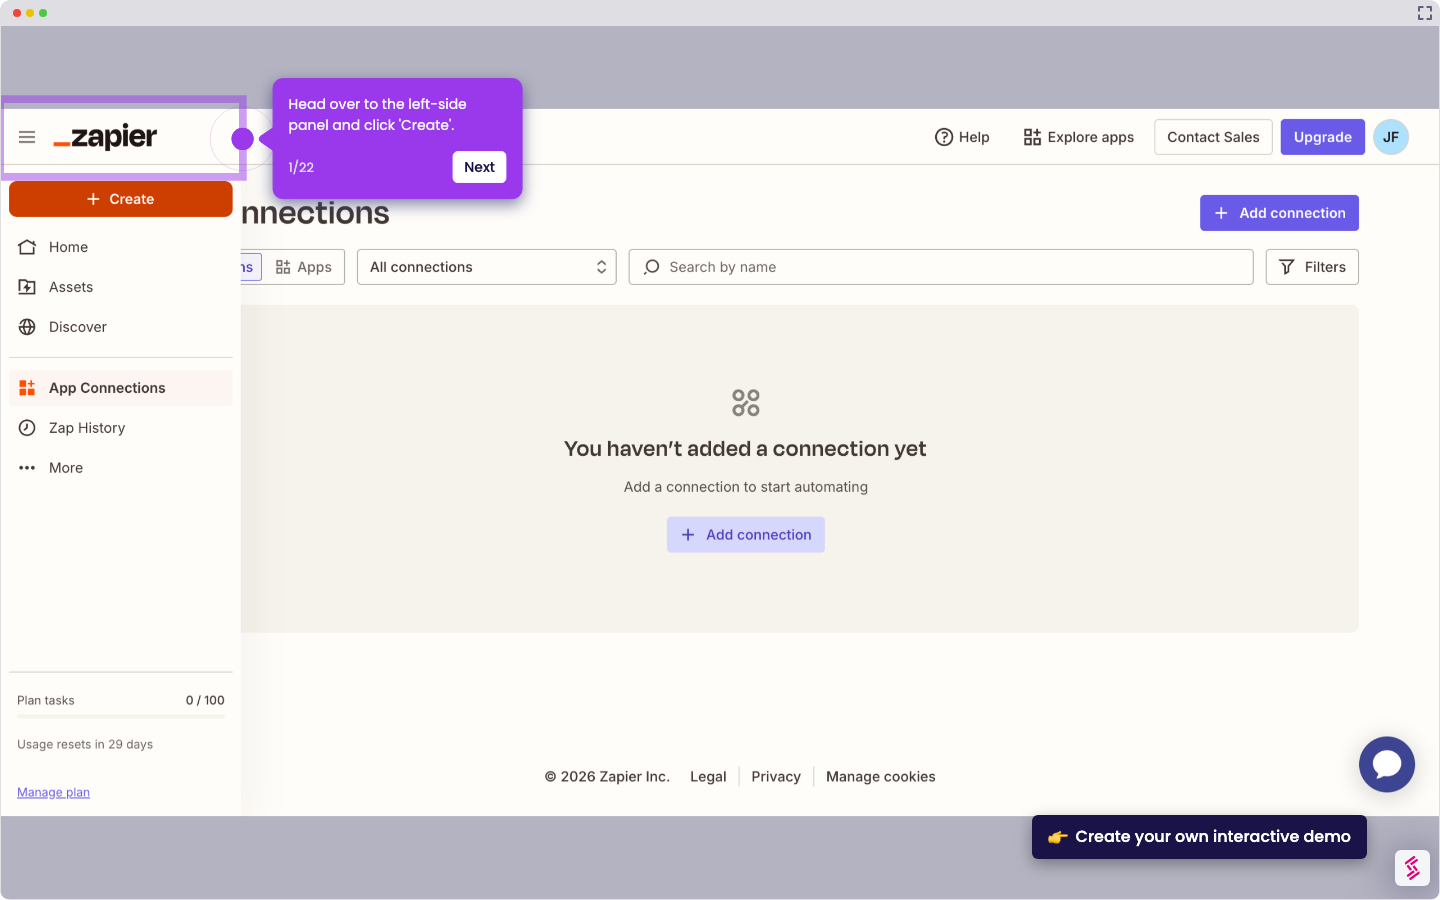
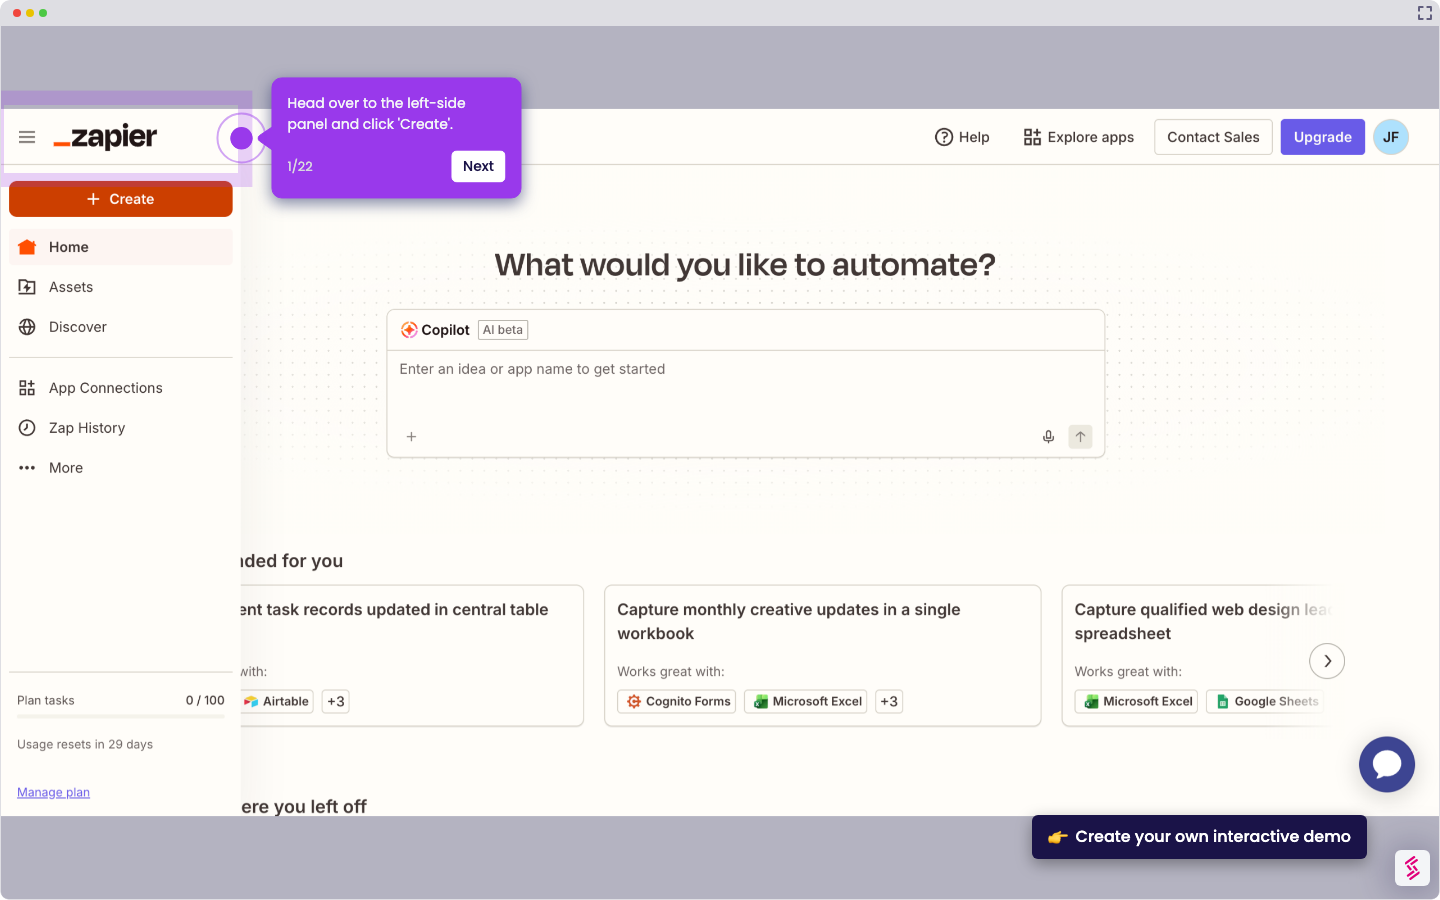
- Go to the left-side panel in Zapier and click Create to start building a new Zap.
- Choose Zaps from the list of available options.
- Click Trigger to begin setting up the integration trigger.
- Search for Airtable and select it from the search results as the Trigger App.
- Open the drop-down menu and choose your desired Trigger Event.
- Tap Sign In and enter your Airtable credentials to authenticate your account.
- Specify the workspace you want to use and click Grant Access to authorize Zapier.
- Set up the trigger by filling in all required information in the provided fields.
- Tap Test to verify the accuracy and validity of the trigger data.
- Click Action to move on to configuring the action step.
- Find and select Asana as the Action App.
- Select your preferred Action Event from the list of available options.
- Tap Sign In and provide your Asana credentials to authenticate your account.
- Set up the action by completing all required input fields with the necessary information.
- Tap Test to authorize and publish the integration.
- Your Asana account is now integrated with Airtable and the Zap is live.